Beef Tenderloin with Red Wine Sauce

We were having a special occasion and I wanted a special occasion meal.  I always feel like a nice steak dinner is a bit more formal than any other kind of meal.  It reminds me of upscale restaurants and steakhouses that are reserved for special nights only.

Beef Tenderloin with Red Wine Sauce

(Inspired by this excellent cookbook, page 236)
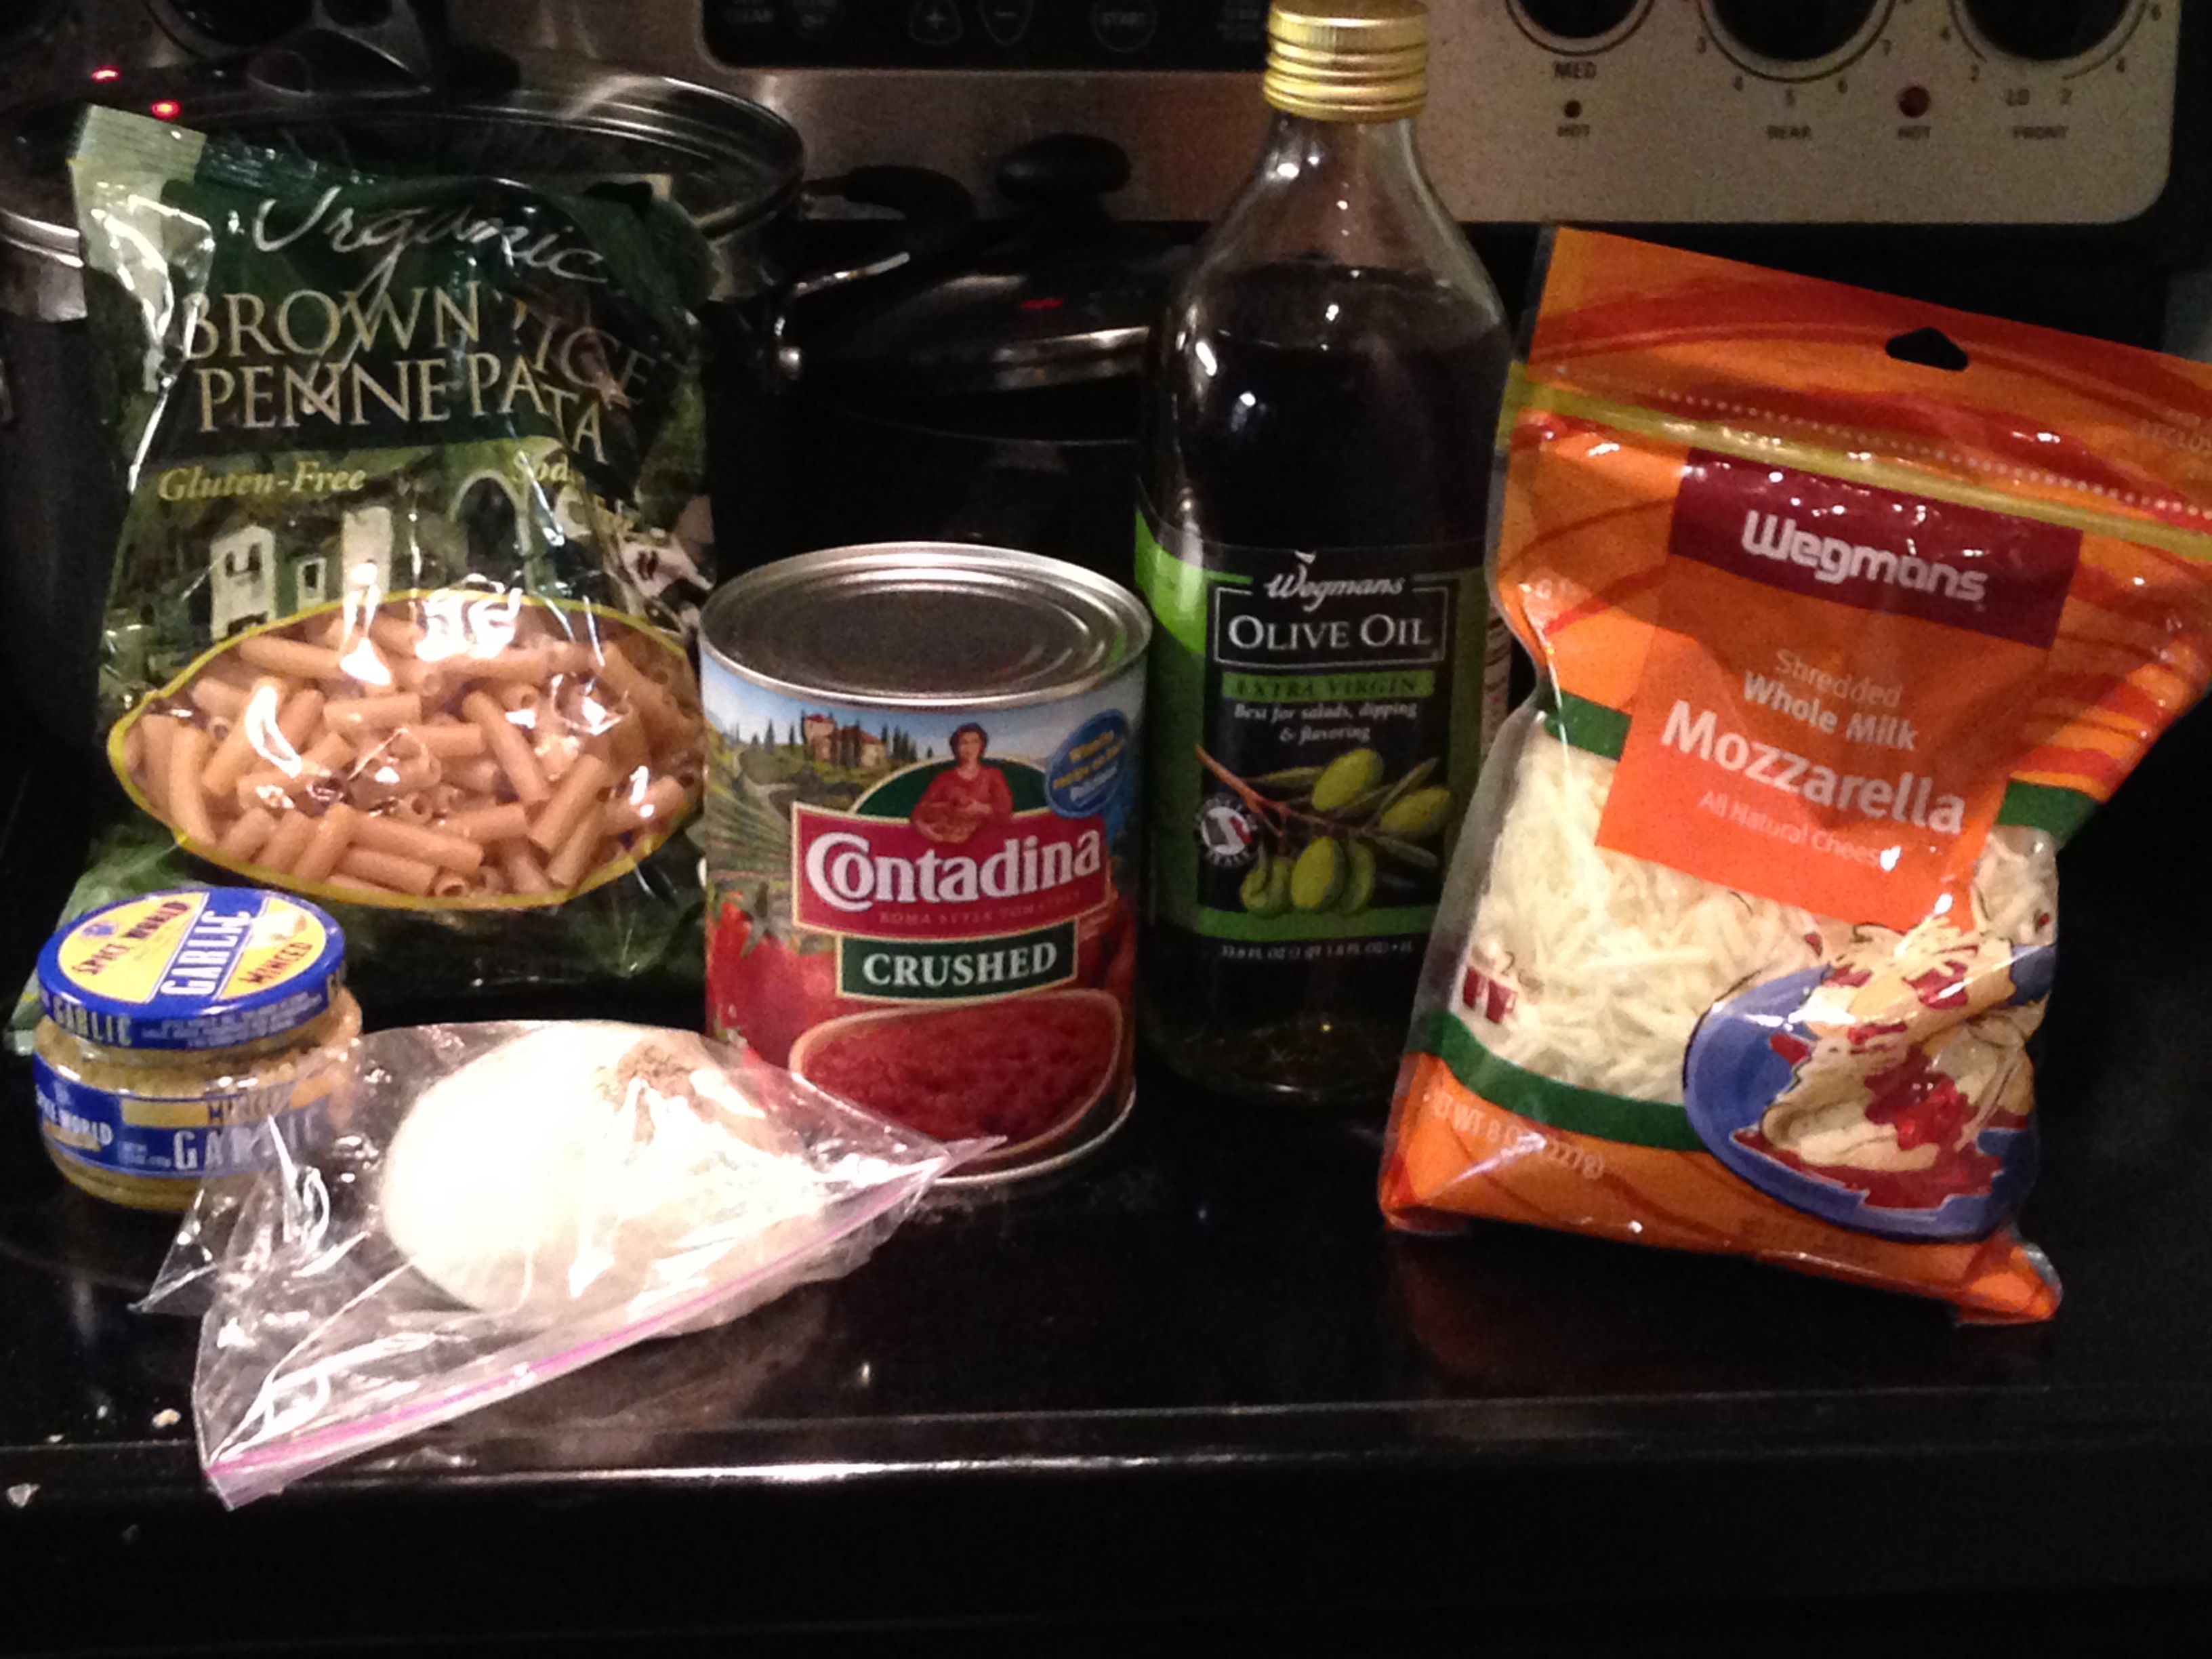
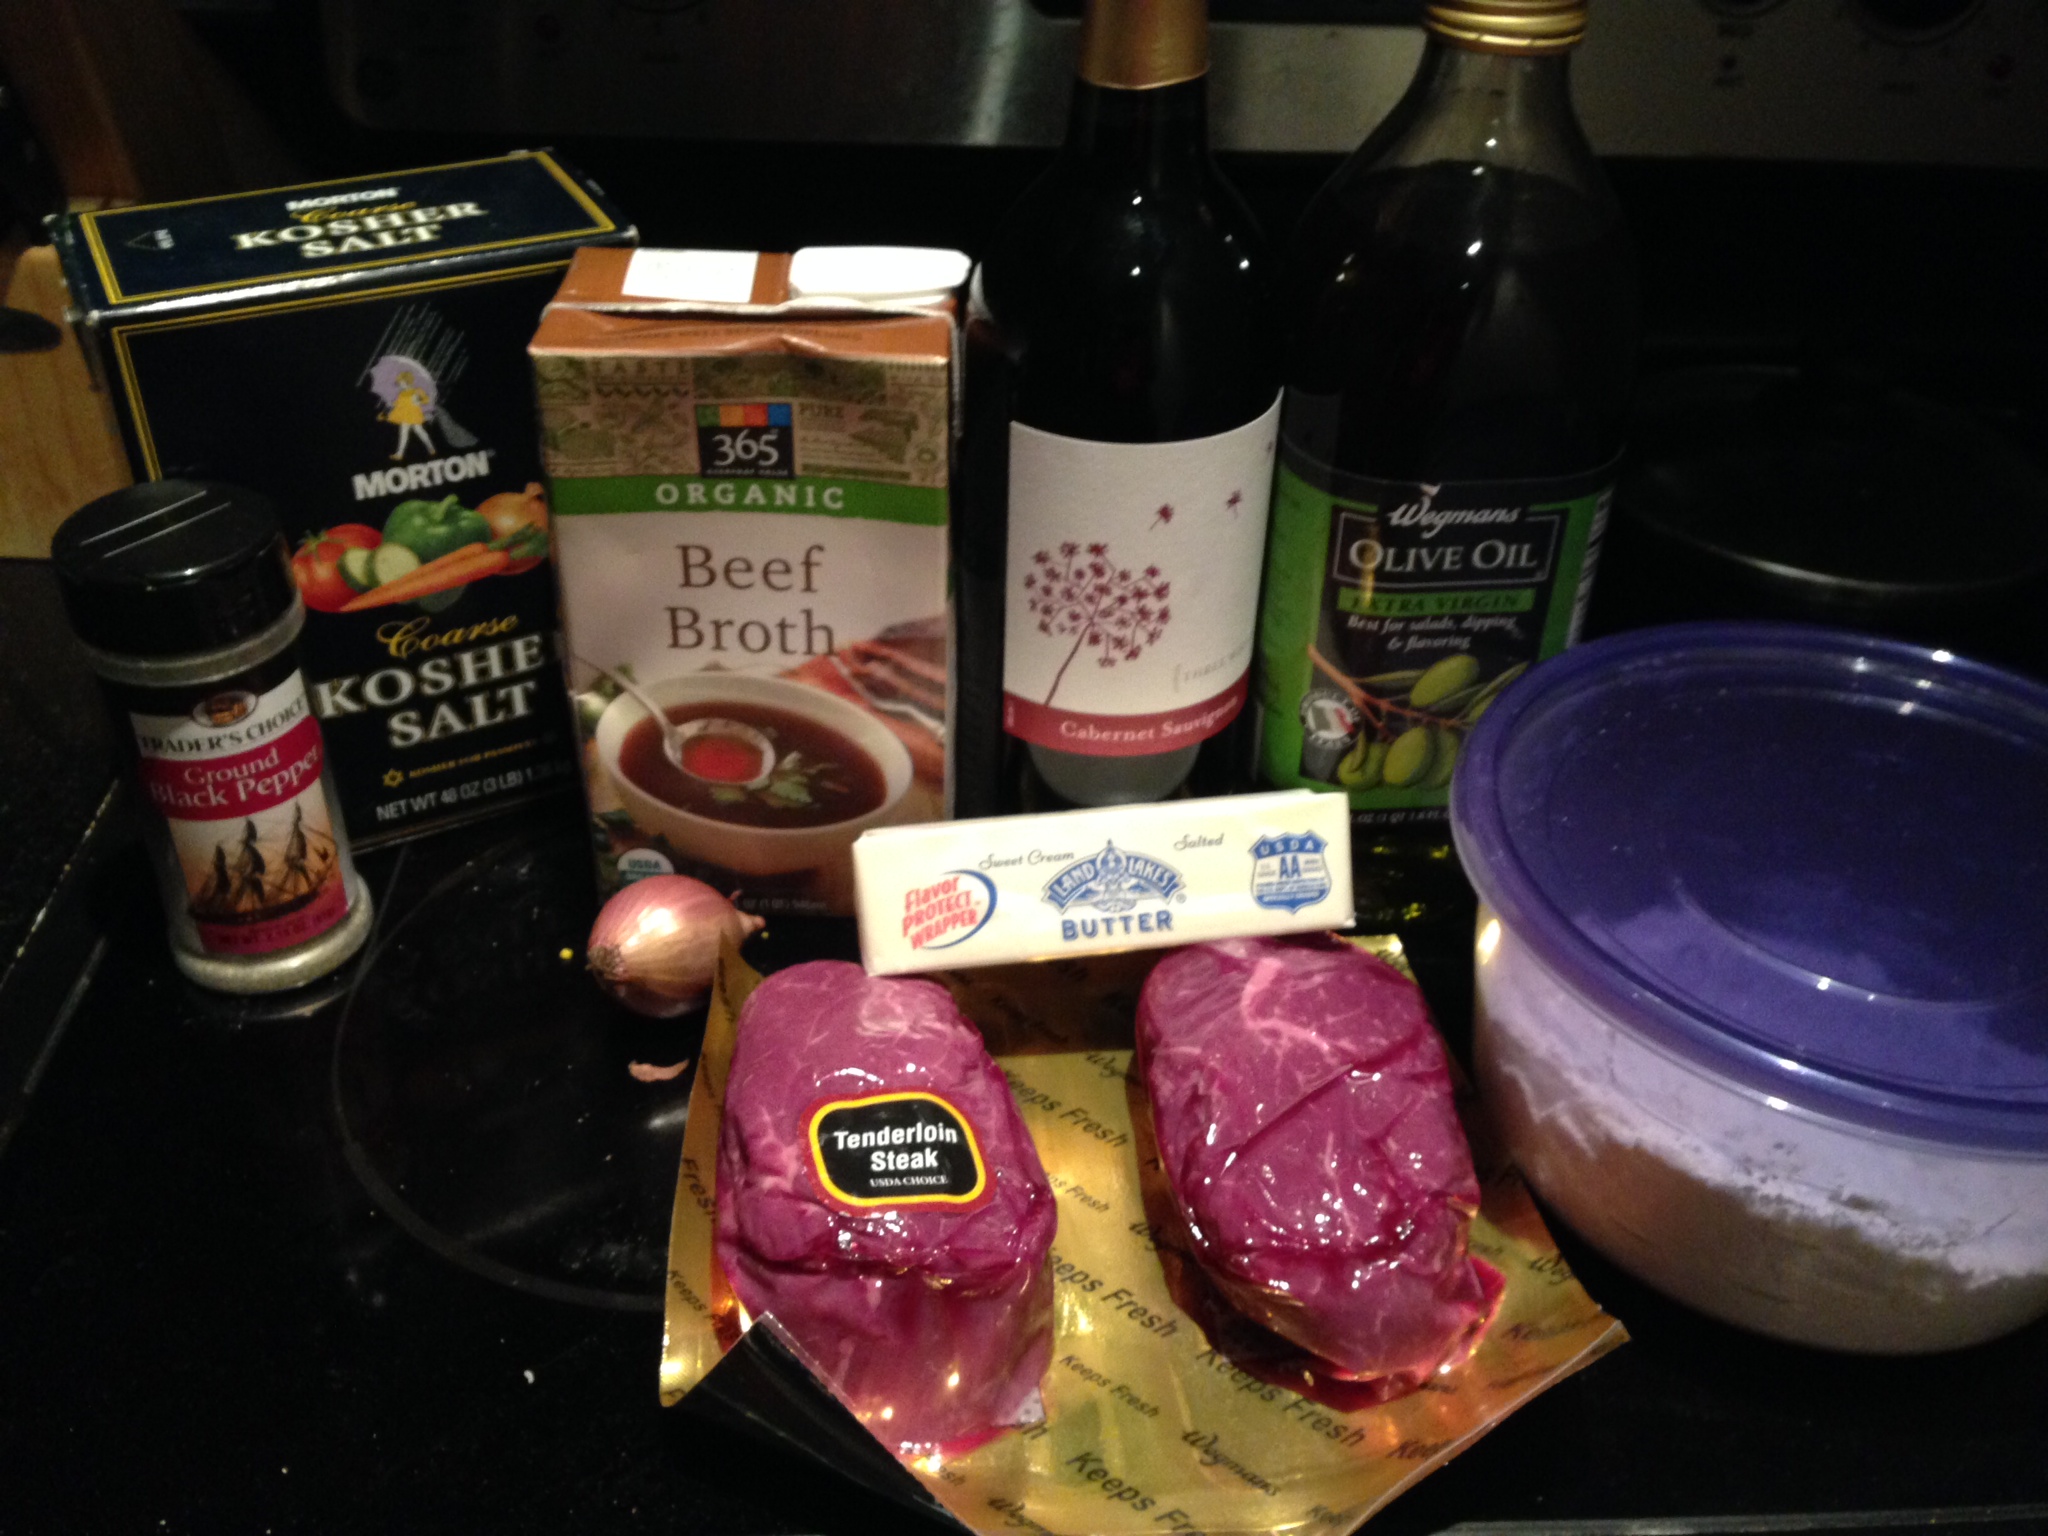
Ingredients:

Beef tenderloin steaks
1 tablespoon butter
1 shallot, minced
1 tablespoon flour [I used the gluten free flour inspired by the cookbook, but any flour would work here]
1/2 cup red wine
1/2 cup beef broth
Salt and pepper

photo 1

Preparation:

1.  Mince your shallot.  A shallot is like a mini-onion.

photo

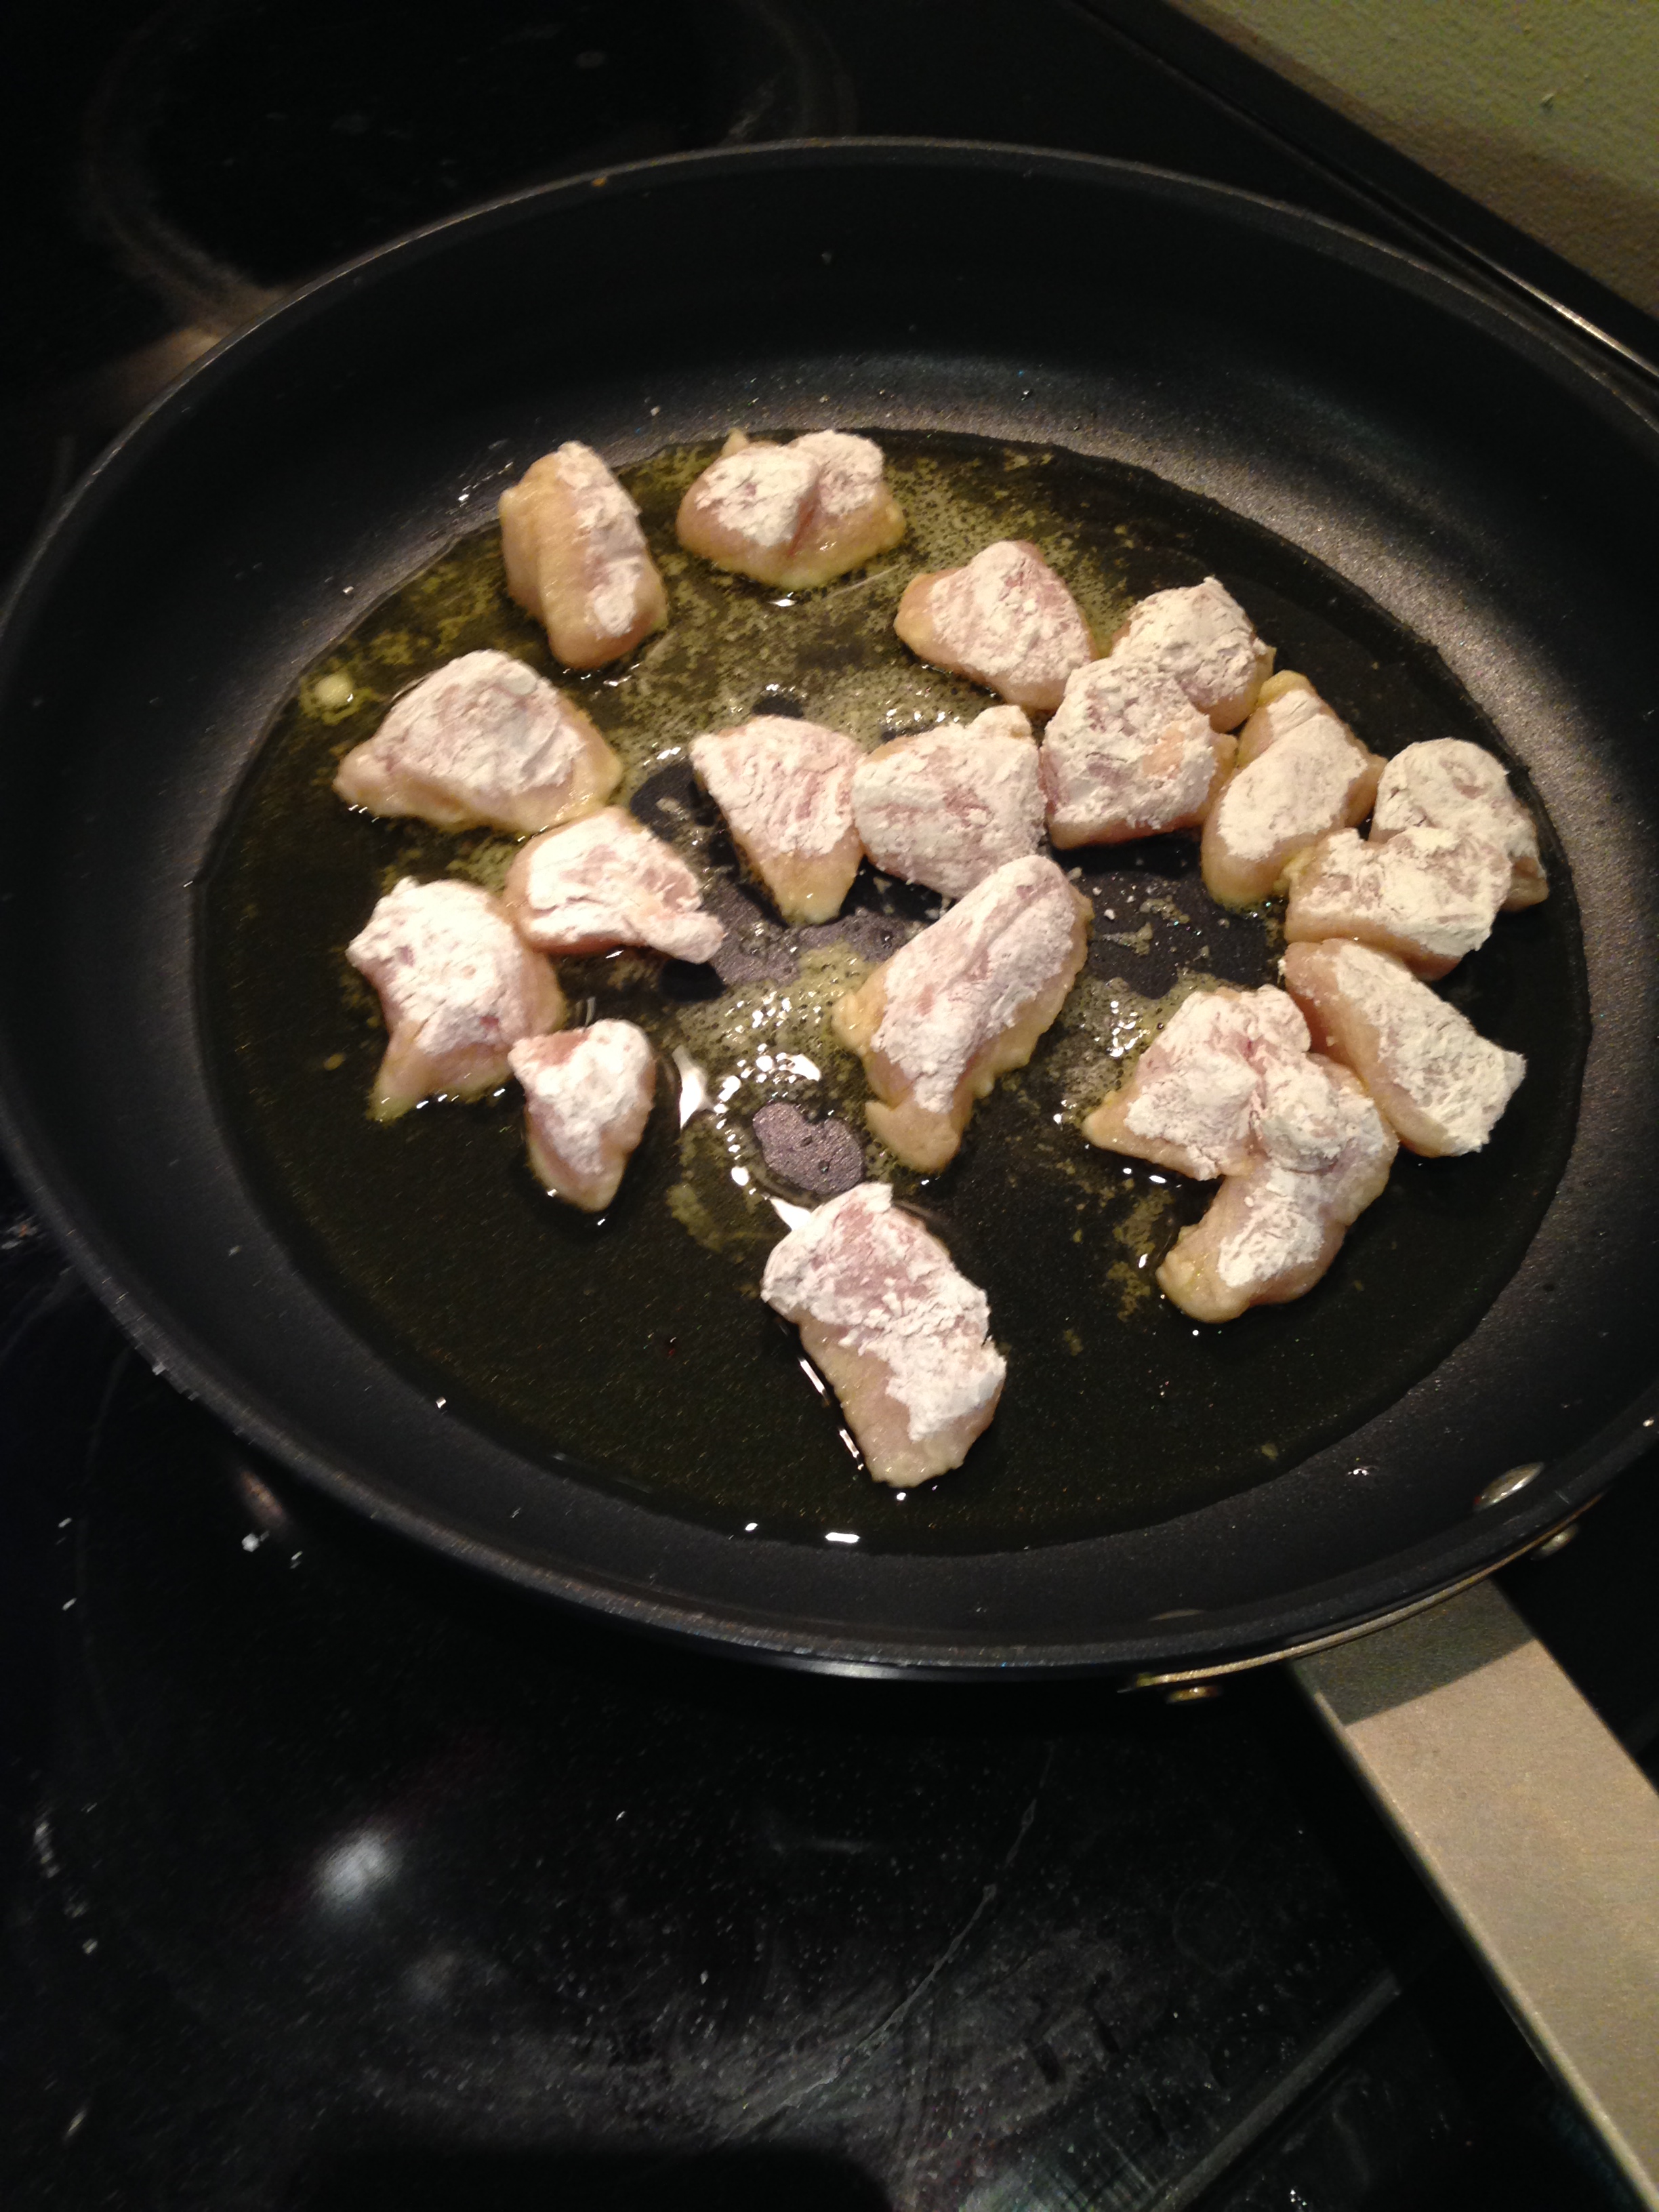
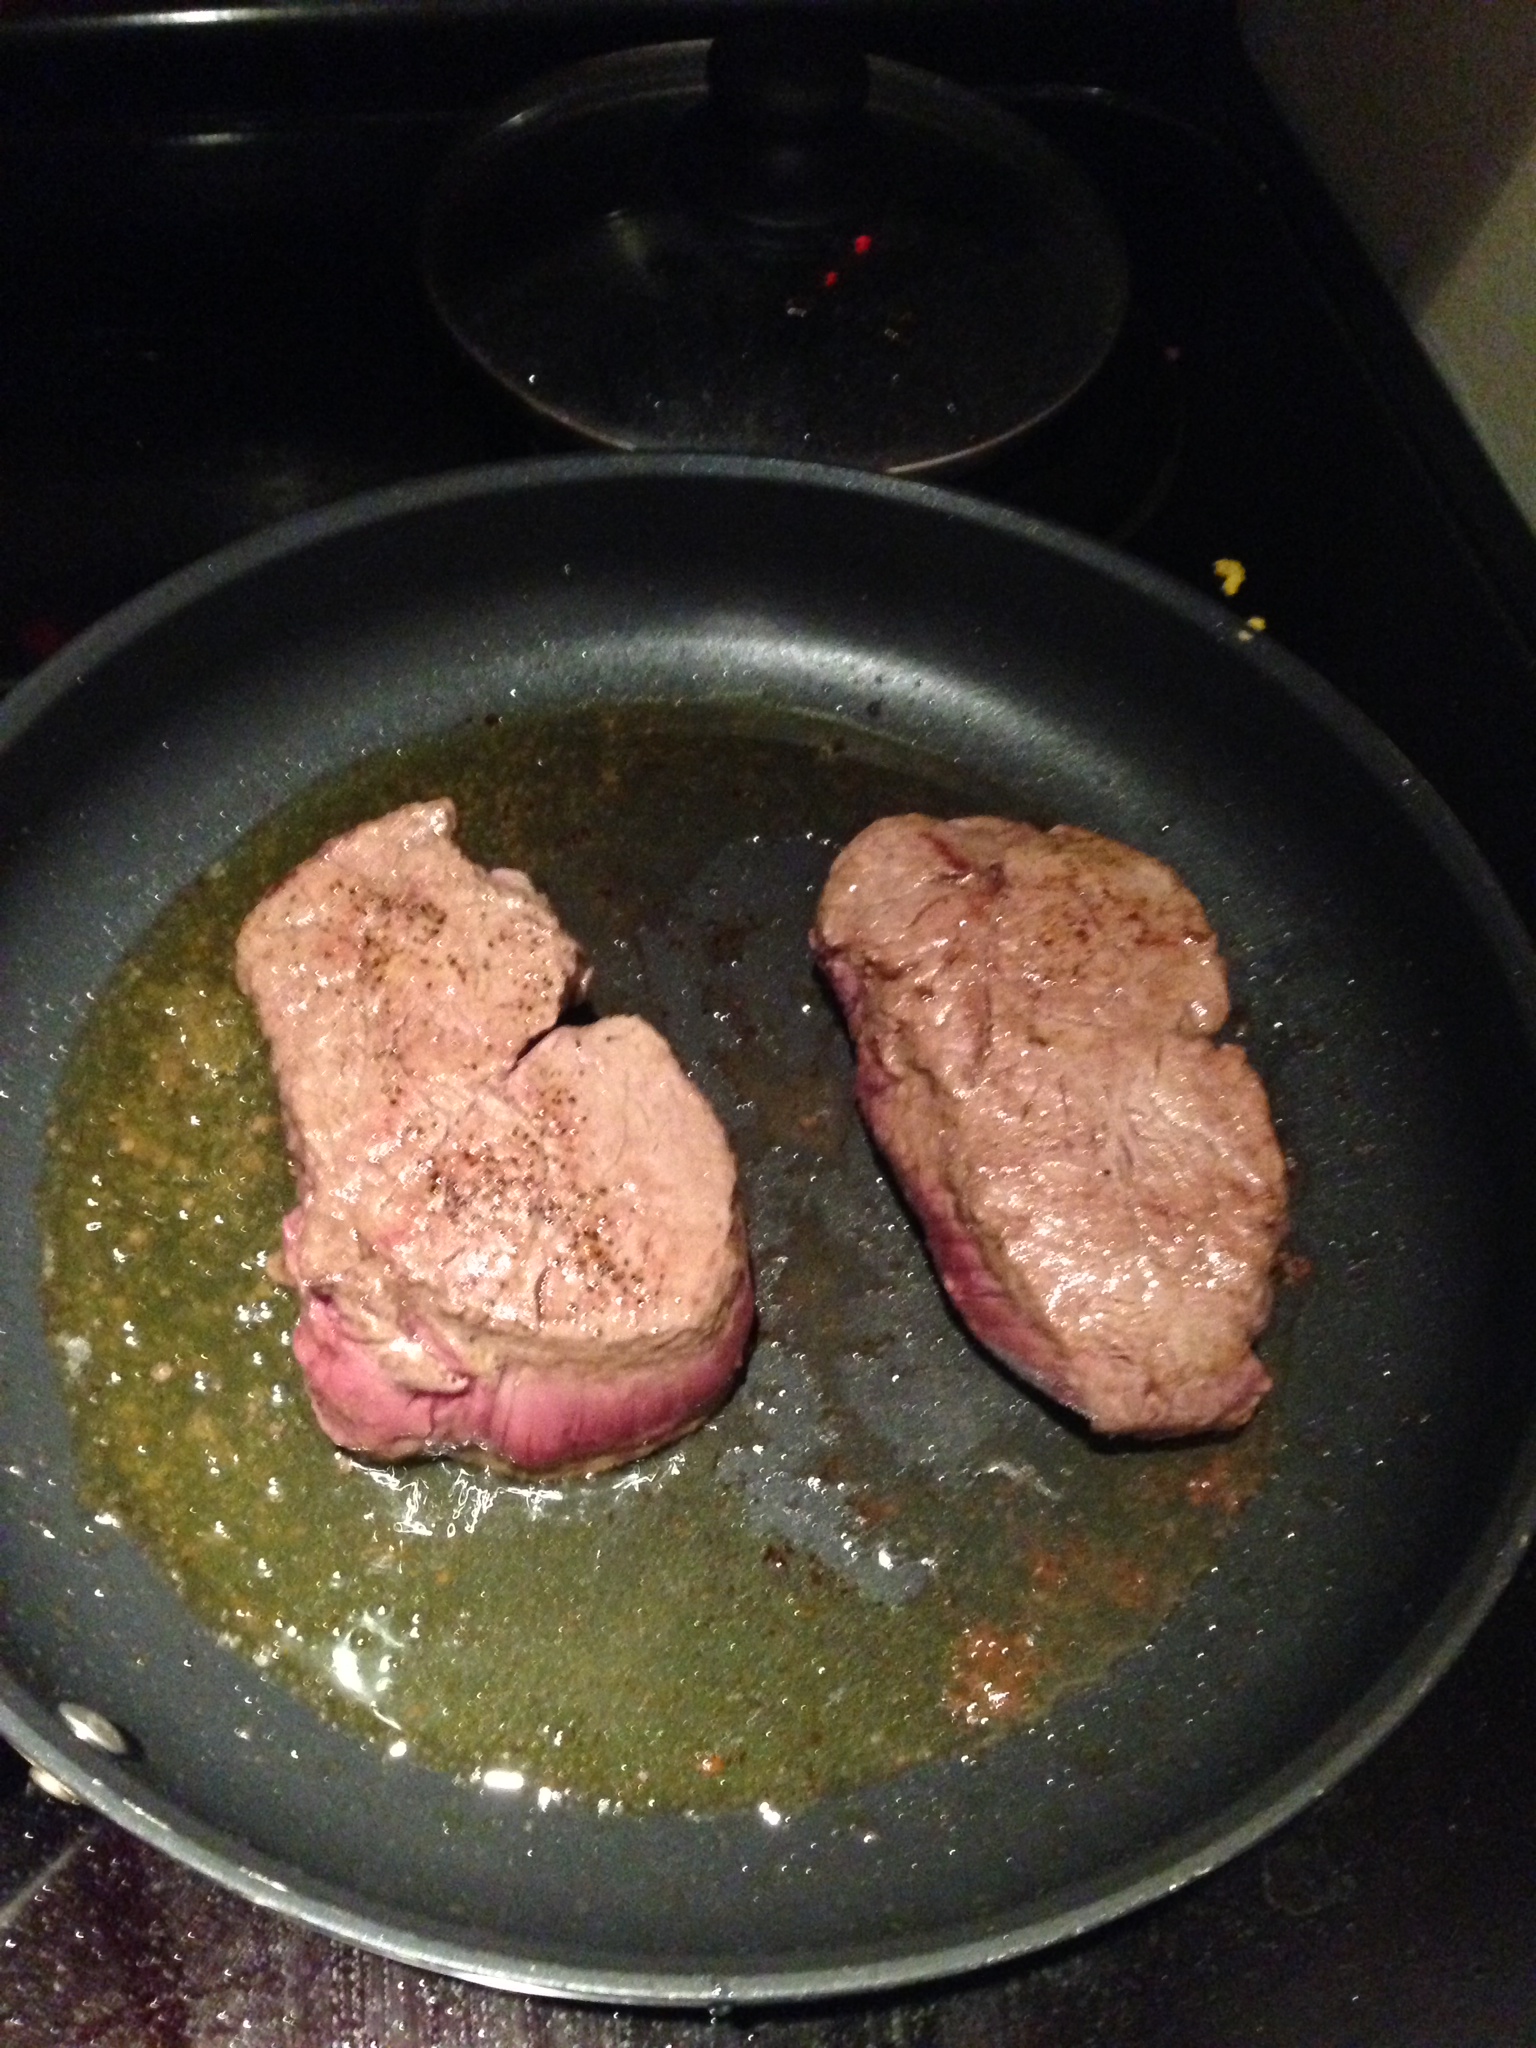
2.  Season each steak with salt and pepper on both sides.

photo 2

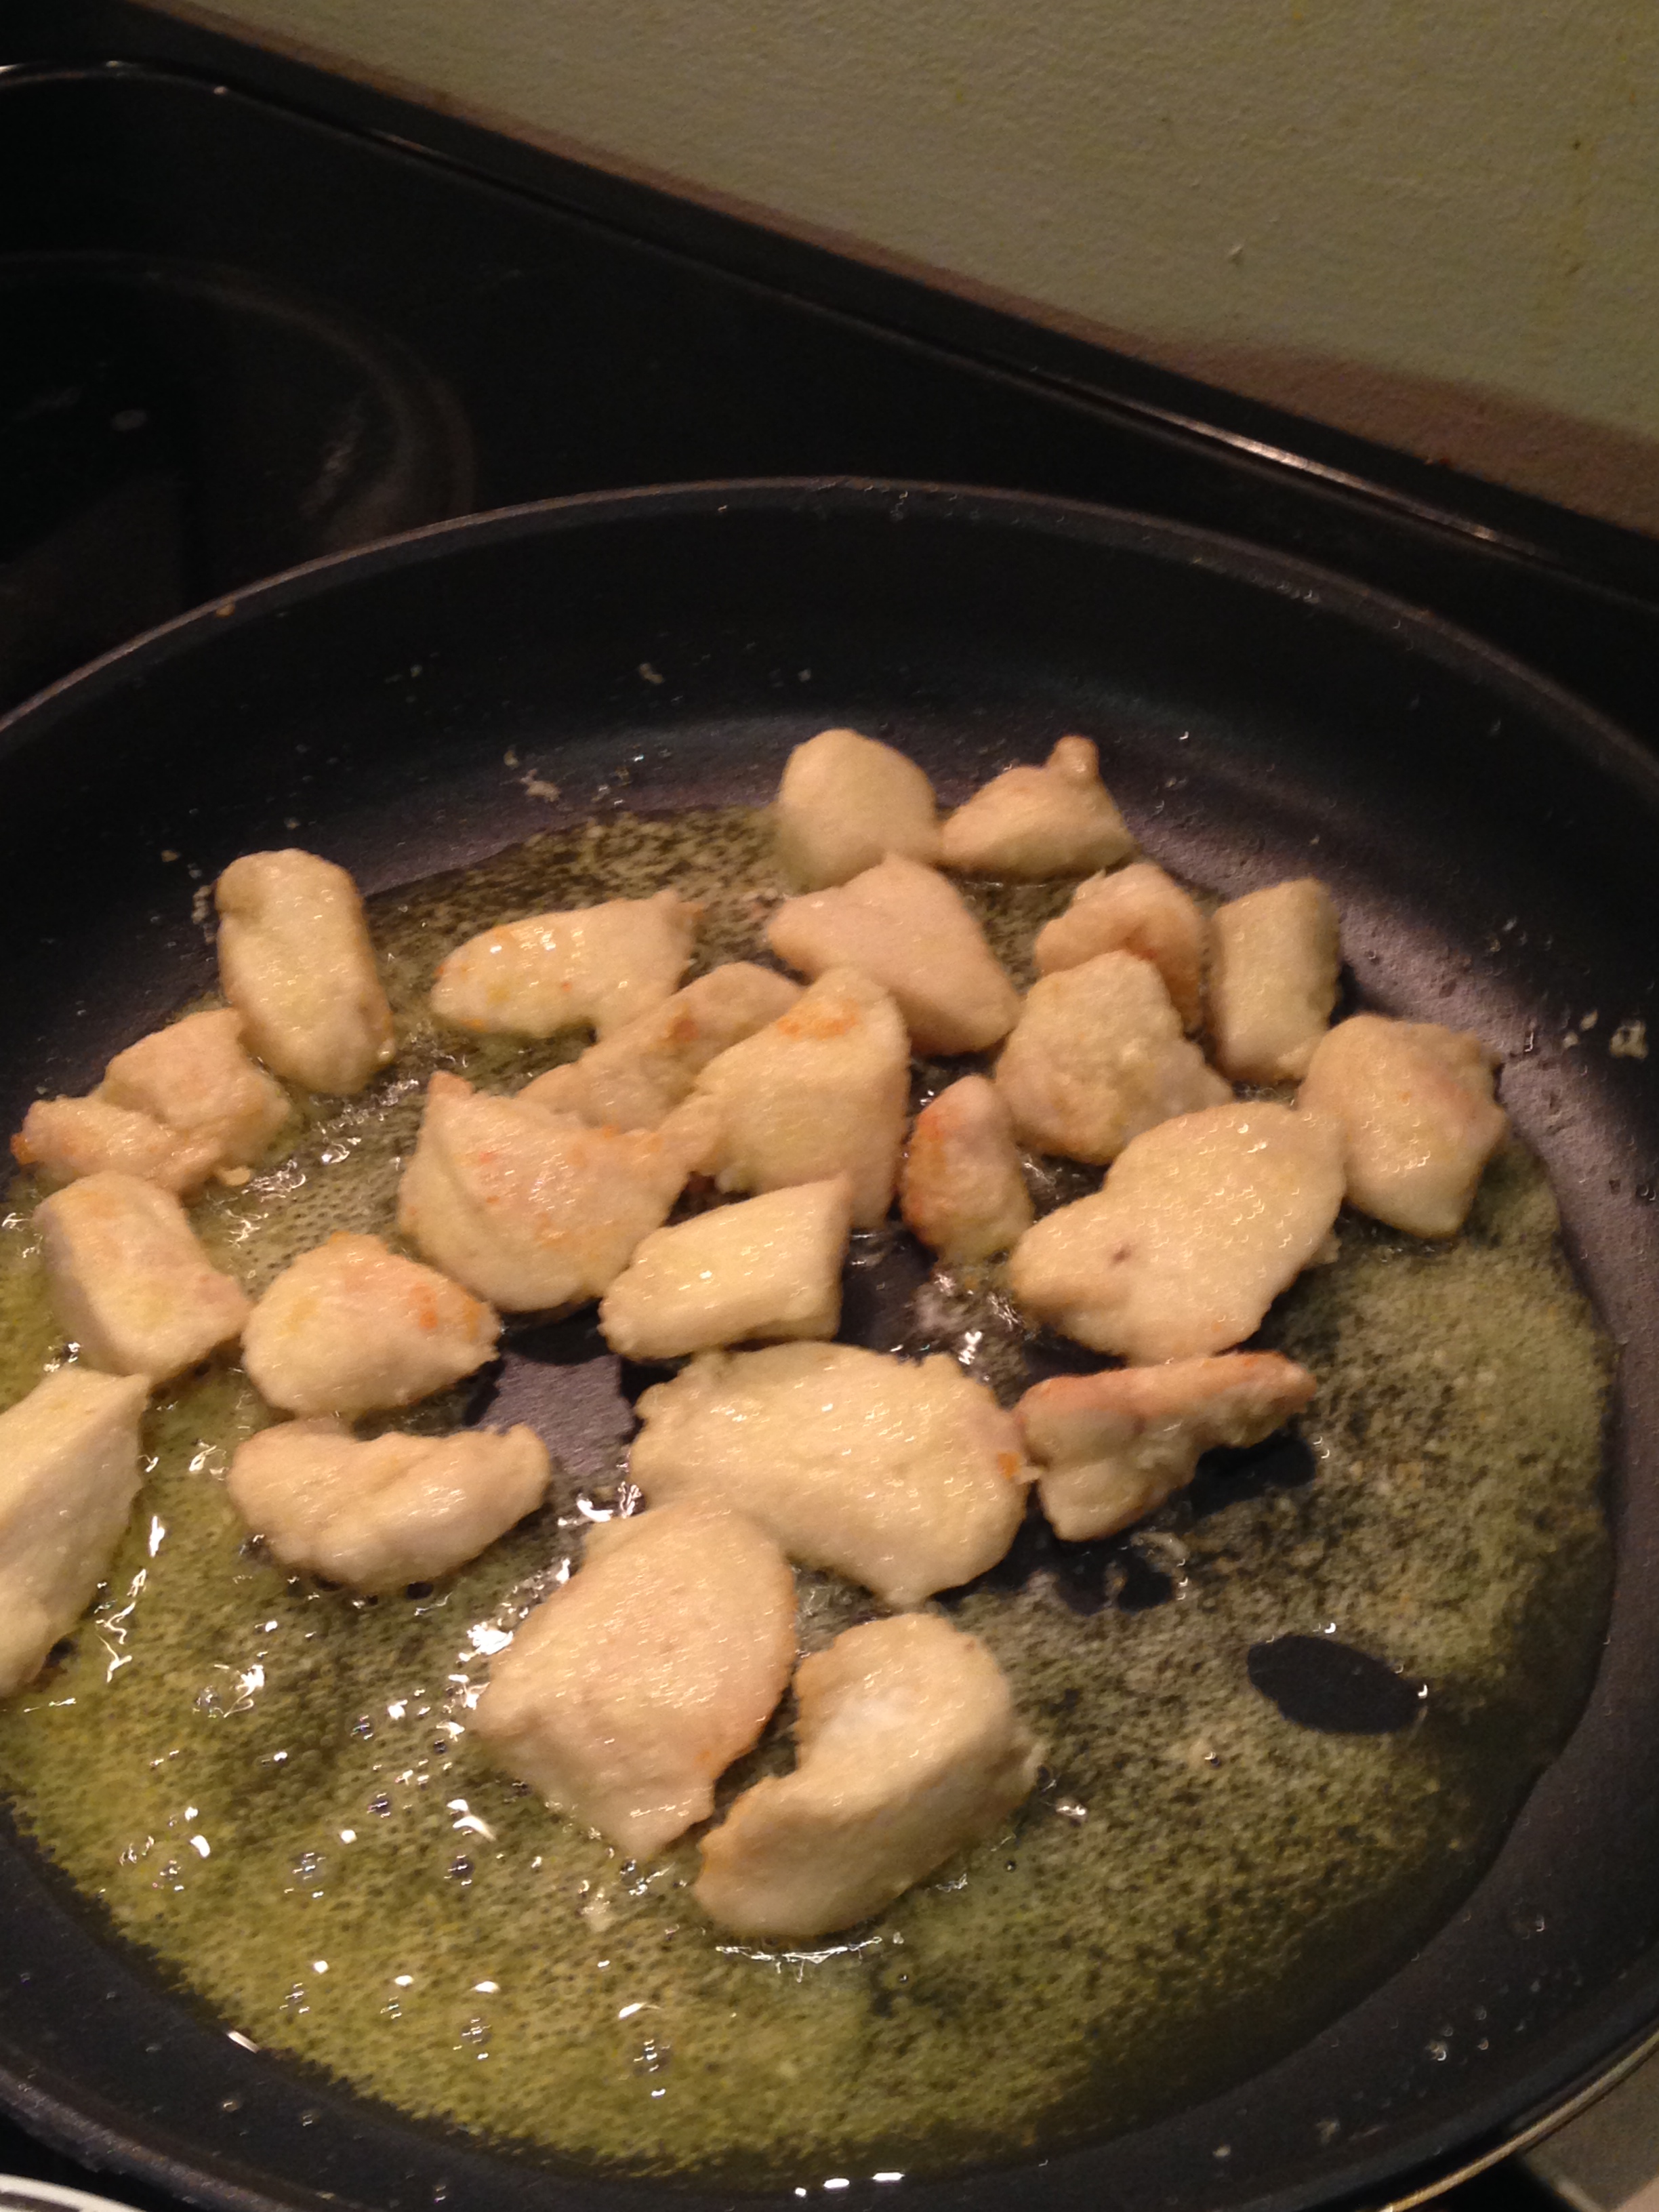
3.  Heat the saute pan over medium-high heat.  Add the beef and sear for about 5 minutes per side, depending on how done you want the meat.  Remove the meat and set aside.

photo 3

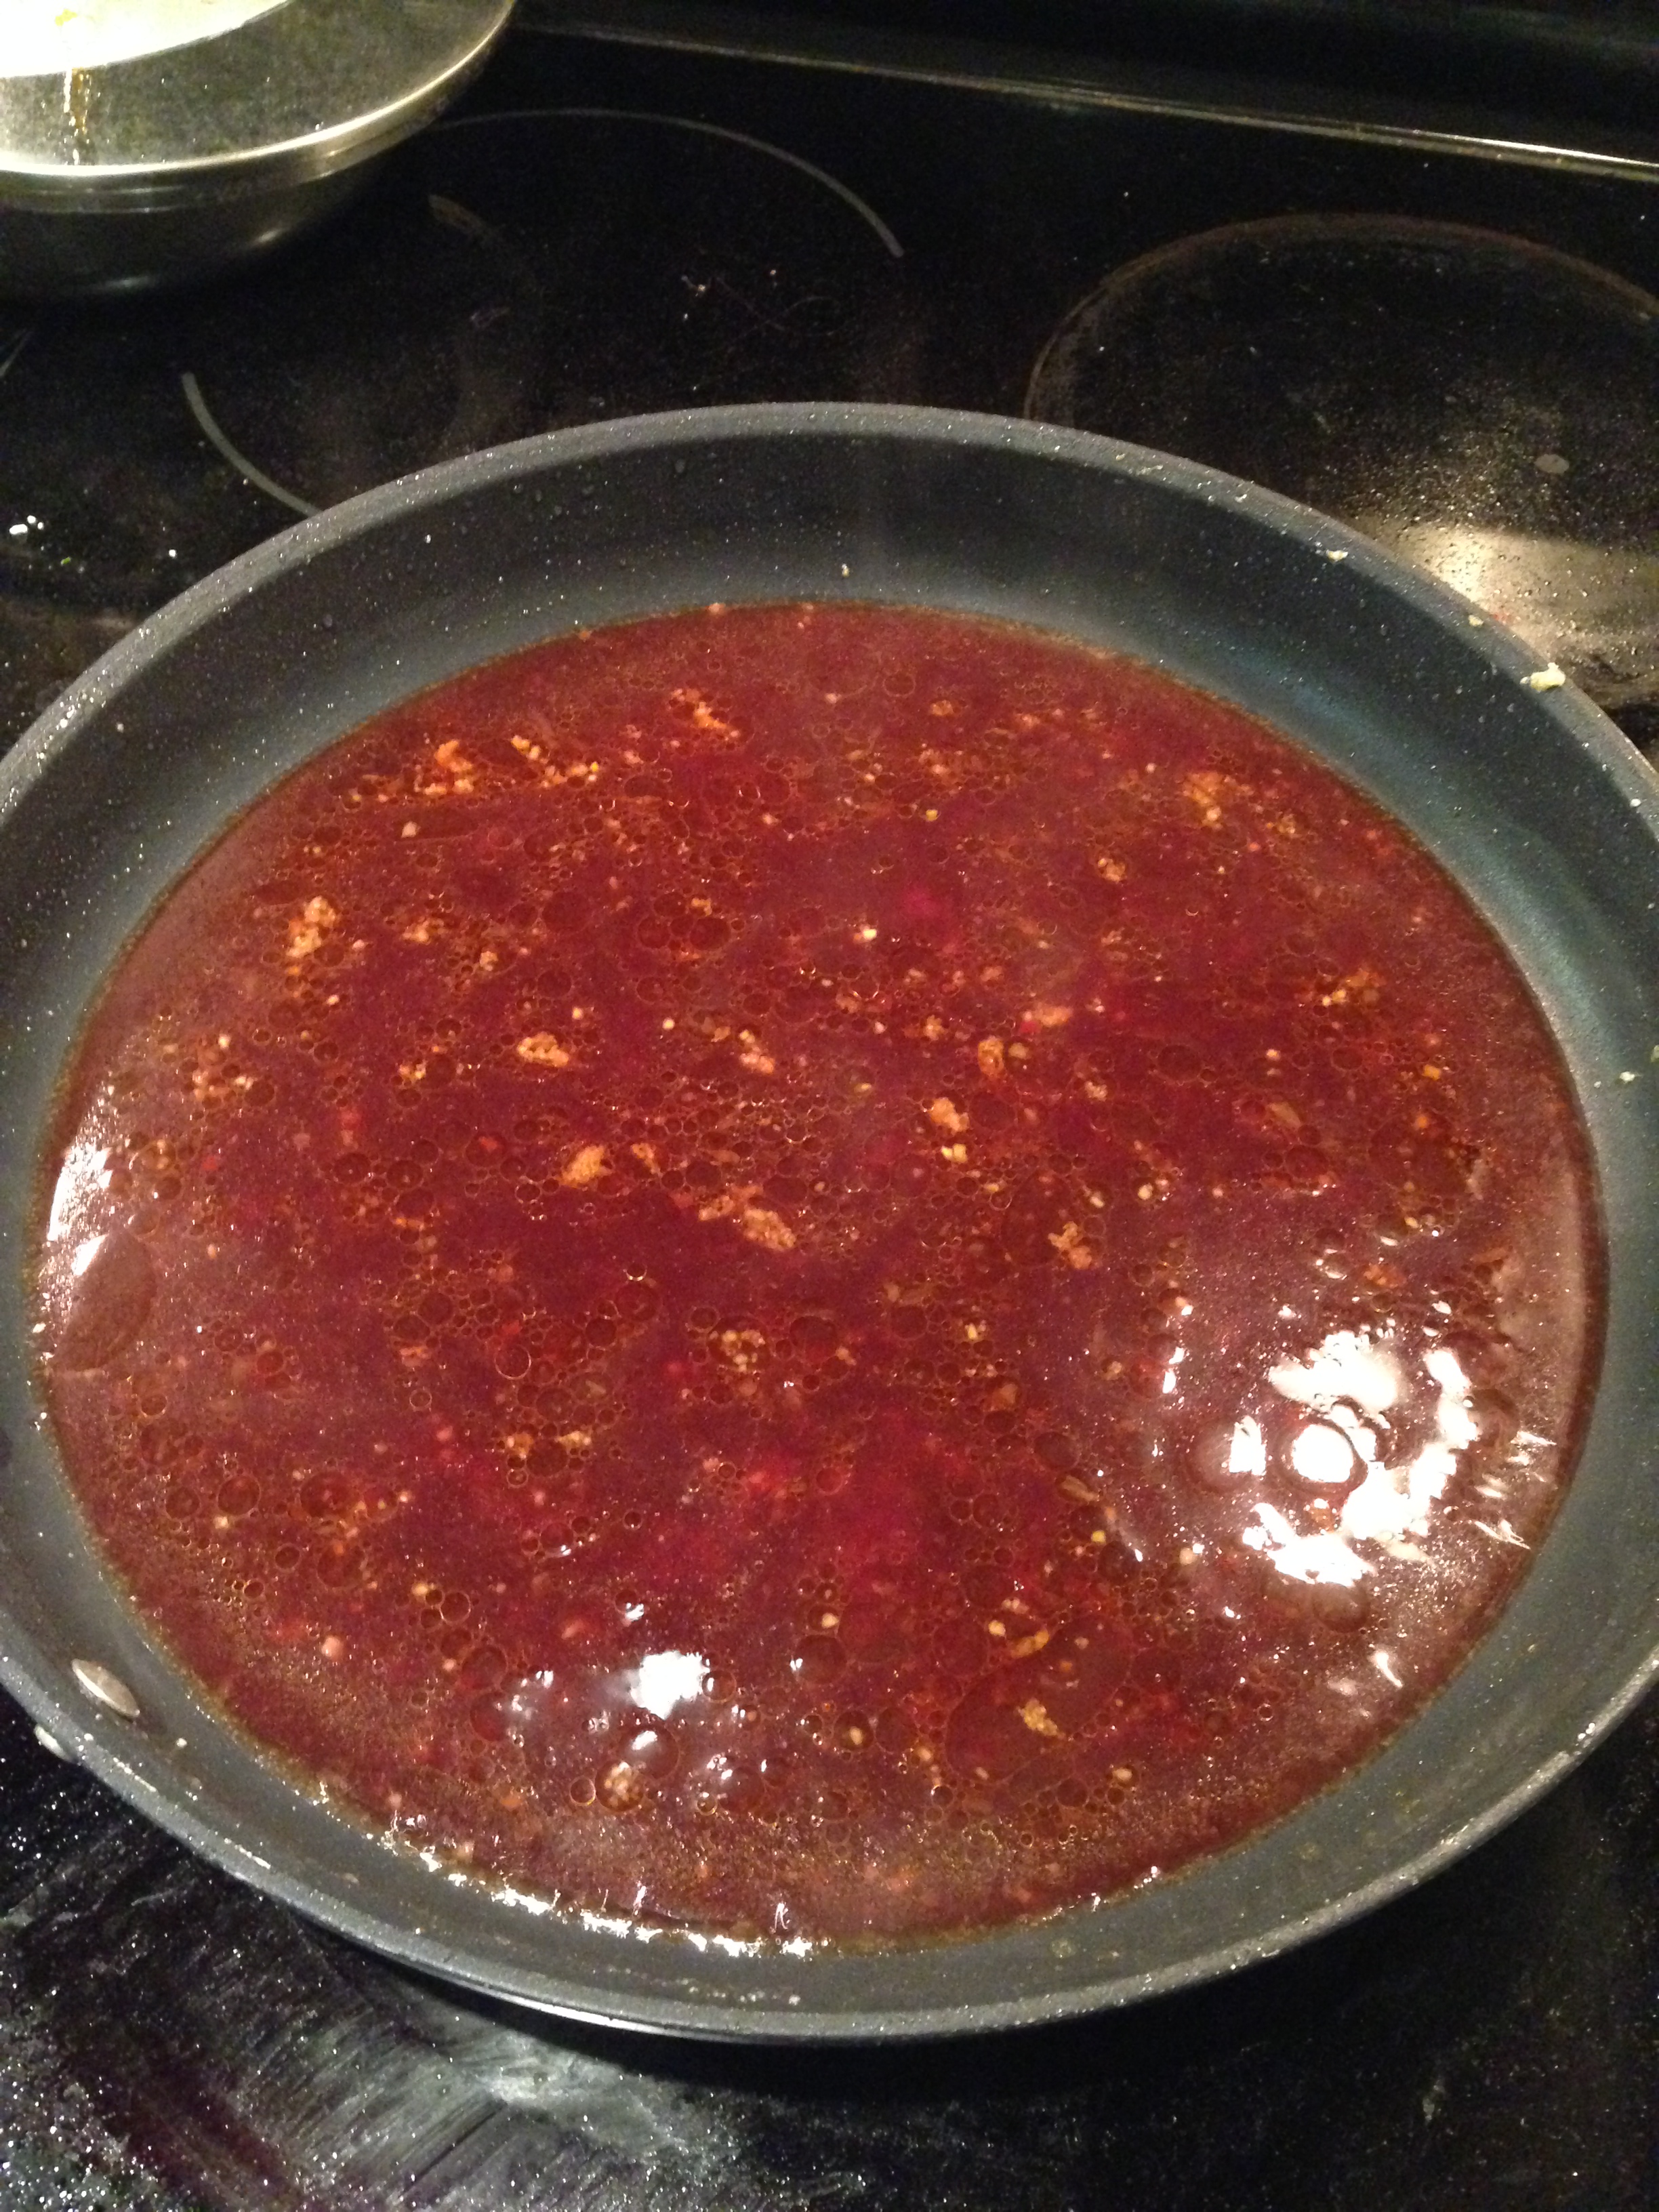
4. Combine the flour, wine, broth, salt, and peppar in a separate bowl.

photo 5

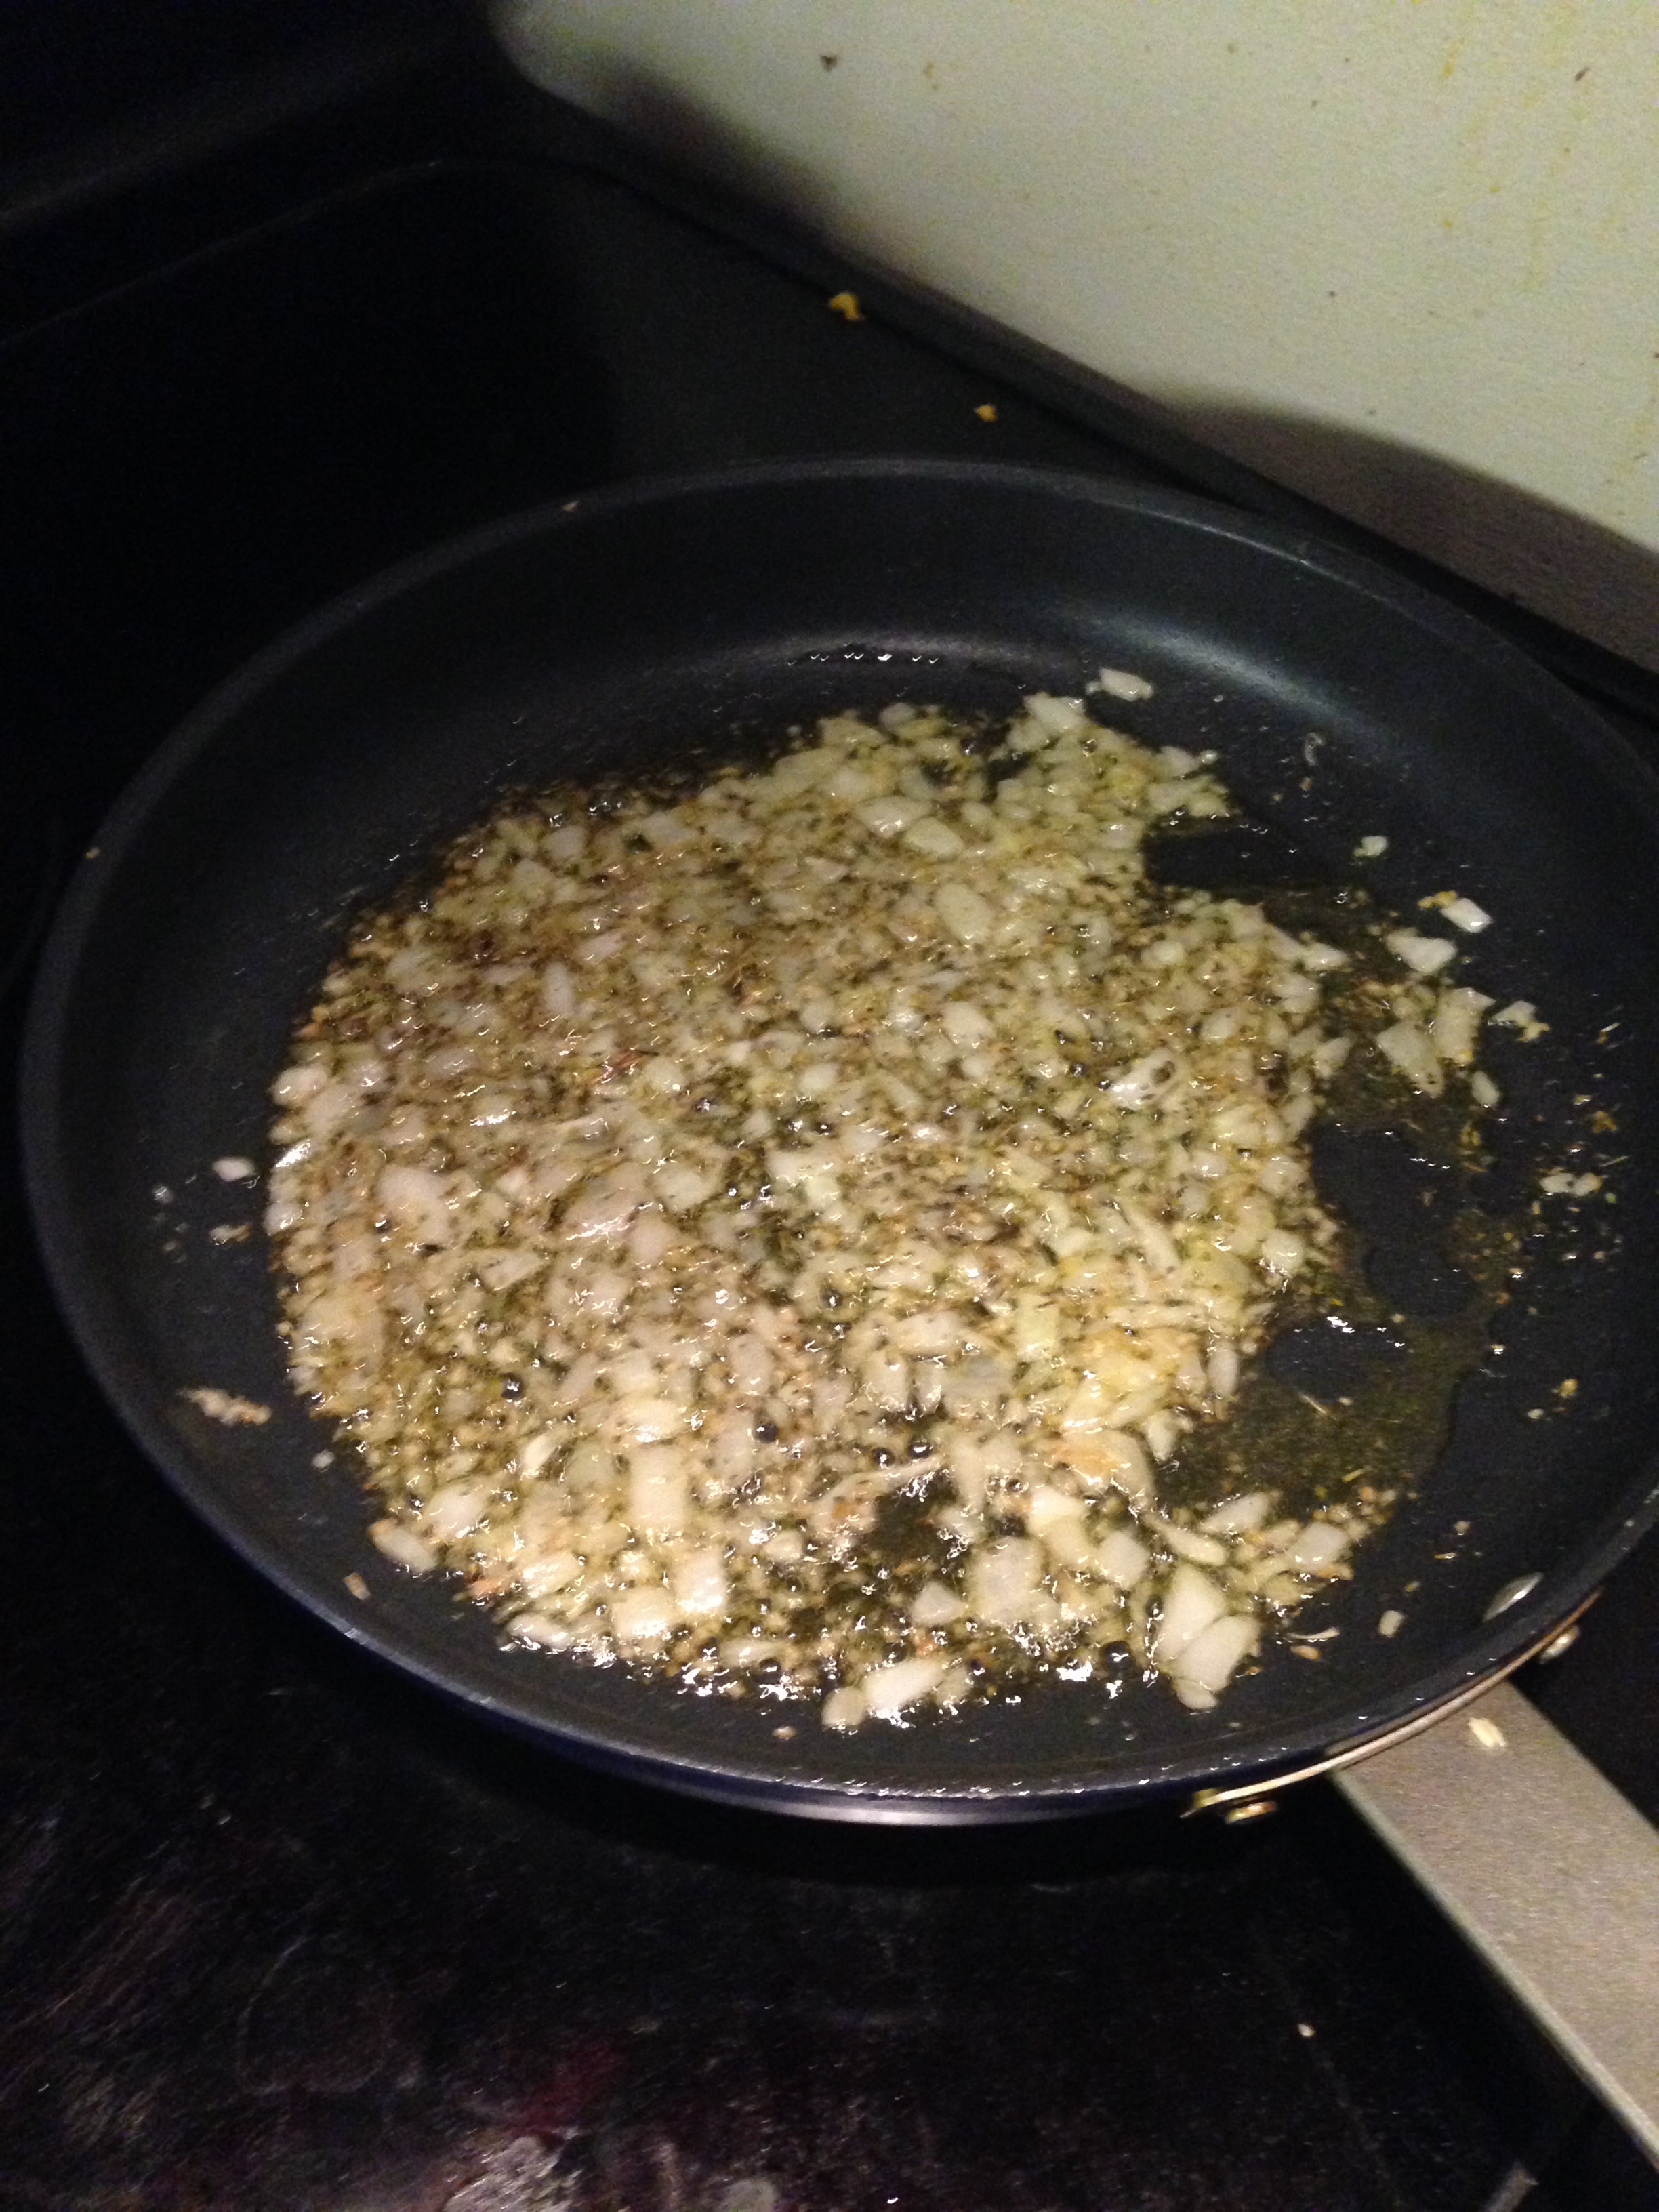
5. Melt the butter in the same pan used for the beef.  Add the shallot and mix around for a minute, browning it a little bit.  Add the sauce and stir gently until it thickens.

photo 4

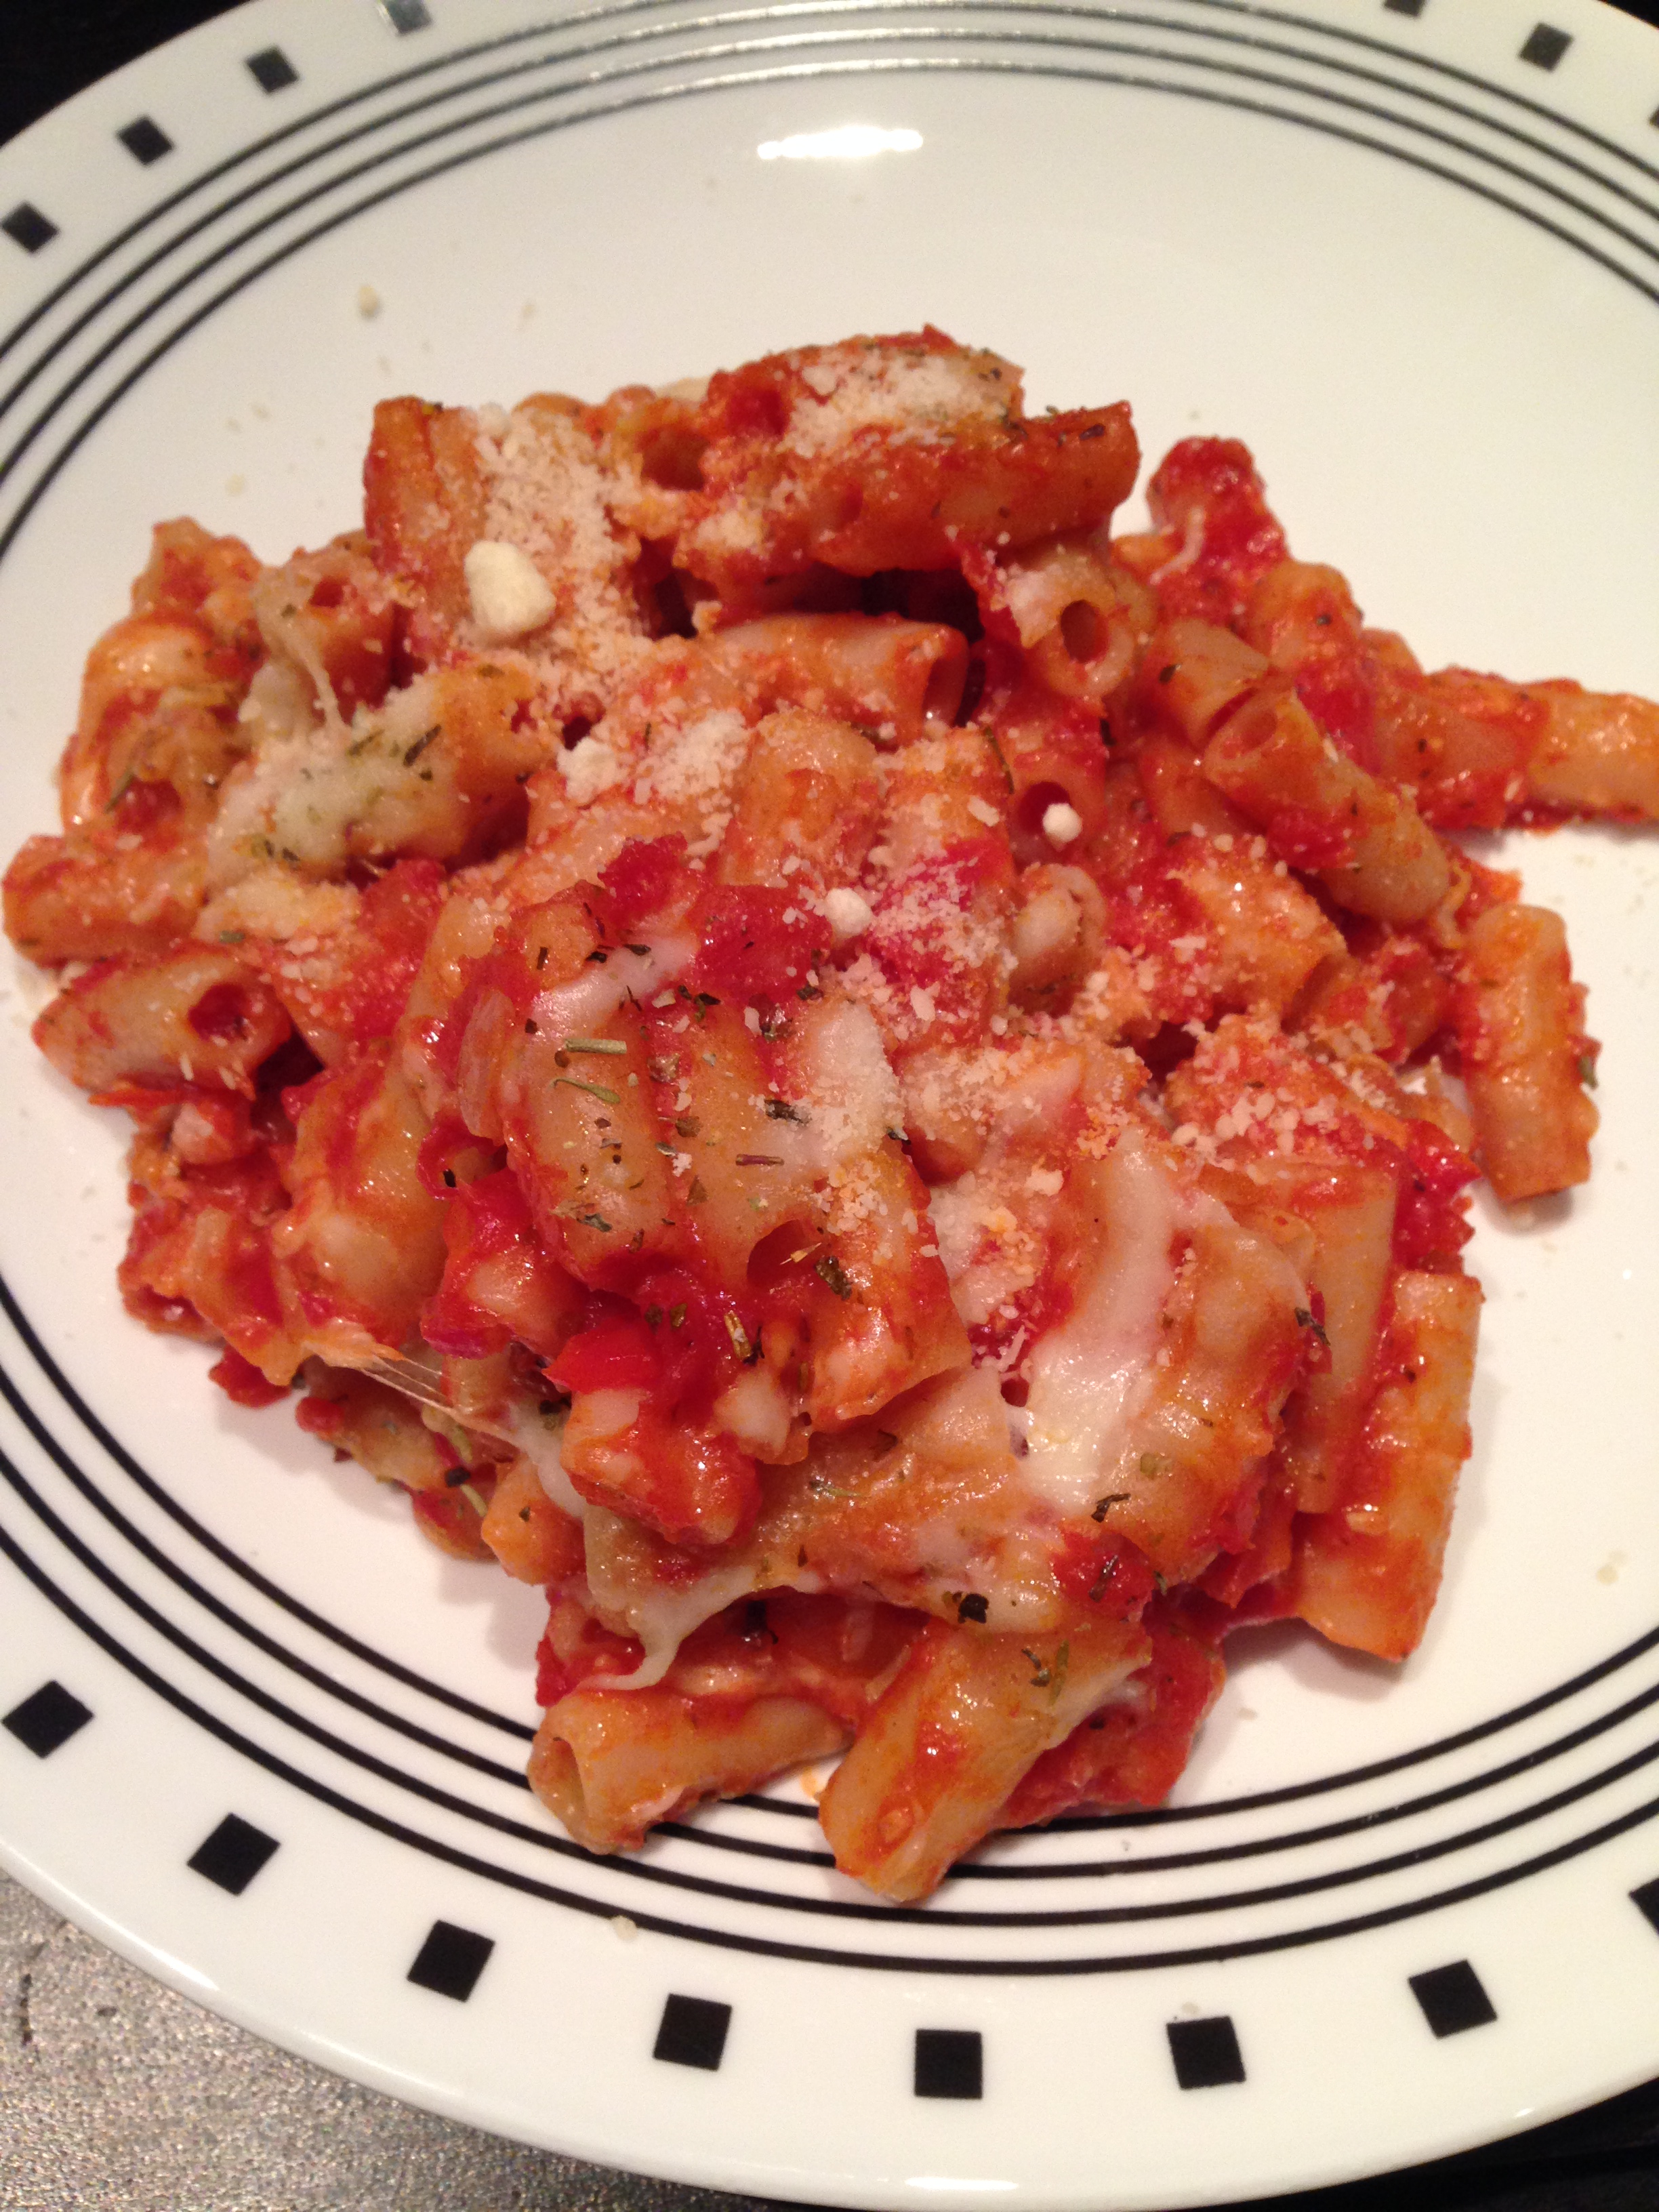
6.  Pour the sauce over the steak and enjoy!

photo 2 (2)

Results:

This actually turned out very nice to have for a formal-ish dinner.  The original recipe calls for using some olive oil in the saute pan (pictured above).  I’d skip that step – it actually slows the cooking and when the oil gets hot, it splatters.

The sauce has a really nice tang to it and is really scrumptious.  I wished there was more once I finished my portion.

Feel free to serve the rest of that wine bottle with your meal! 🙂

Advertisement

Baked Ziti

What’s better than some warm comfort food on a frigid day?  Also, this one provides for plenty of leftovers so you’ll get a few meals out of it.  A classic favorite.

Baked Ziti

Ingredients:
– 12 oz penne or ziti pasta [I used gluten free pasta for this, but regular wheat pasta would work]
– 1 28 oz can crushed tomatoes
– 1 cup mozzarella cheese, shredded
– 2 tsp olive oil
– 4 medium garlic cloves, minced [I used the magical pre minced garlic]
– 1/4 cup yellow onions, finely chopped
– 2 tsp Italian Seasoning
– salt and pepper to taste

photo 1

This stuff is the BEST!  Definitely snag some for any Italian inspired meals you’re making.

photo 3

Instructions:
1.  Preheat oven to 350°F. Cook pasta according to package directions; drain and set aside.  Chop your onion.

photo 2

2.  Heat oil in a medium saucepan over medium heat; add onions, garlic, and 1 tsp Italian Seasoning and sauté 2 minutes.

photo 4

3.  Add tomatoes and bring mixture to a boil; reduce heat and simmer for 5 minutes.

photo 5

4.  Stir sauce into pasta and mix well.

photo 2 (2)

5.  In a casserole dish, create a think layer of pasta on the bottom of the dish.  Next, sprinkle a layer of cheese.  Then the rest of the pasta.  Then the rest of the cheese.  Top off with a little Italian Seasoning for good measure.

photo 3 (2) photo 4 (2) photo 5 (2) photo 1 (3)

6.  Bake until cheese is golden and bubbly, about 20 minutes.

photo 2 (3)

7.  Scoop and enjoy!

photo 3 (3)

Thoughts:

Perfect for some ol’ fashioned warm up food.  This one is quick during the week if you get out of work on time!  Also, Jacob suggests that if you add salt and pepper while you’re simmering the sauce, it will bring out the flavor.  Add some Parmesan at the end for a little extra flavor!

General Chang’s Chicken

A holiday tradition is to have Chinese food and go to the movies on Christmas Day.  This year, I was inspired to take a crack at one of the most popular dishes, General Tso’s Chicken.  Since I’ve been doing the gluten free thing, I took to my trusty cookbook (Artisanal Gluten Free Cookbook by Peter and Kelli Bronski) to find an alternative to the (usually flour fried) delicious dish.  This is my attempt at their masterpiece.

General Chang’s Chicken

(Inspiration on page 193 of this marvelous cookbook)

Ingredients

Olive Oil
4 boneless, skinless chicken breasts, cubed
Cornstarch
3 garlic cloves, minced [I used some preminced garlic]
1/2 cup orange juice
1/2 cup cranberry juice
2 tablespoons rice vinegar
3 tablespoons GF soy sauce
3 tablespoons packed brown sugar
1 to 2 tablespoons ground chili paste (depending on heat preference)
2 tablespoons water
Snap peas
Chopped scallions for garnish
Rice (for serving)

photo 1a

Preparation

1.  Heat 4 tablespoons of olive oil in a skillet over high heat.

2.  Coat the cubed chicken breasts with cornstarch.

photo 3a

3.  Add the chicken to the oil and cook, turning, until cooked through, lightly browned and crispy on all sides.

photo 4aphoto 5

4.  Transfer cooked chicken to a bowl lined with paper towels.

photo 1

5.  Add the garlic to the remaining olive oil in the skillet and cook until fragrant.

6.  Mix the orange juice, cranberry juice, rice vinegar, soy sauce, brown sugar, and chili paste and stir to mix well.

photo 2a

7.  Mix 1 tablespoon cornstarch with the water and stir into the sauce and pour into the skillet.  Bring to a boil.

photo 3

8.  Return the chicken to the skillet and cook until the sauce thickens and the chicken is heated through.  Toss in the snap peas and coat in the sauce.

photo 4

9.  Garnish with scallions.  Serve and enjoy!

photo 2b


Results

This was a really interesting twist on a classic recipe.  It had a good balance of sweet and spicy that made for a wonderful Chinese food inspired home cooked meal.  It has a crisp in each bite without feeling heavy and too fried.  I included the snap peas because I always like to serve a vegetable in any meal like this and they add a little crunch.  Serve over rice for the full restaurant experience.