General Chang’s Chicken

A holiday tradition is to have Chinese food and go to the movies on Christmas Day.  This year, I was inspired to take a crack at one of the most popular dishes, General Tso’s Chicken.  Since I’ve been doing the gluten free thing, I took to my trusty cookbook (Artisanal Gluten Free Cookbook by Peter and Kelli Bronski) to find an alternative to the (usually flour fried) delicious dish.  This is my attempt at their masterpiece.

General Chang’s Chicken

(Inspiration on page 193 of this marvelous cookbook)

Ingredients

Olive Oil
4 boneless, skinless chicken breasts, cubed
Cornstarch
3 garlic cloves, minced [I used some preminced garlic]
1/2 cup orange juice
1/2 cup cranberry juice
2 tablespoons rice vinegar
3 tablespoons GF soy sauce
3 tablespoons packed brown sugar
1 to 2 tablespoons ground chili paste (depending on heat preference)
2 tablespoons water
Snap peas
Chopped scallions for garnish
Rice (for serving)

photo 1a

Preparation

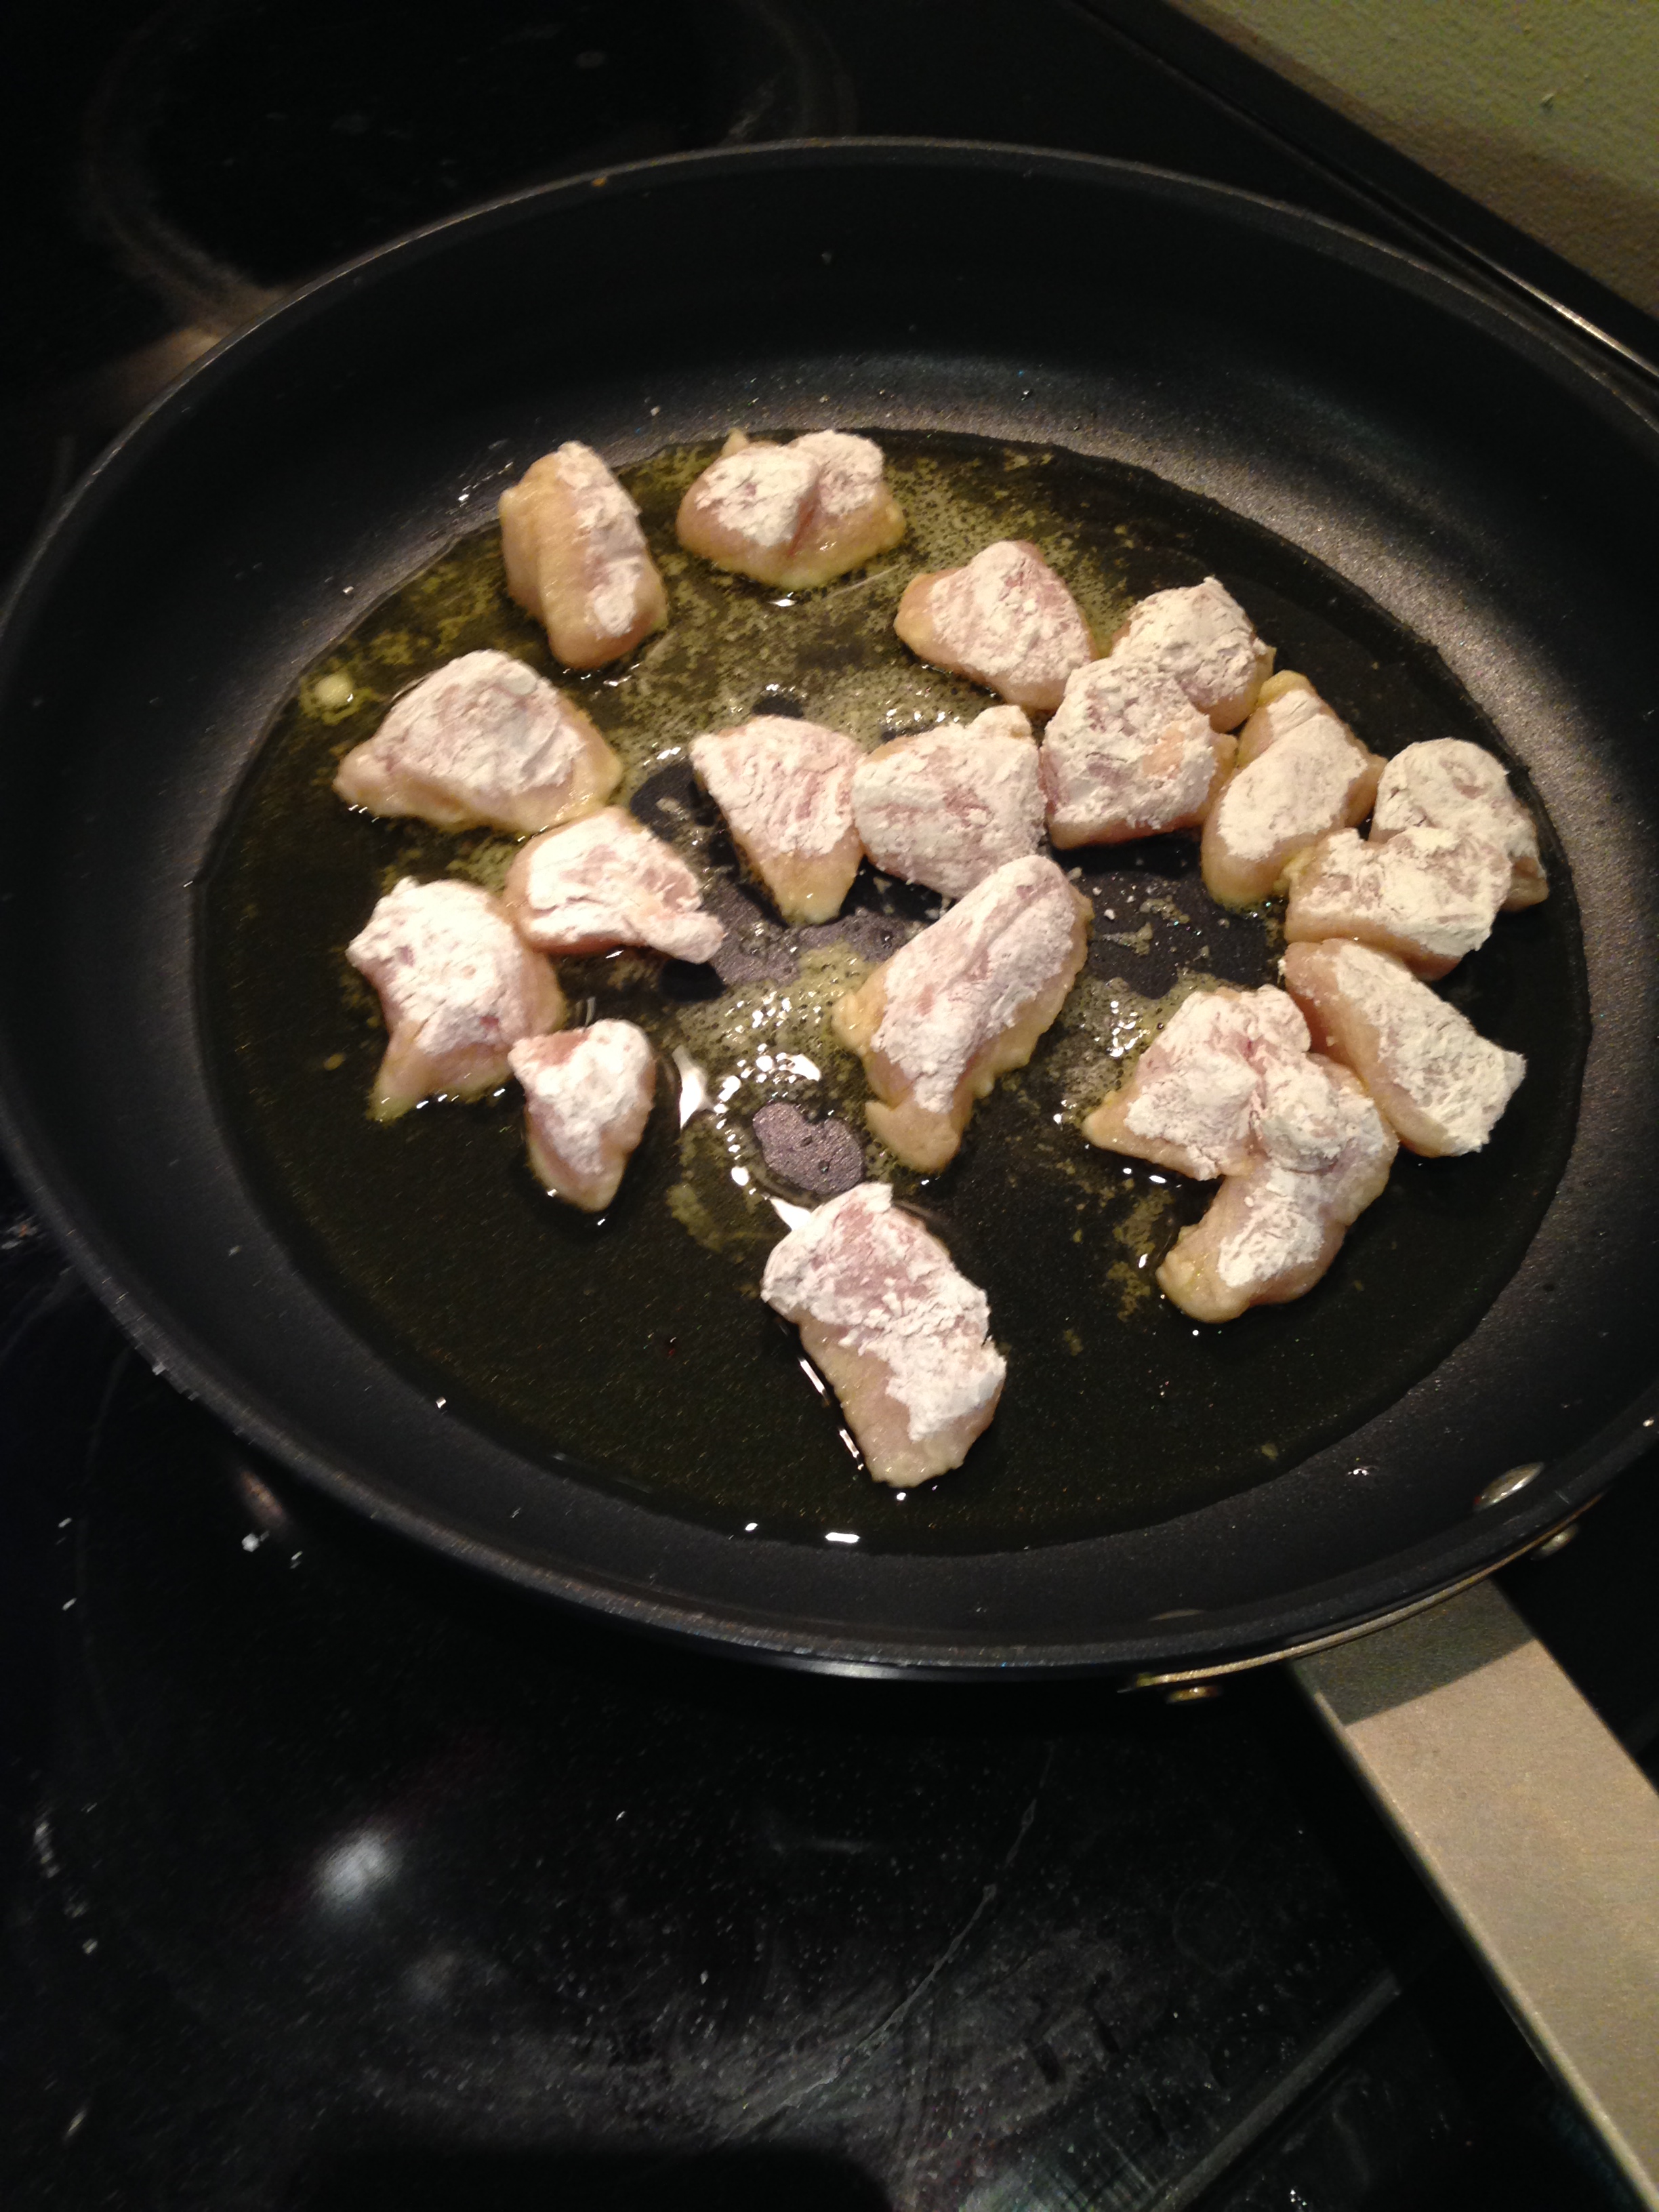
1.  Heat 4 tablespoons of olive oil in a skillet over high heat.

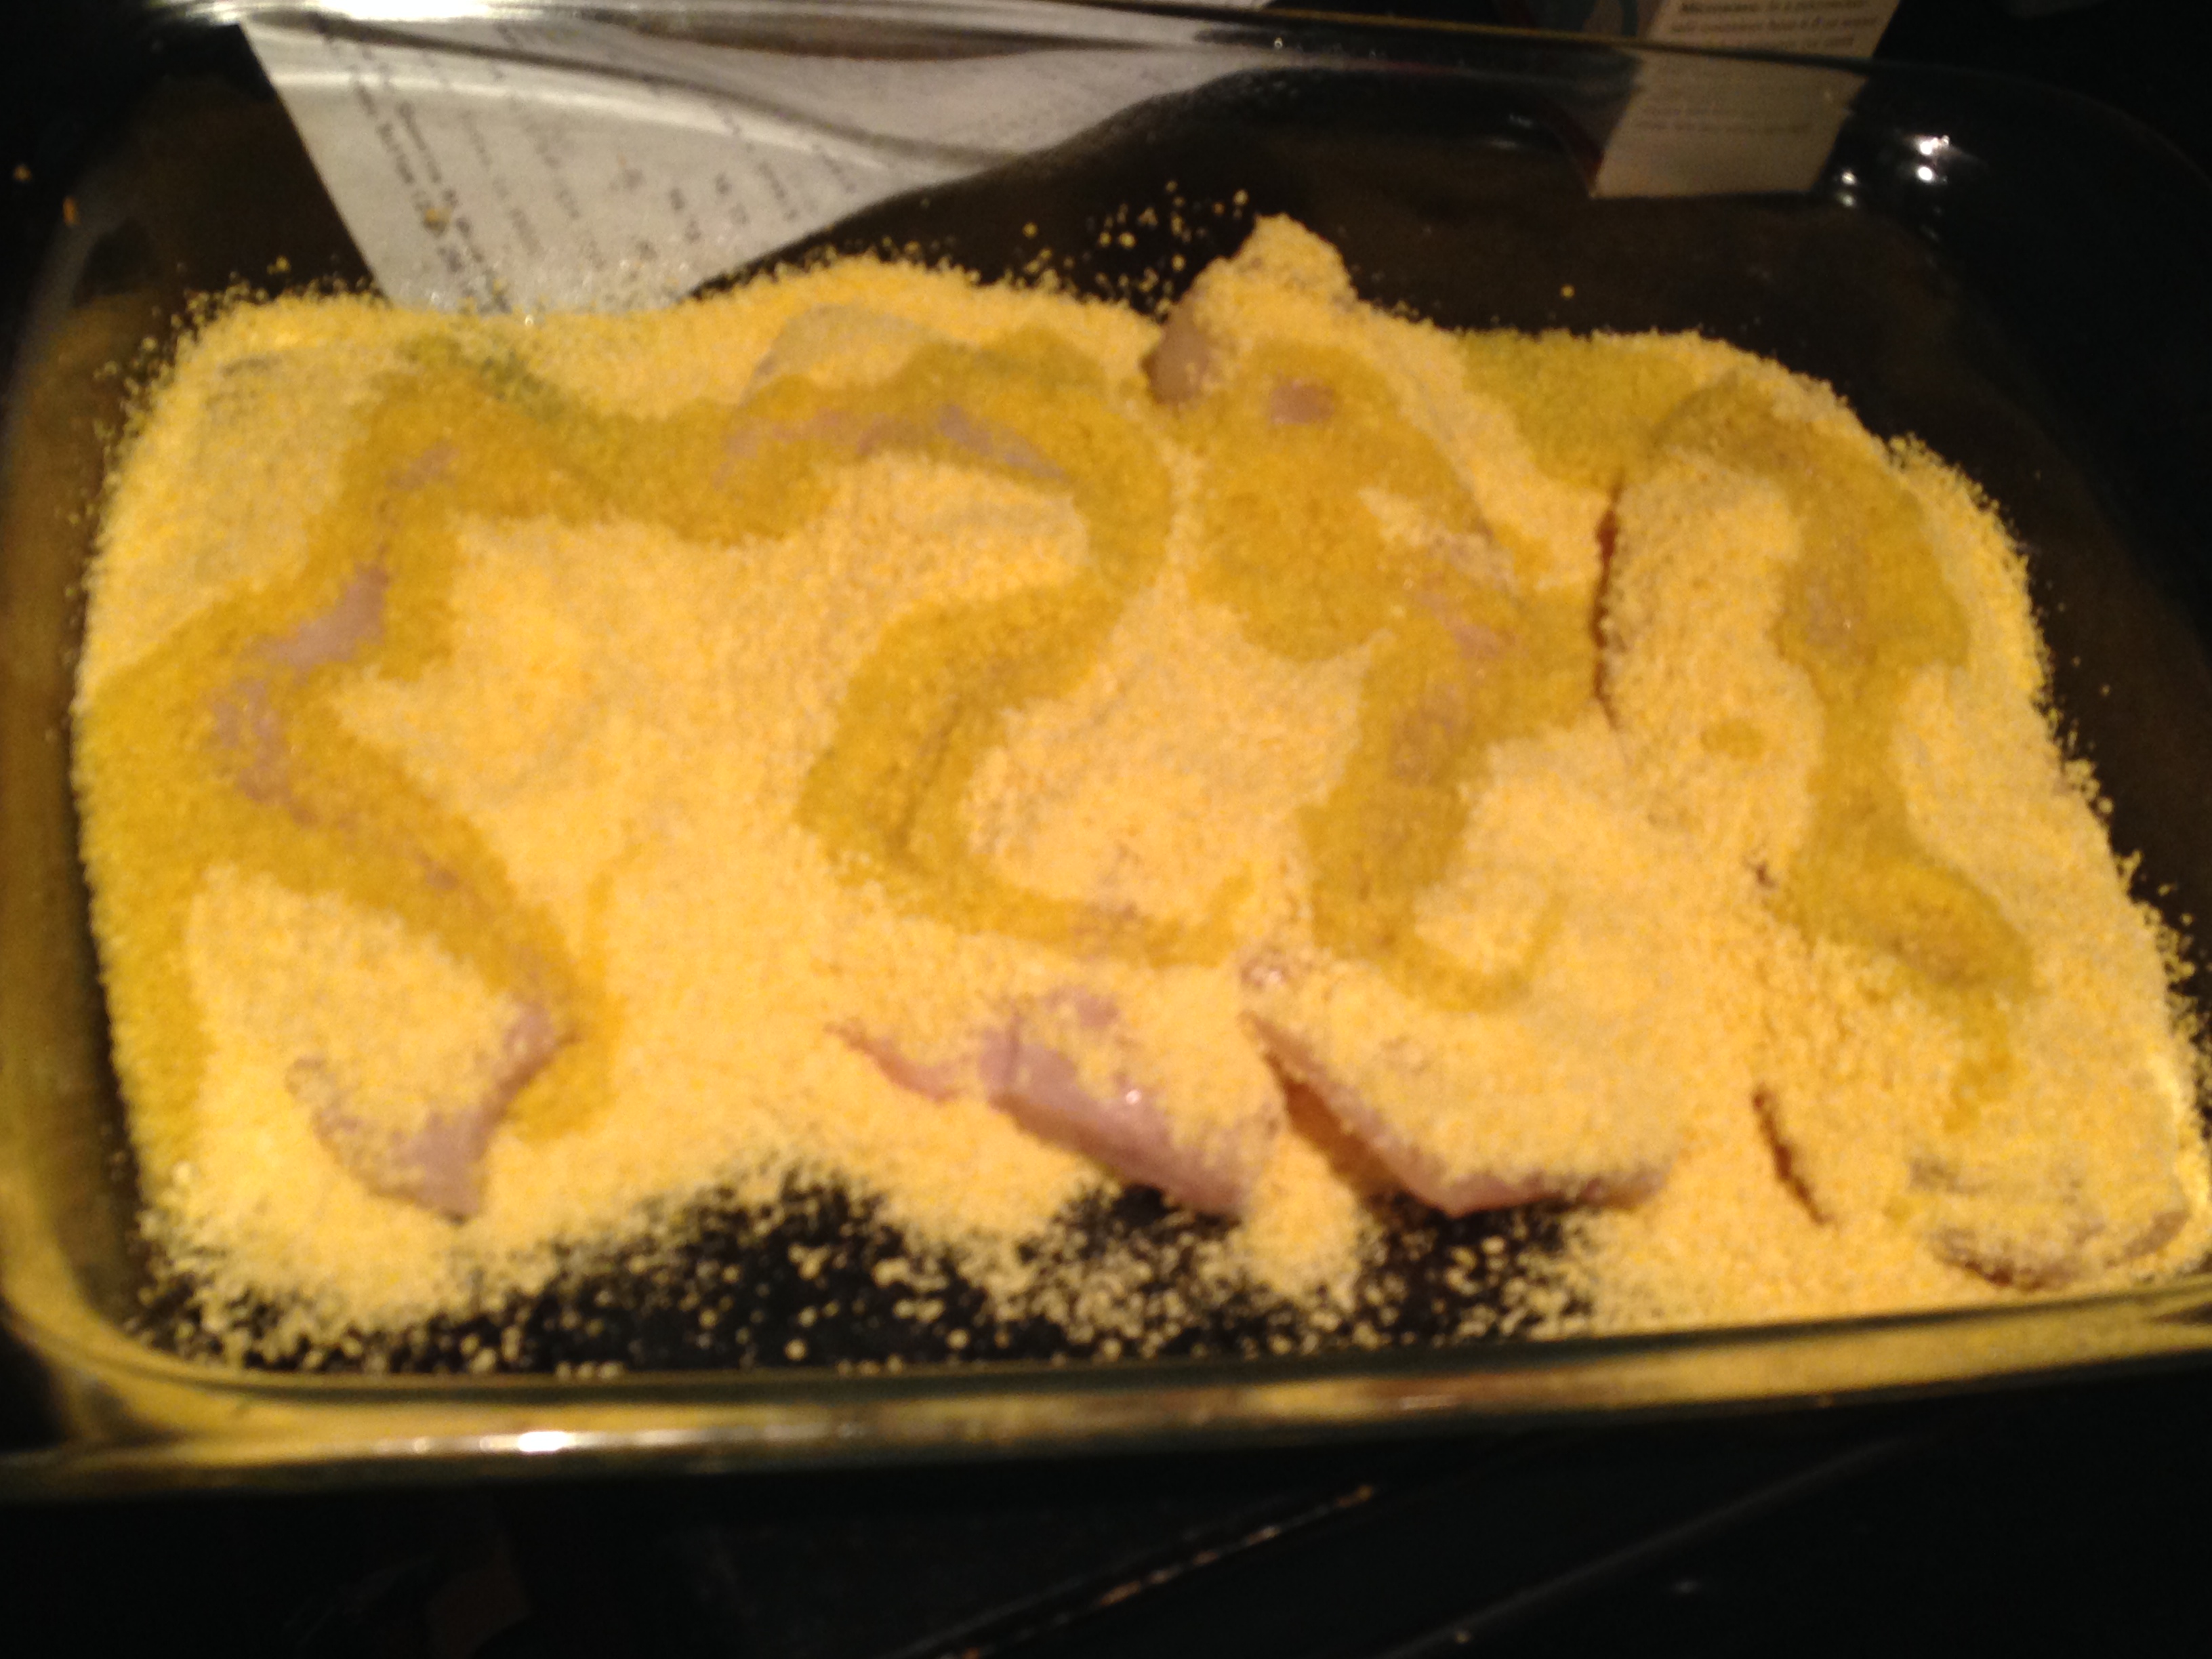
2.  Coat the cubed chicken breasts with cornstarch.

photo 3a

3.  Add the chicken to the oil and cook, turning, until cooked through, lightly browned and crispy on all sides.

photo 4aphoto 5

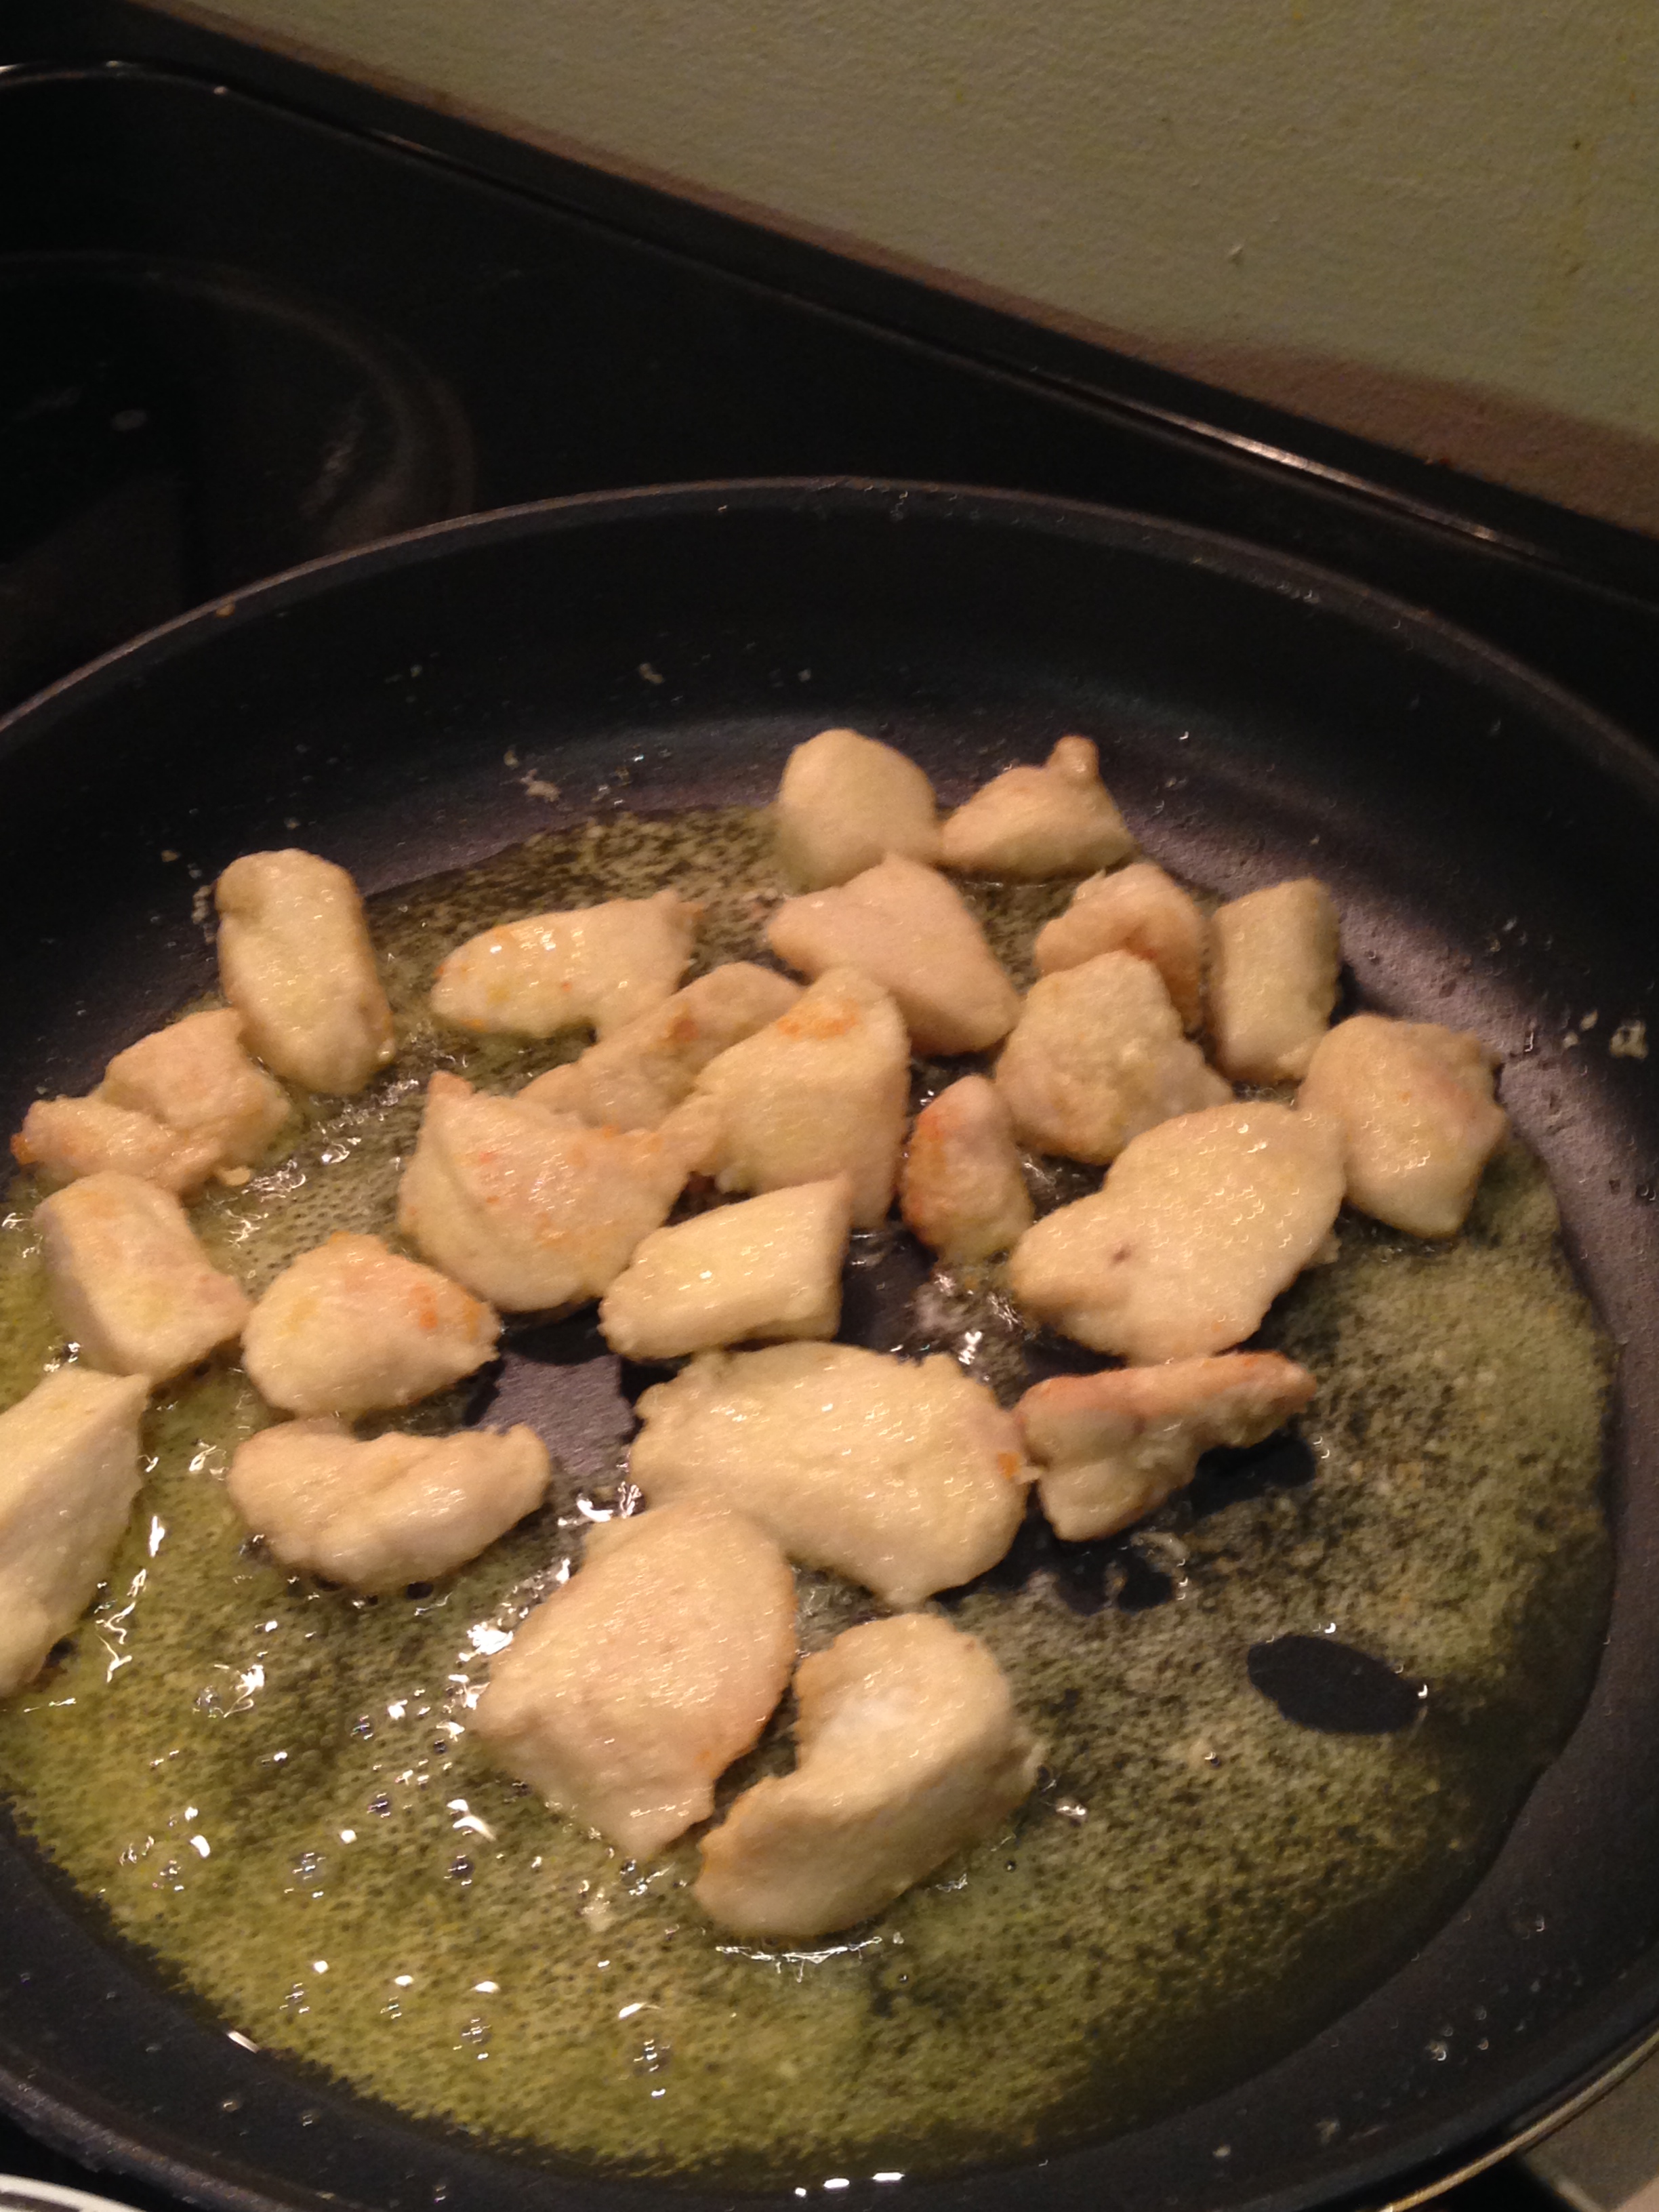
4.  Transfer cooked chicken to a bowl lined with paper towels.

photo 1

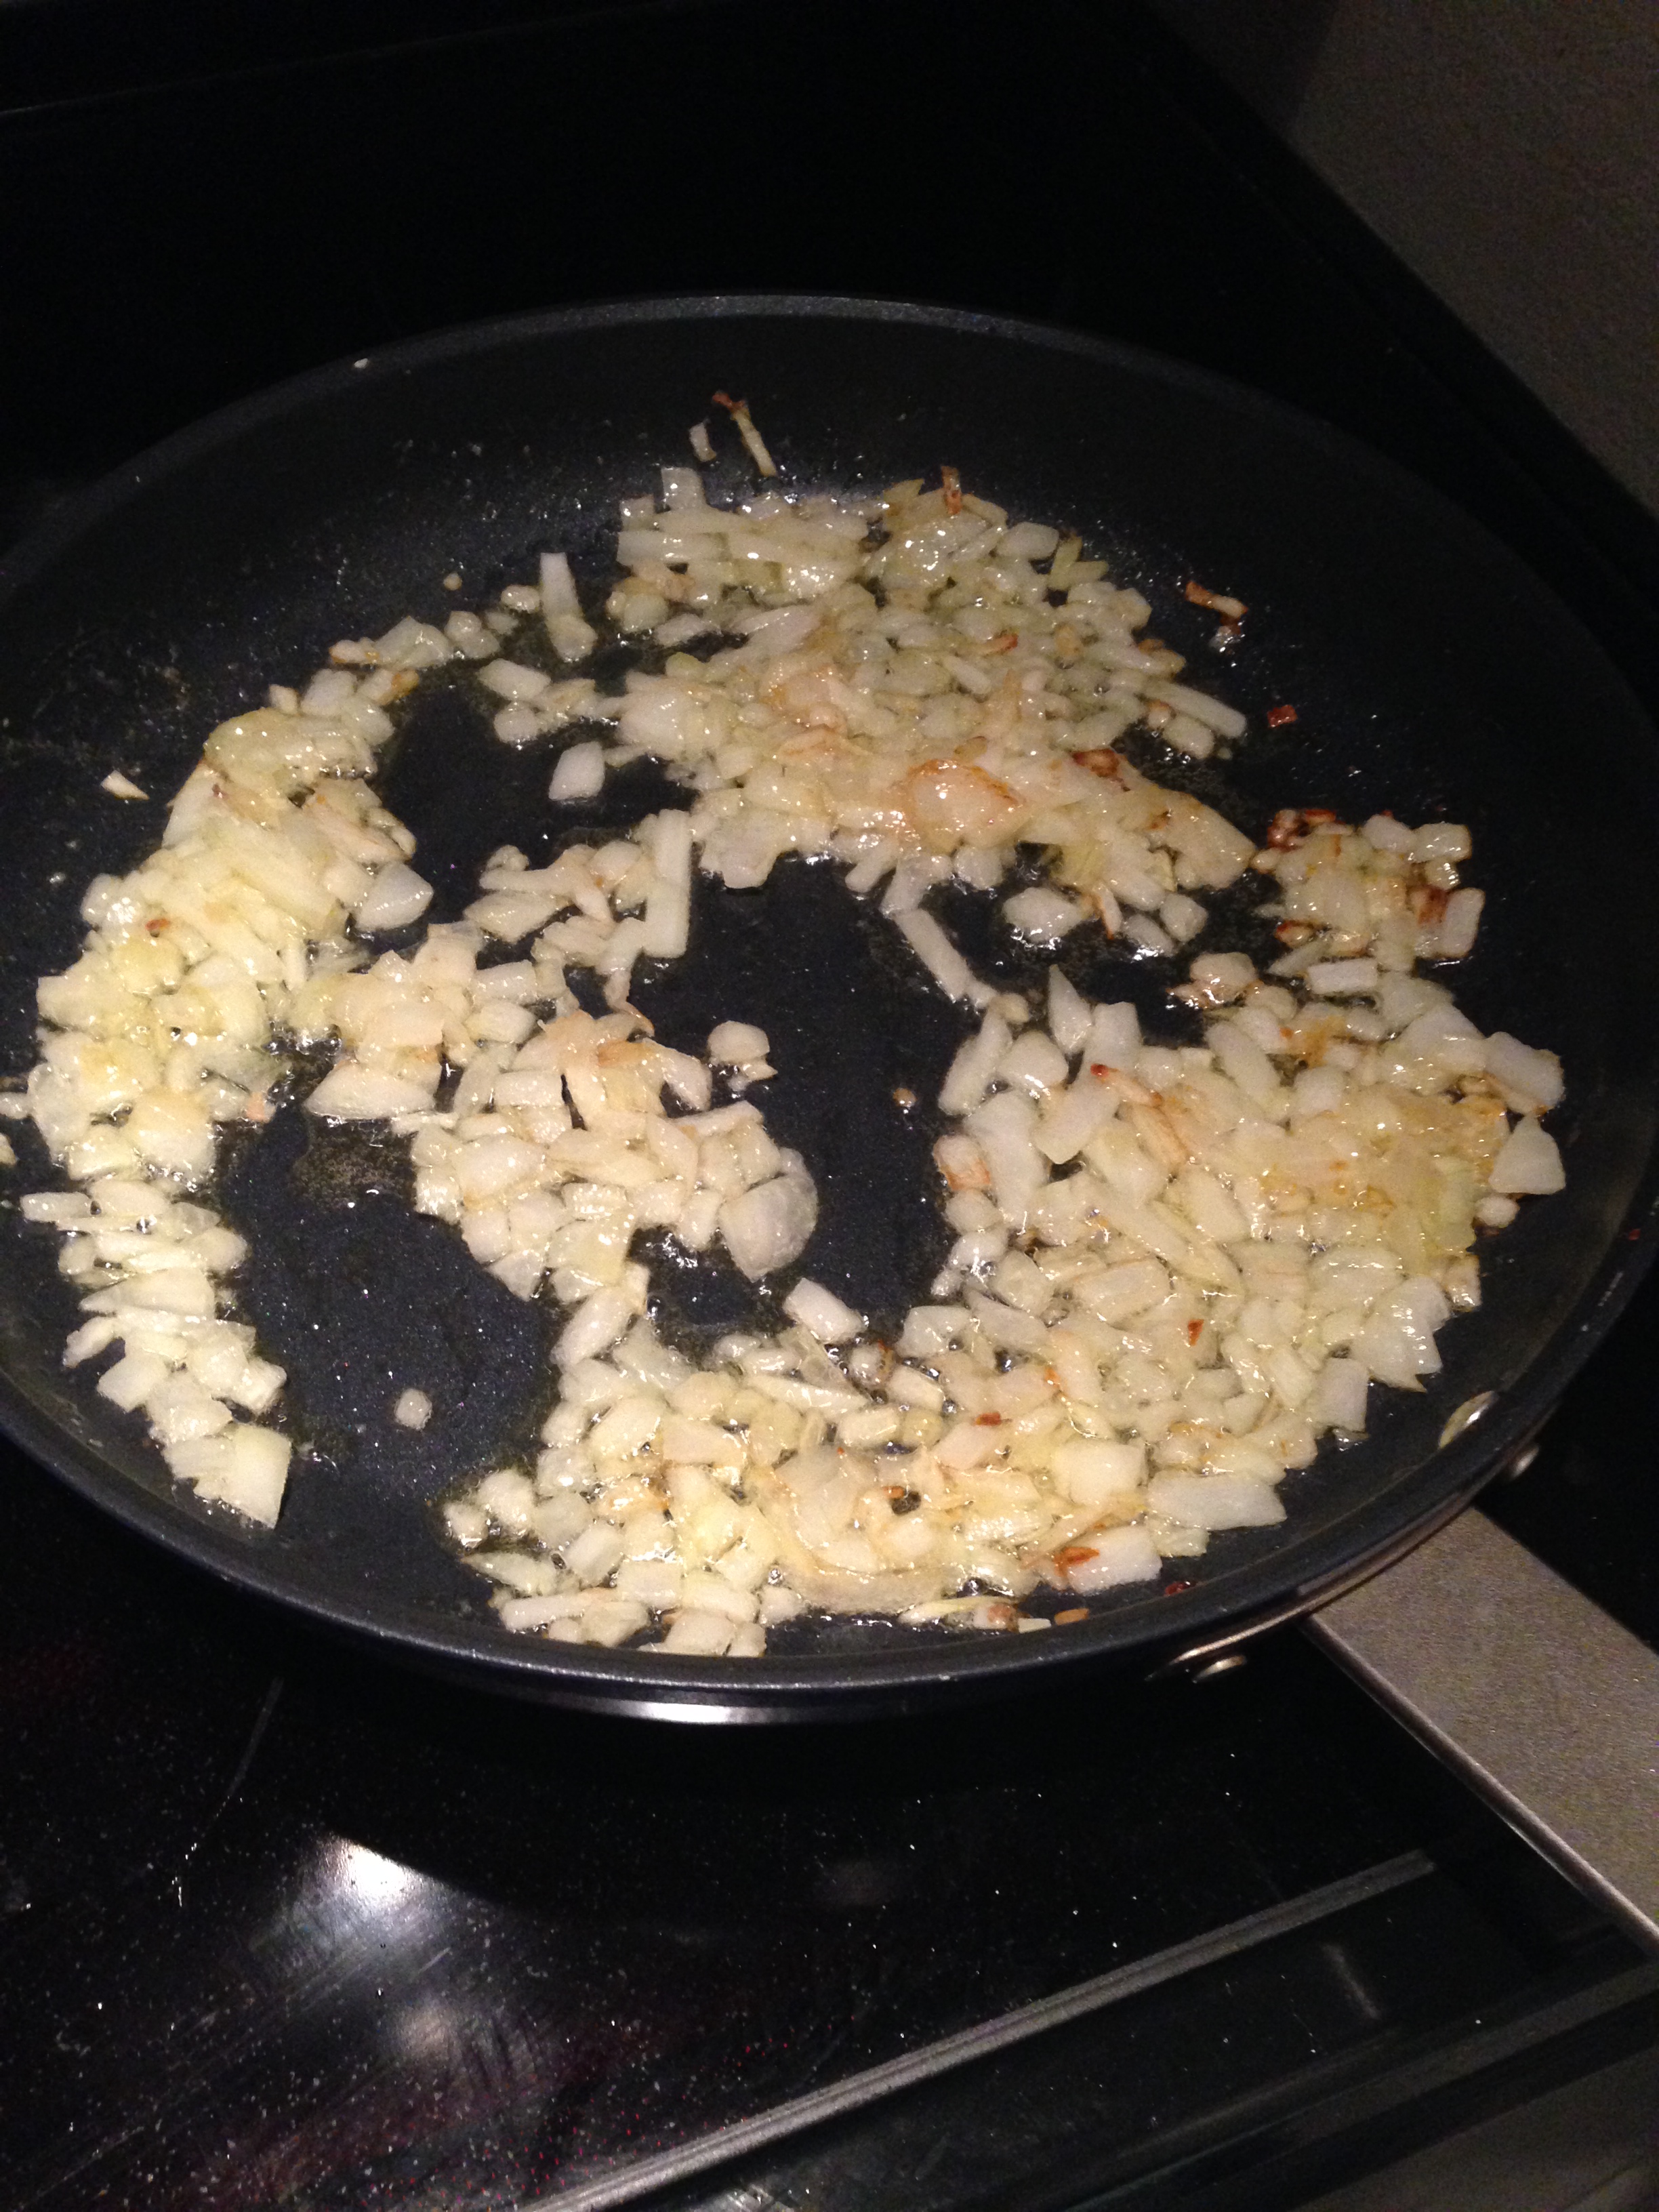
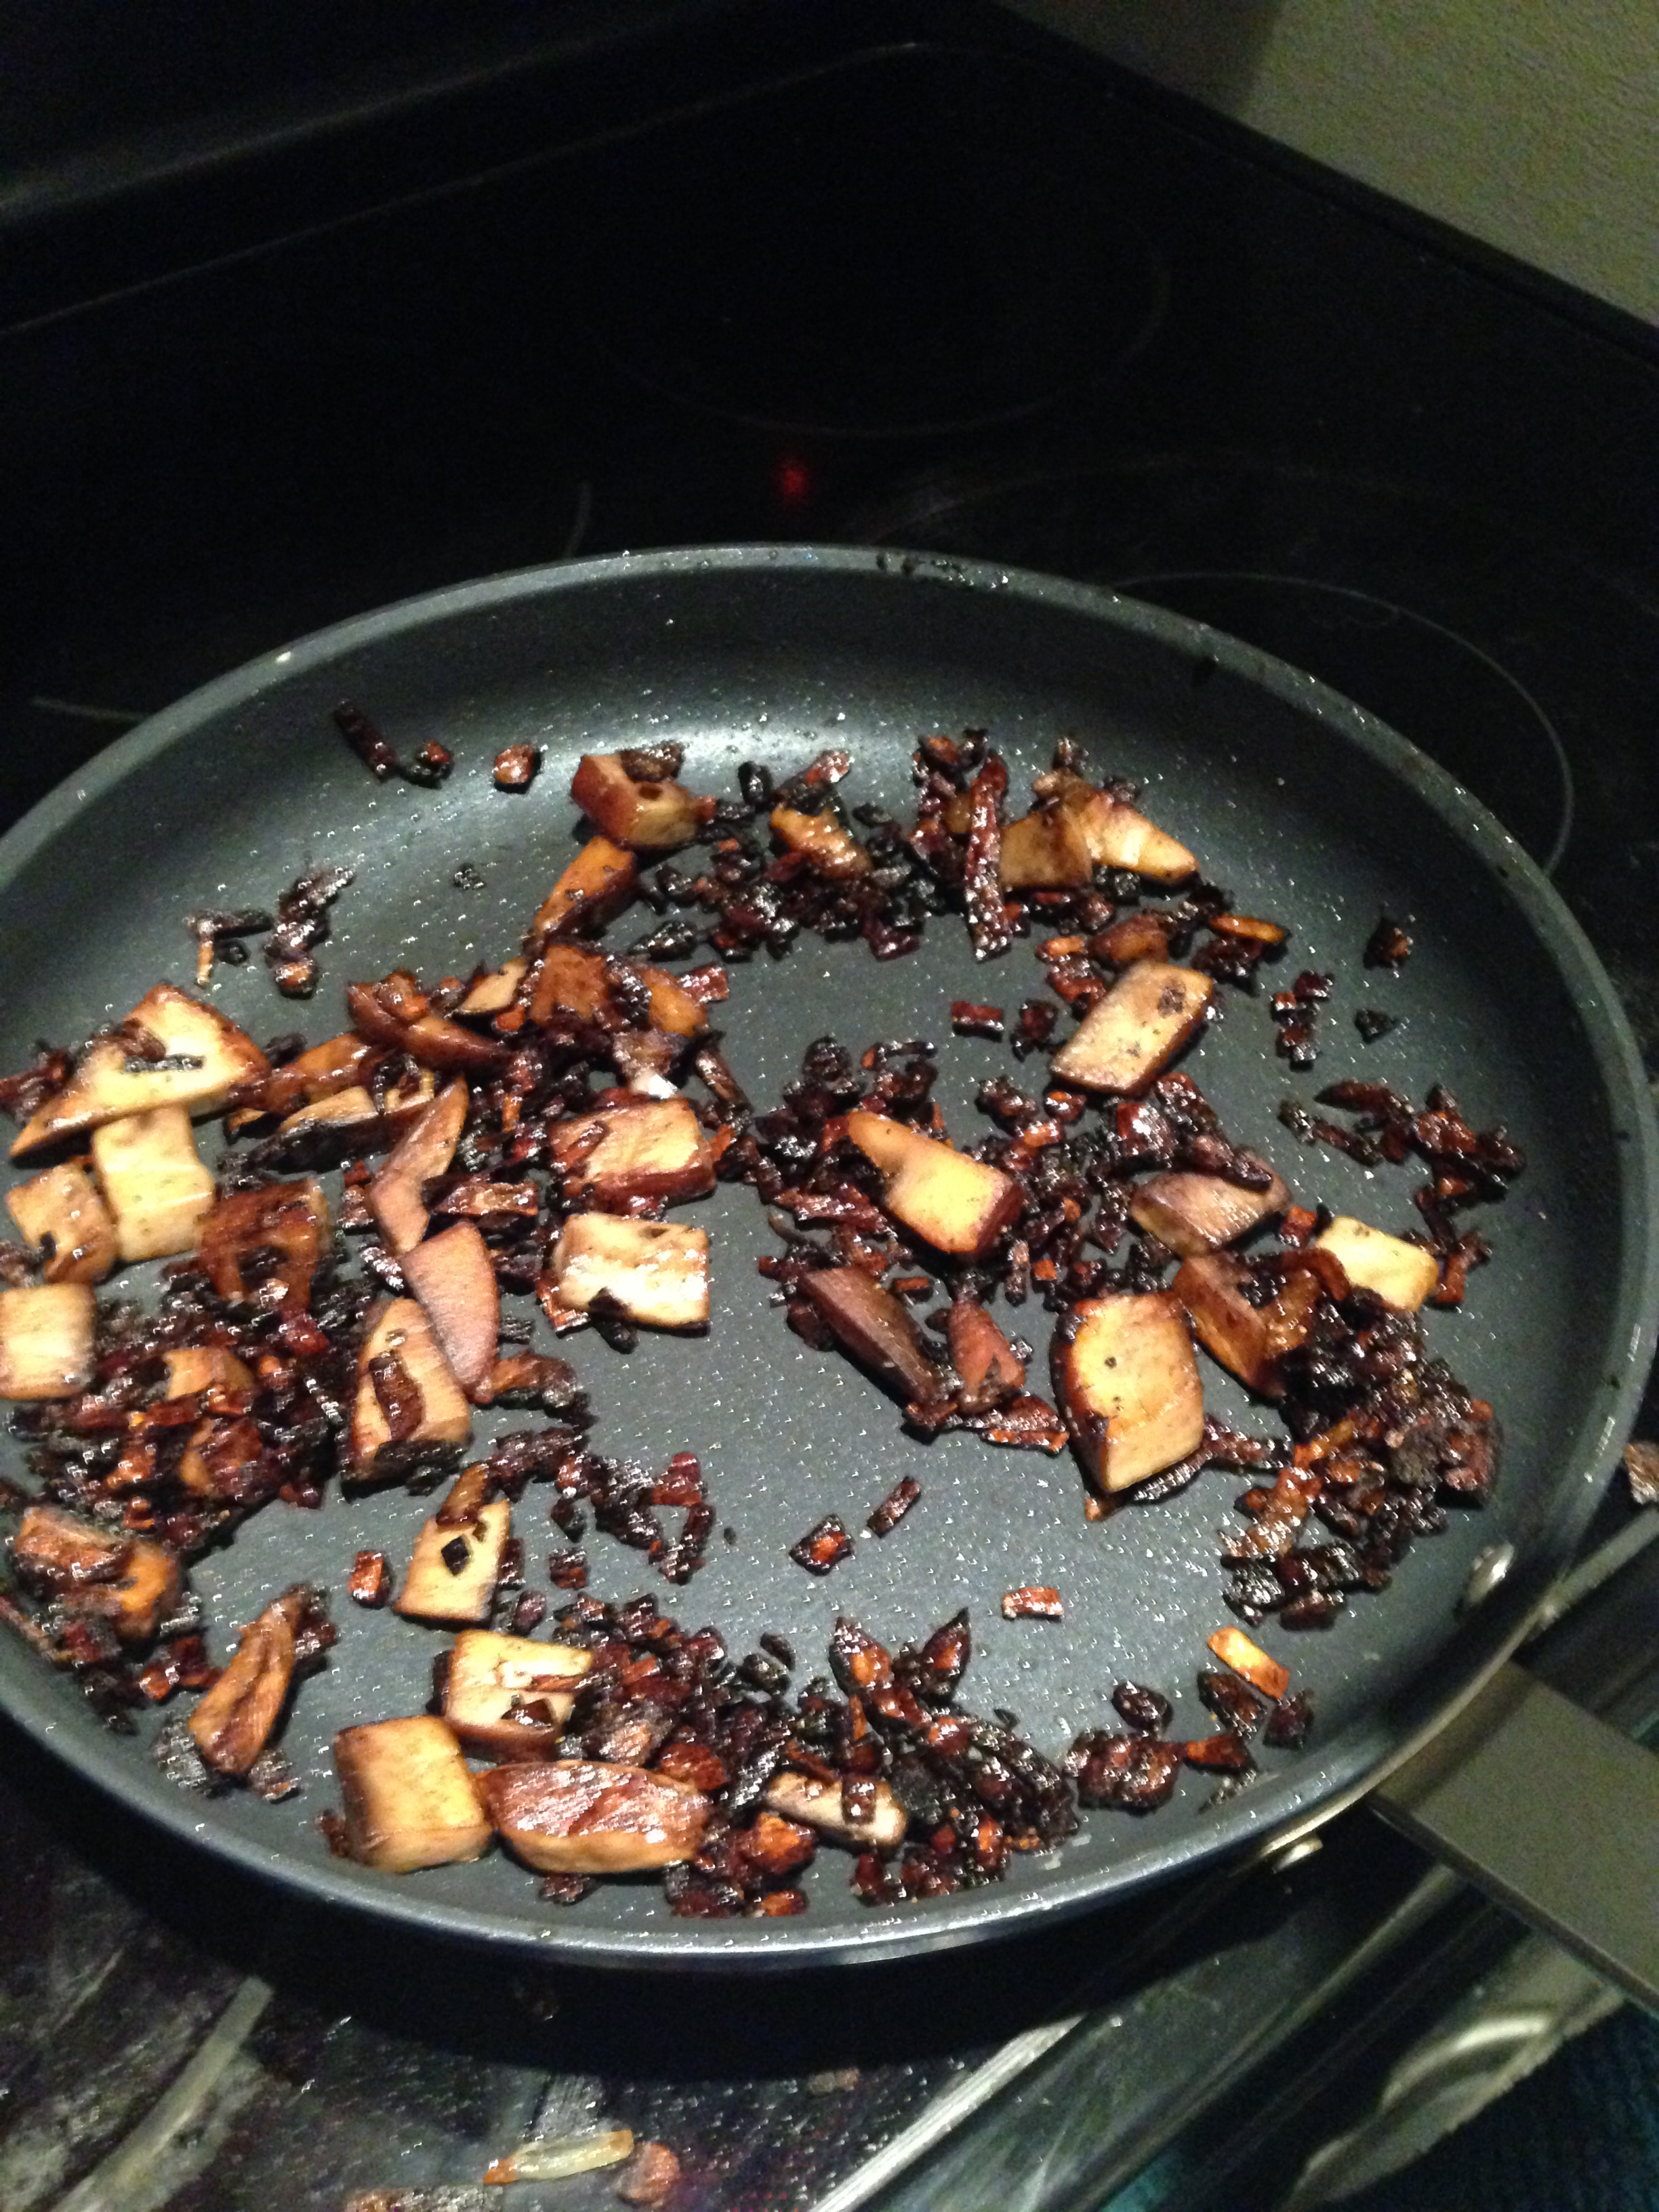
5.  Add the garlic to the remaining olive oil in the skillet and cook until fragrant.

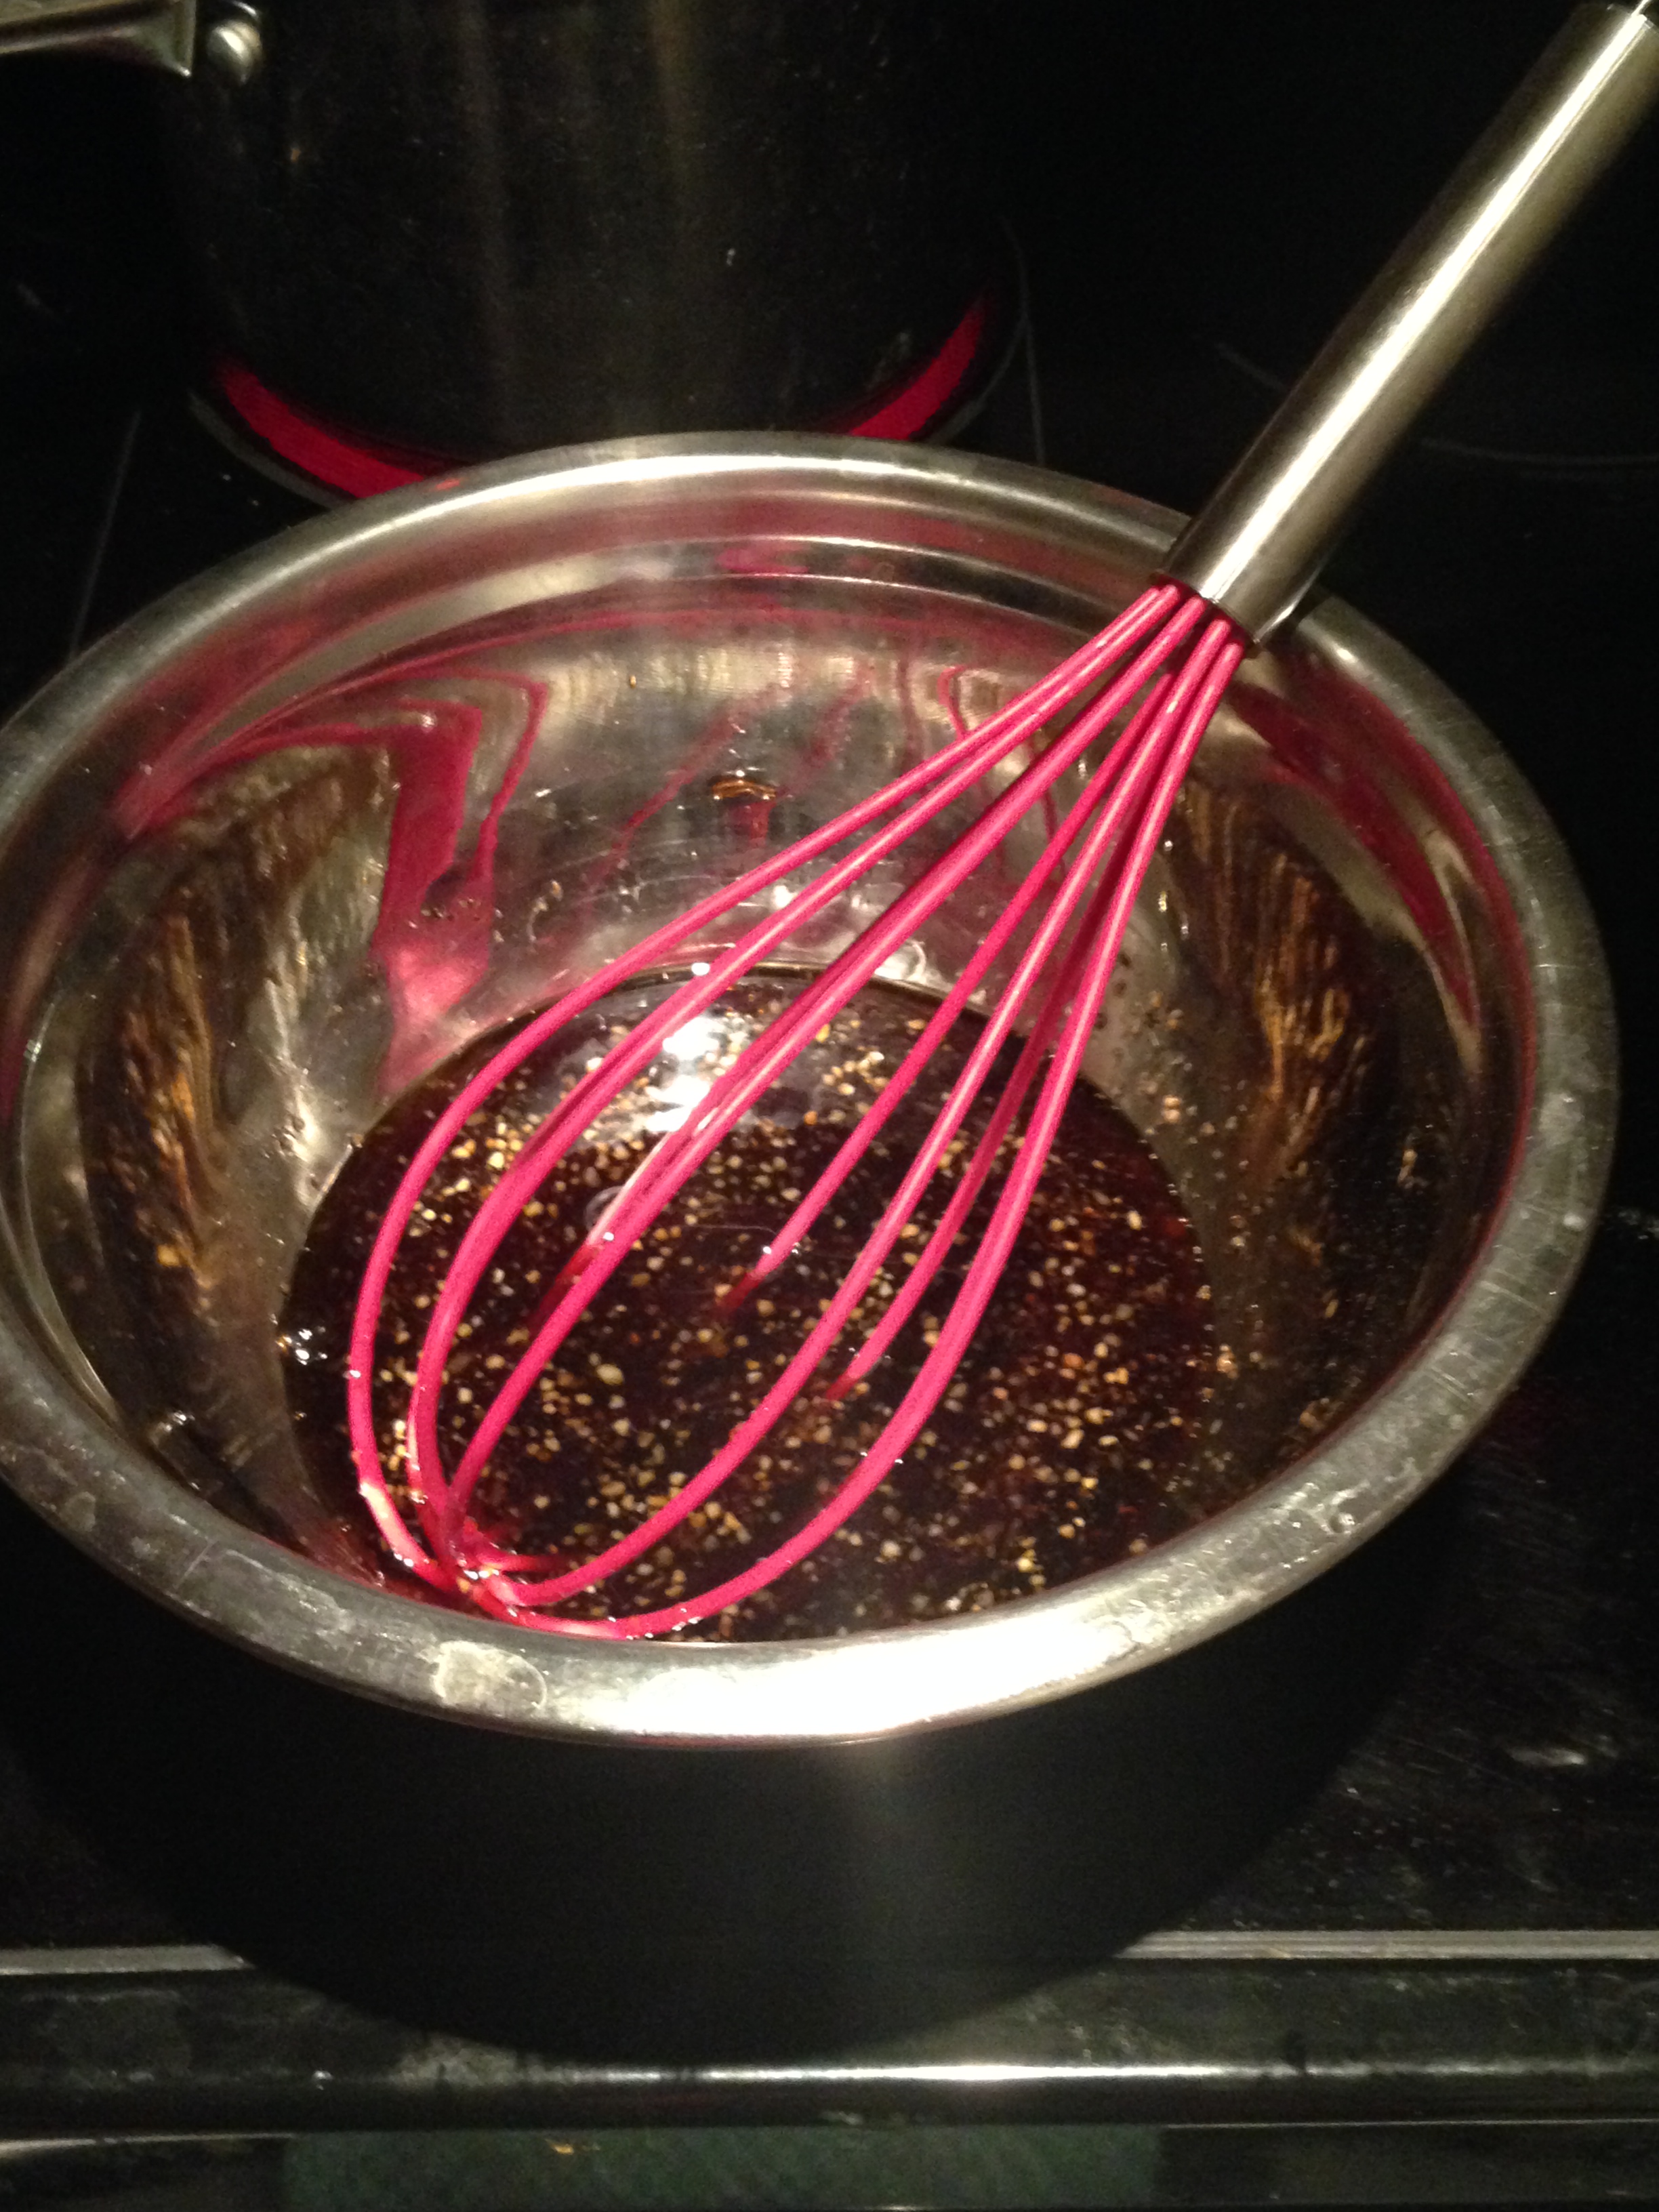
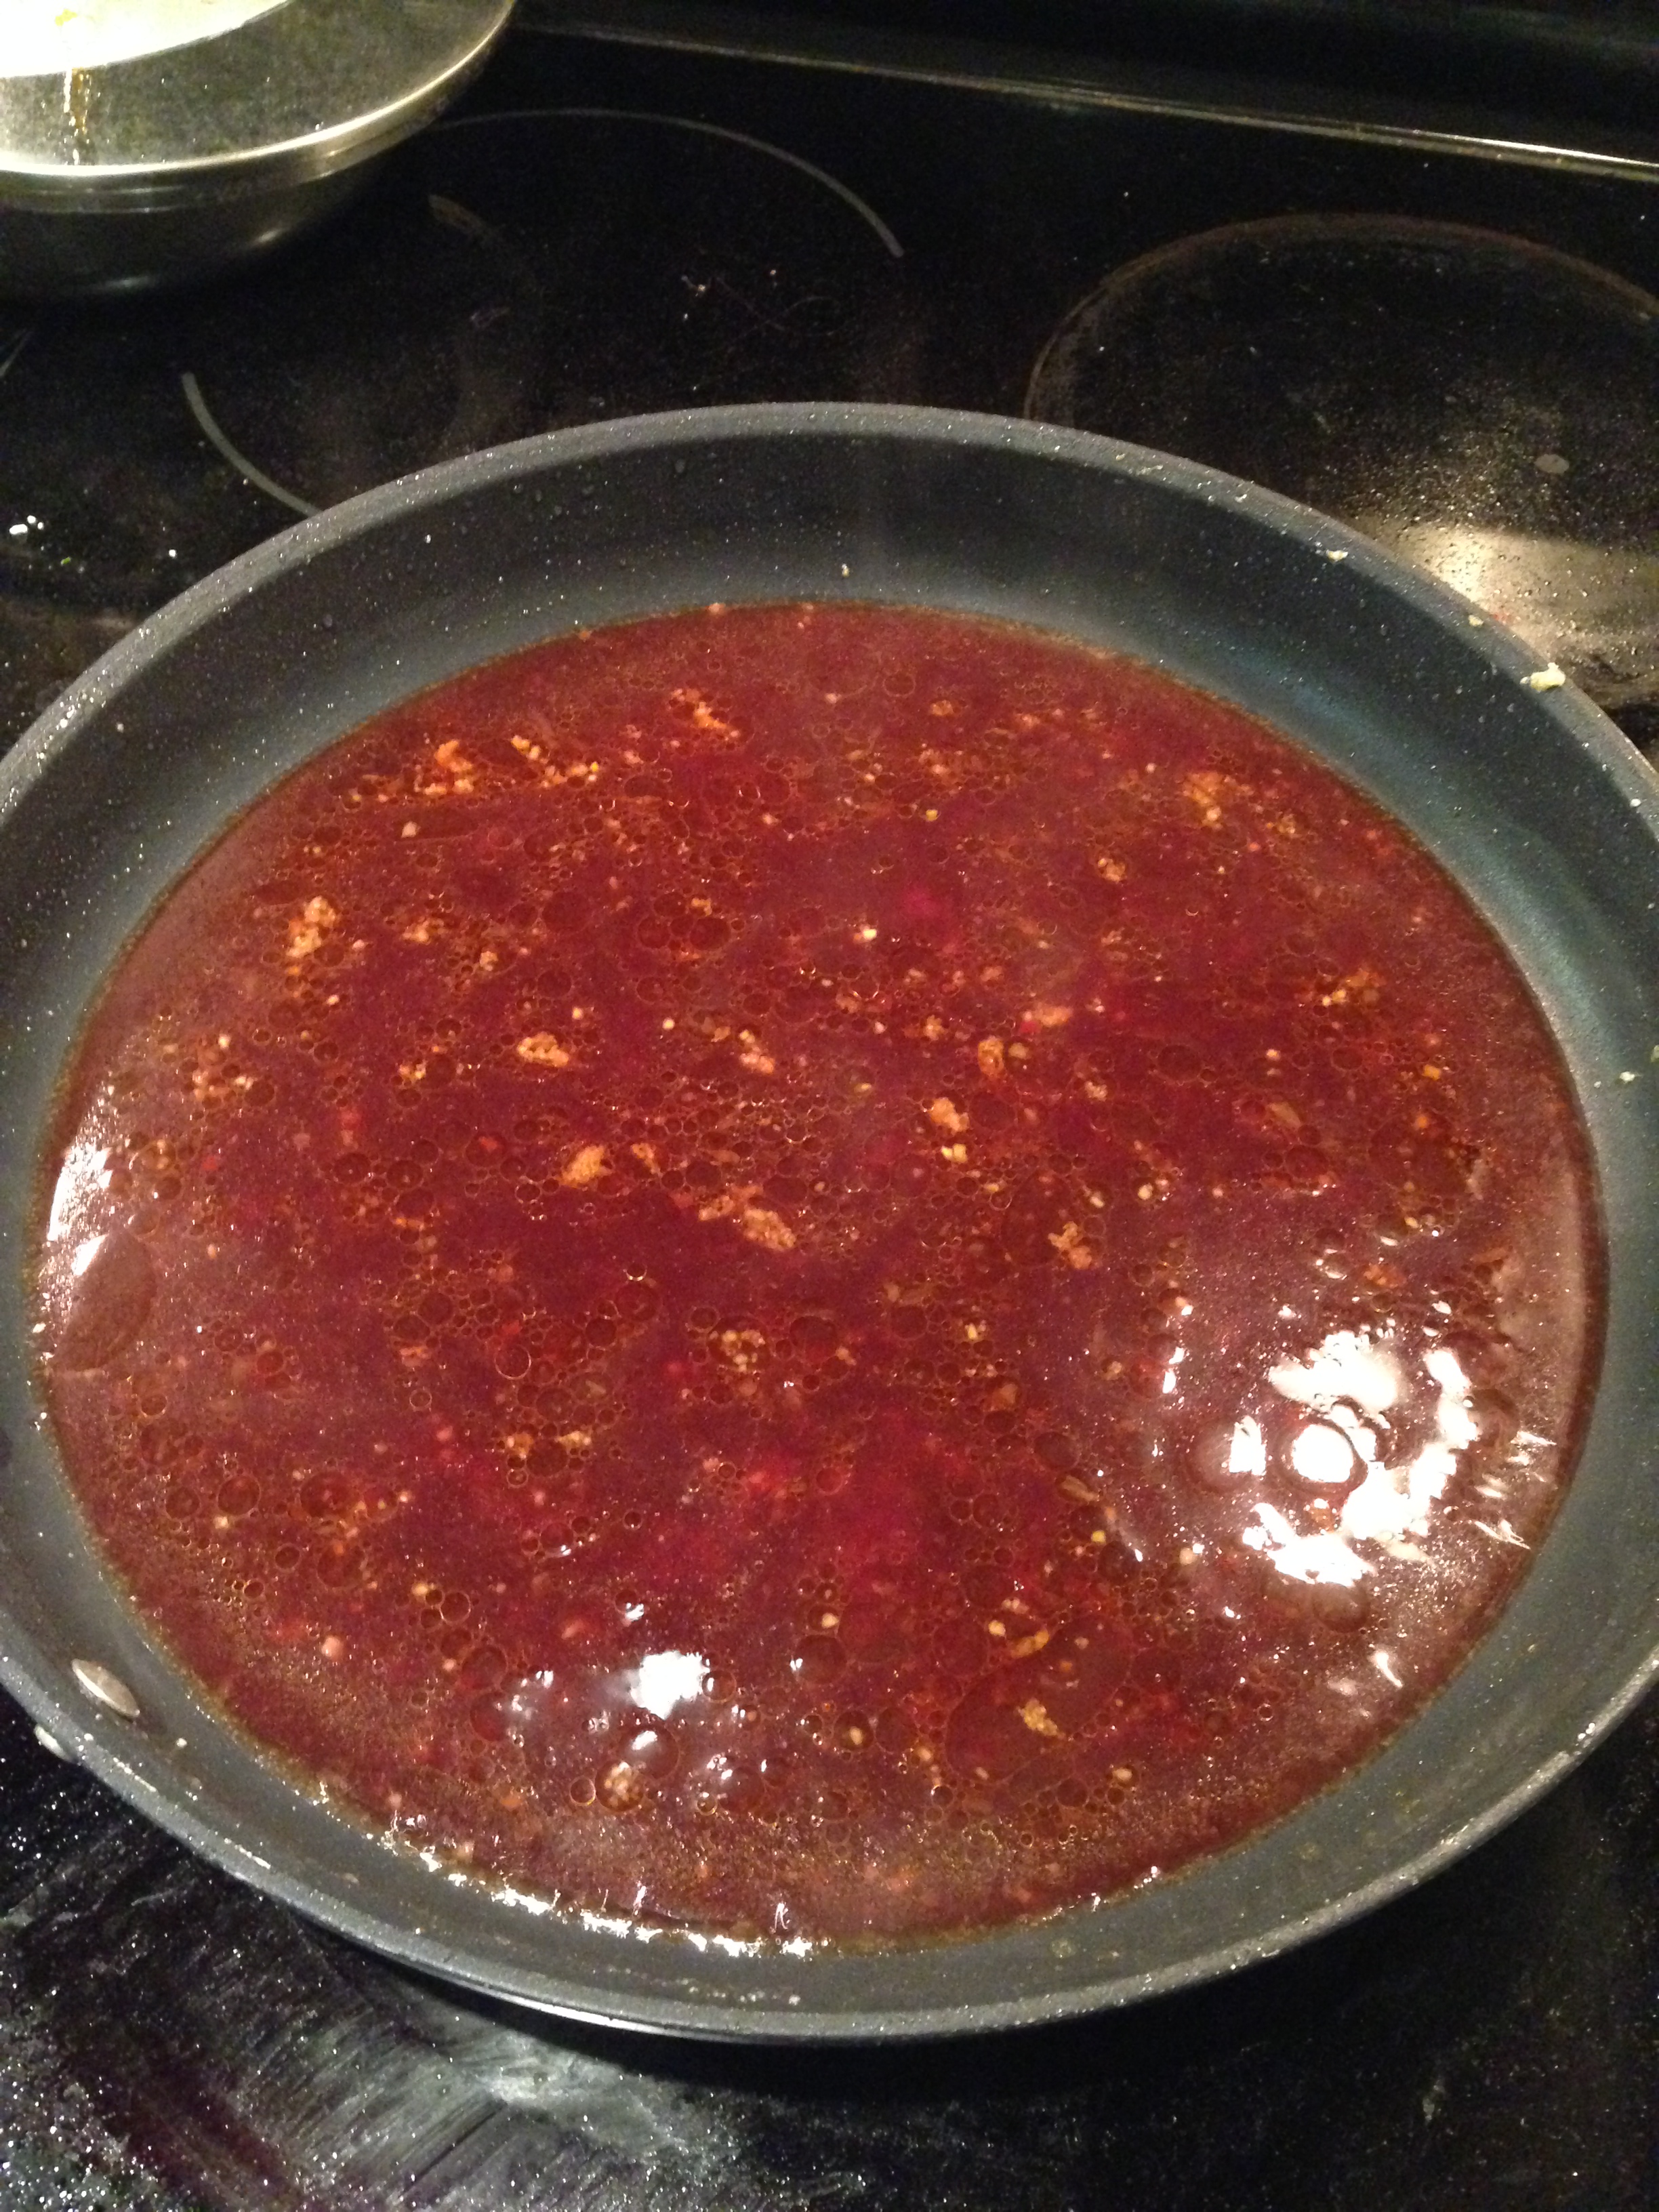
6.  Mix the orange juice, cranberry juice, rice vinegar, soy sauce, brown sugar, and chili paste and stir to mix well.

photo 2a

7.  Mix 1 tablespoon cornstarch with the water and stir into the sauce and pour into the skillet.  Bring to a boil.

photo 3

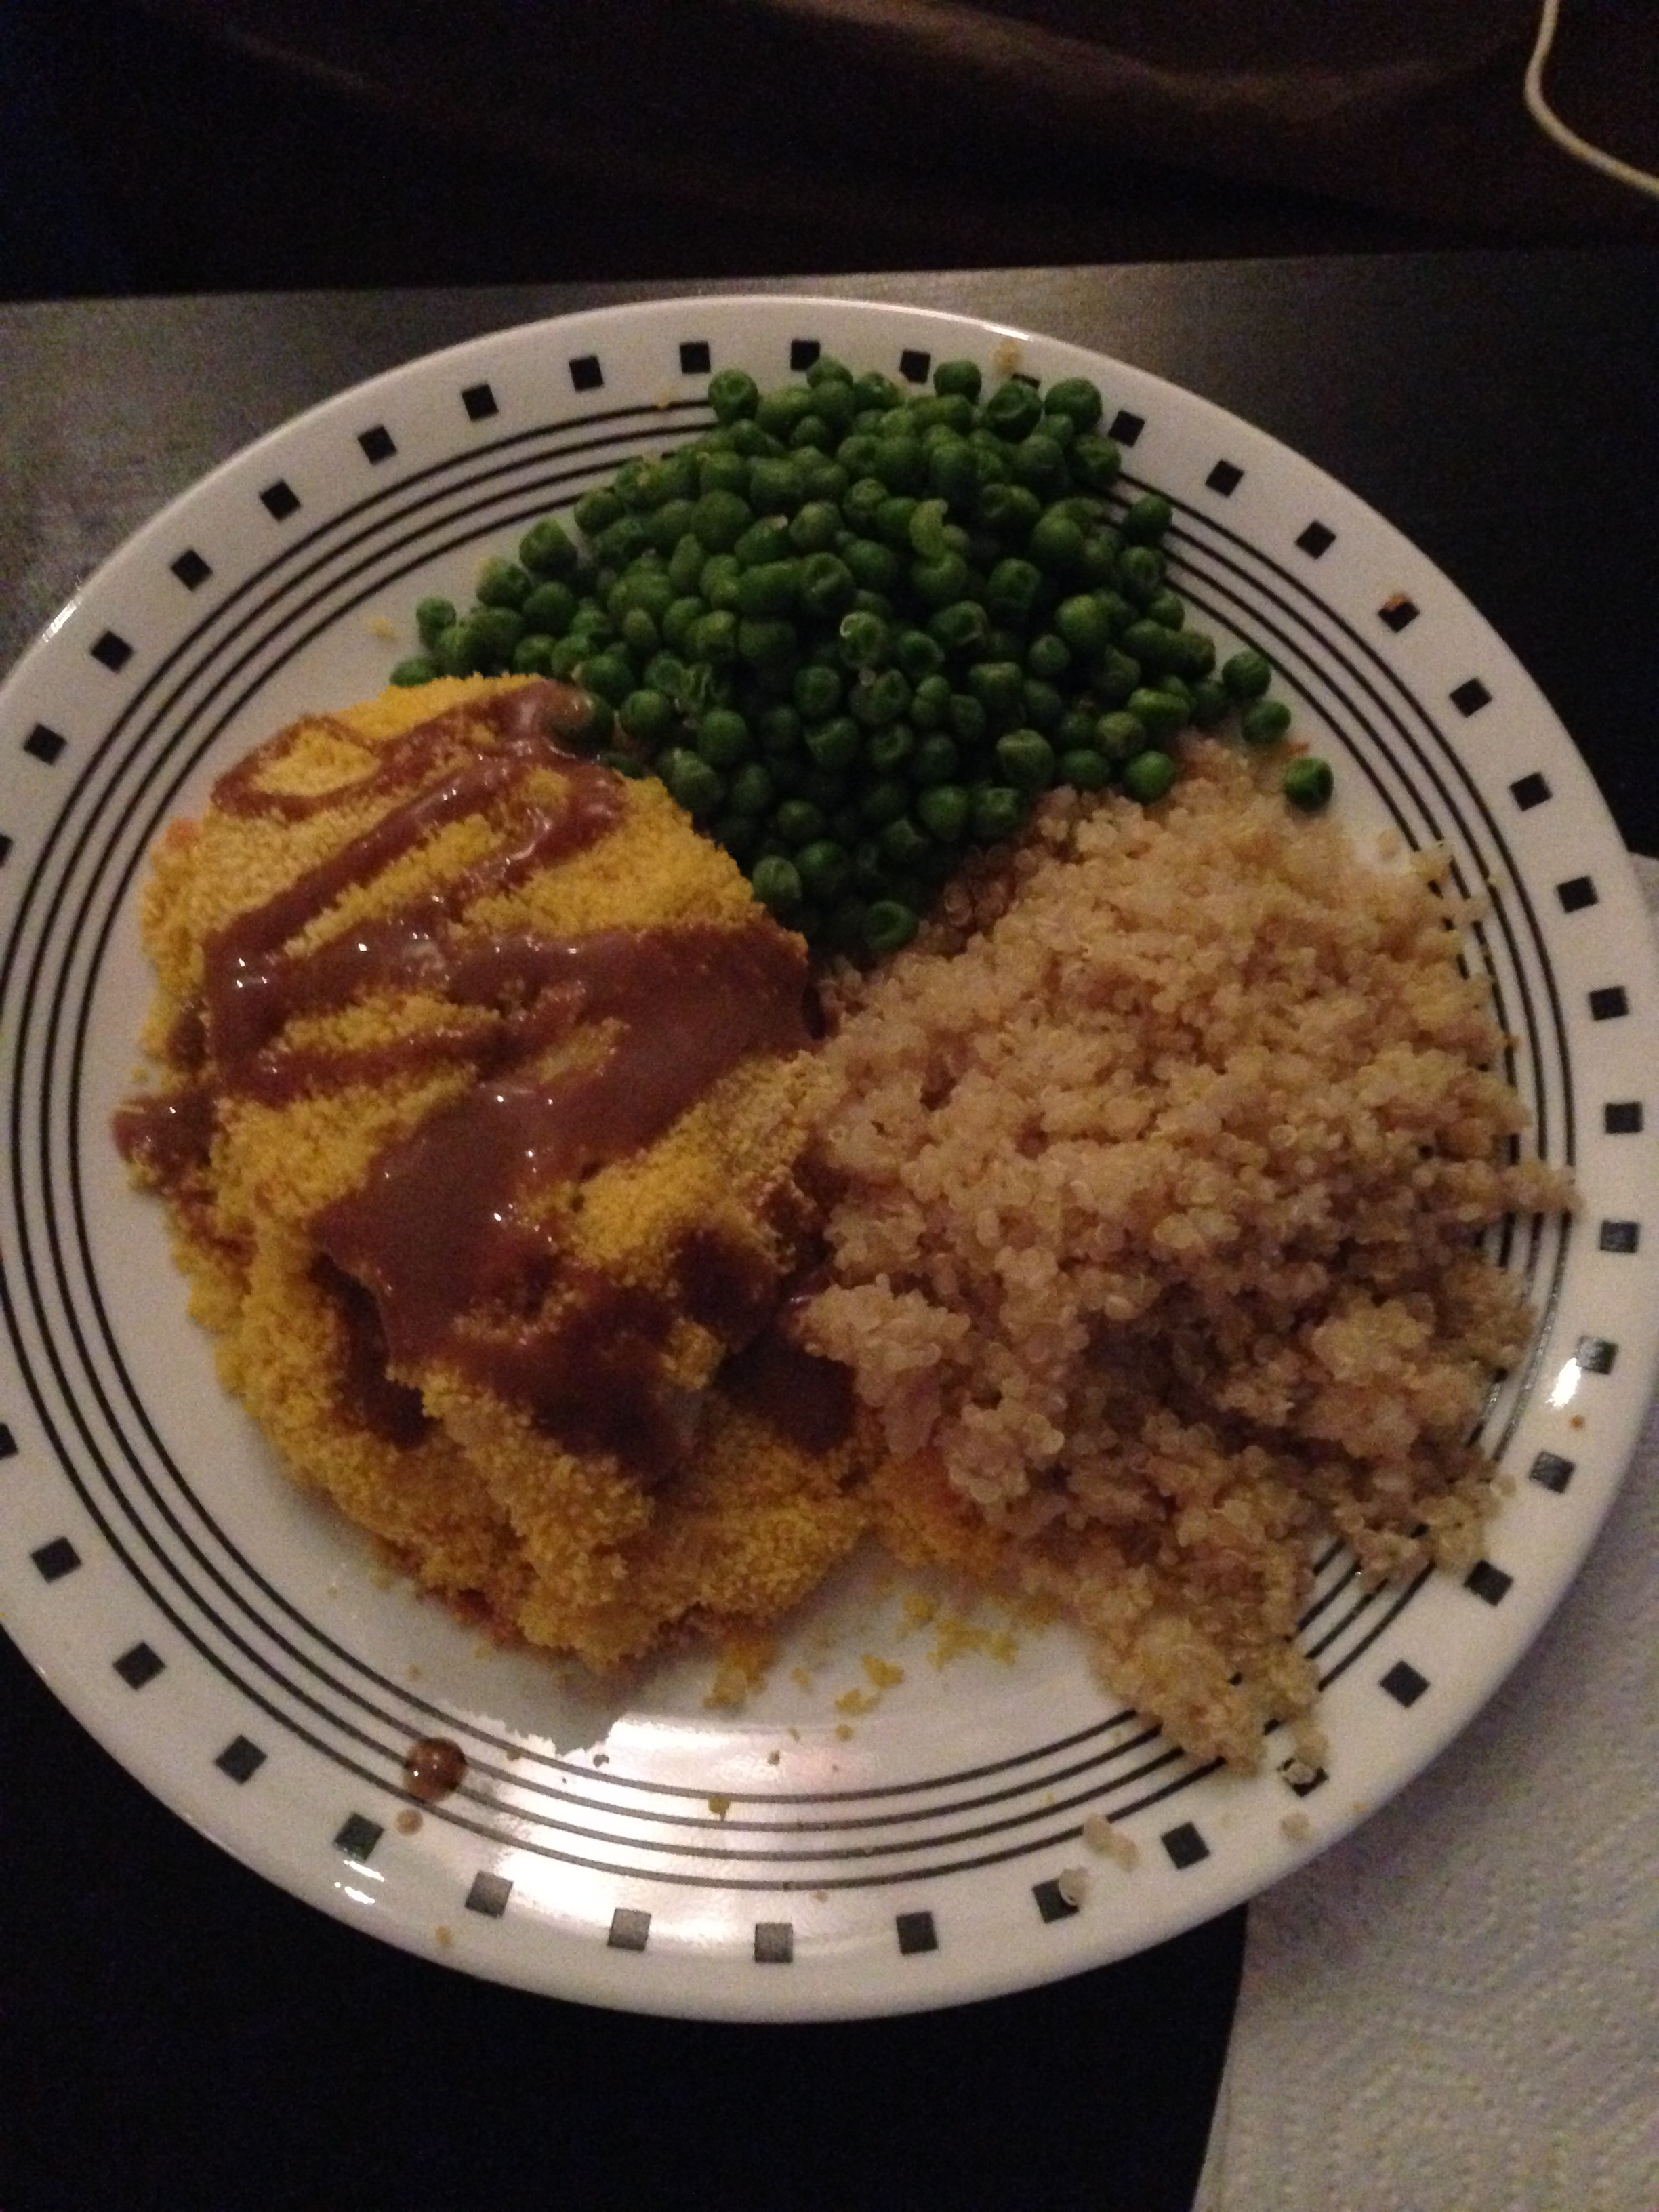
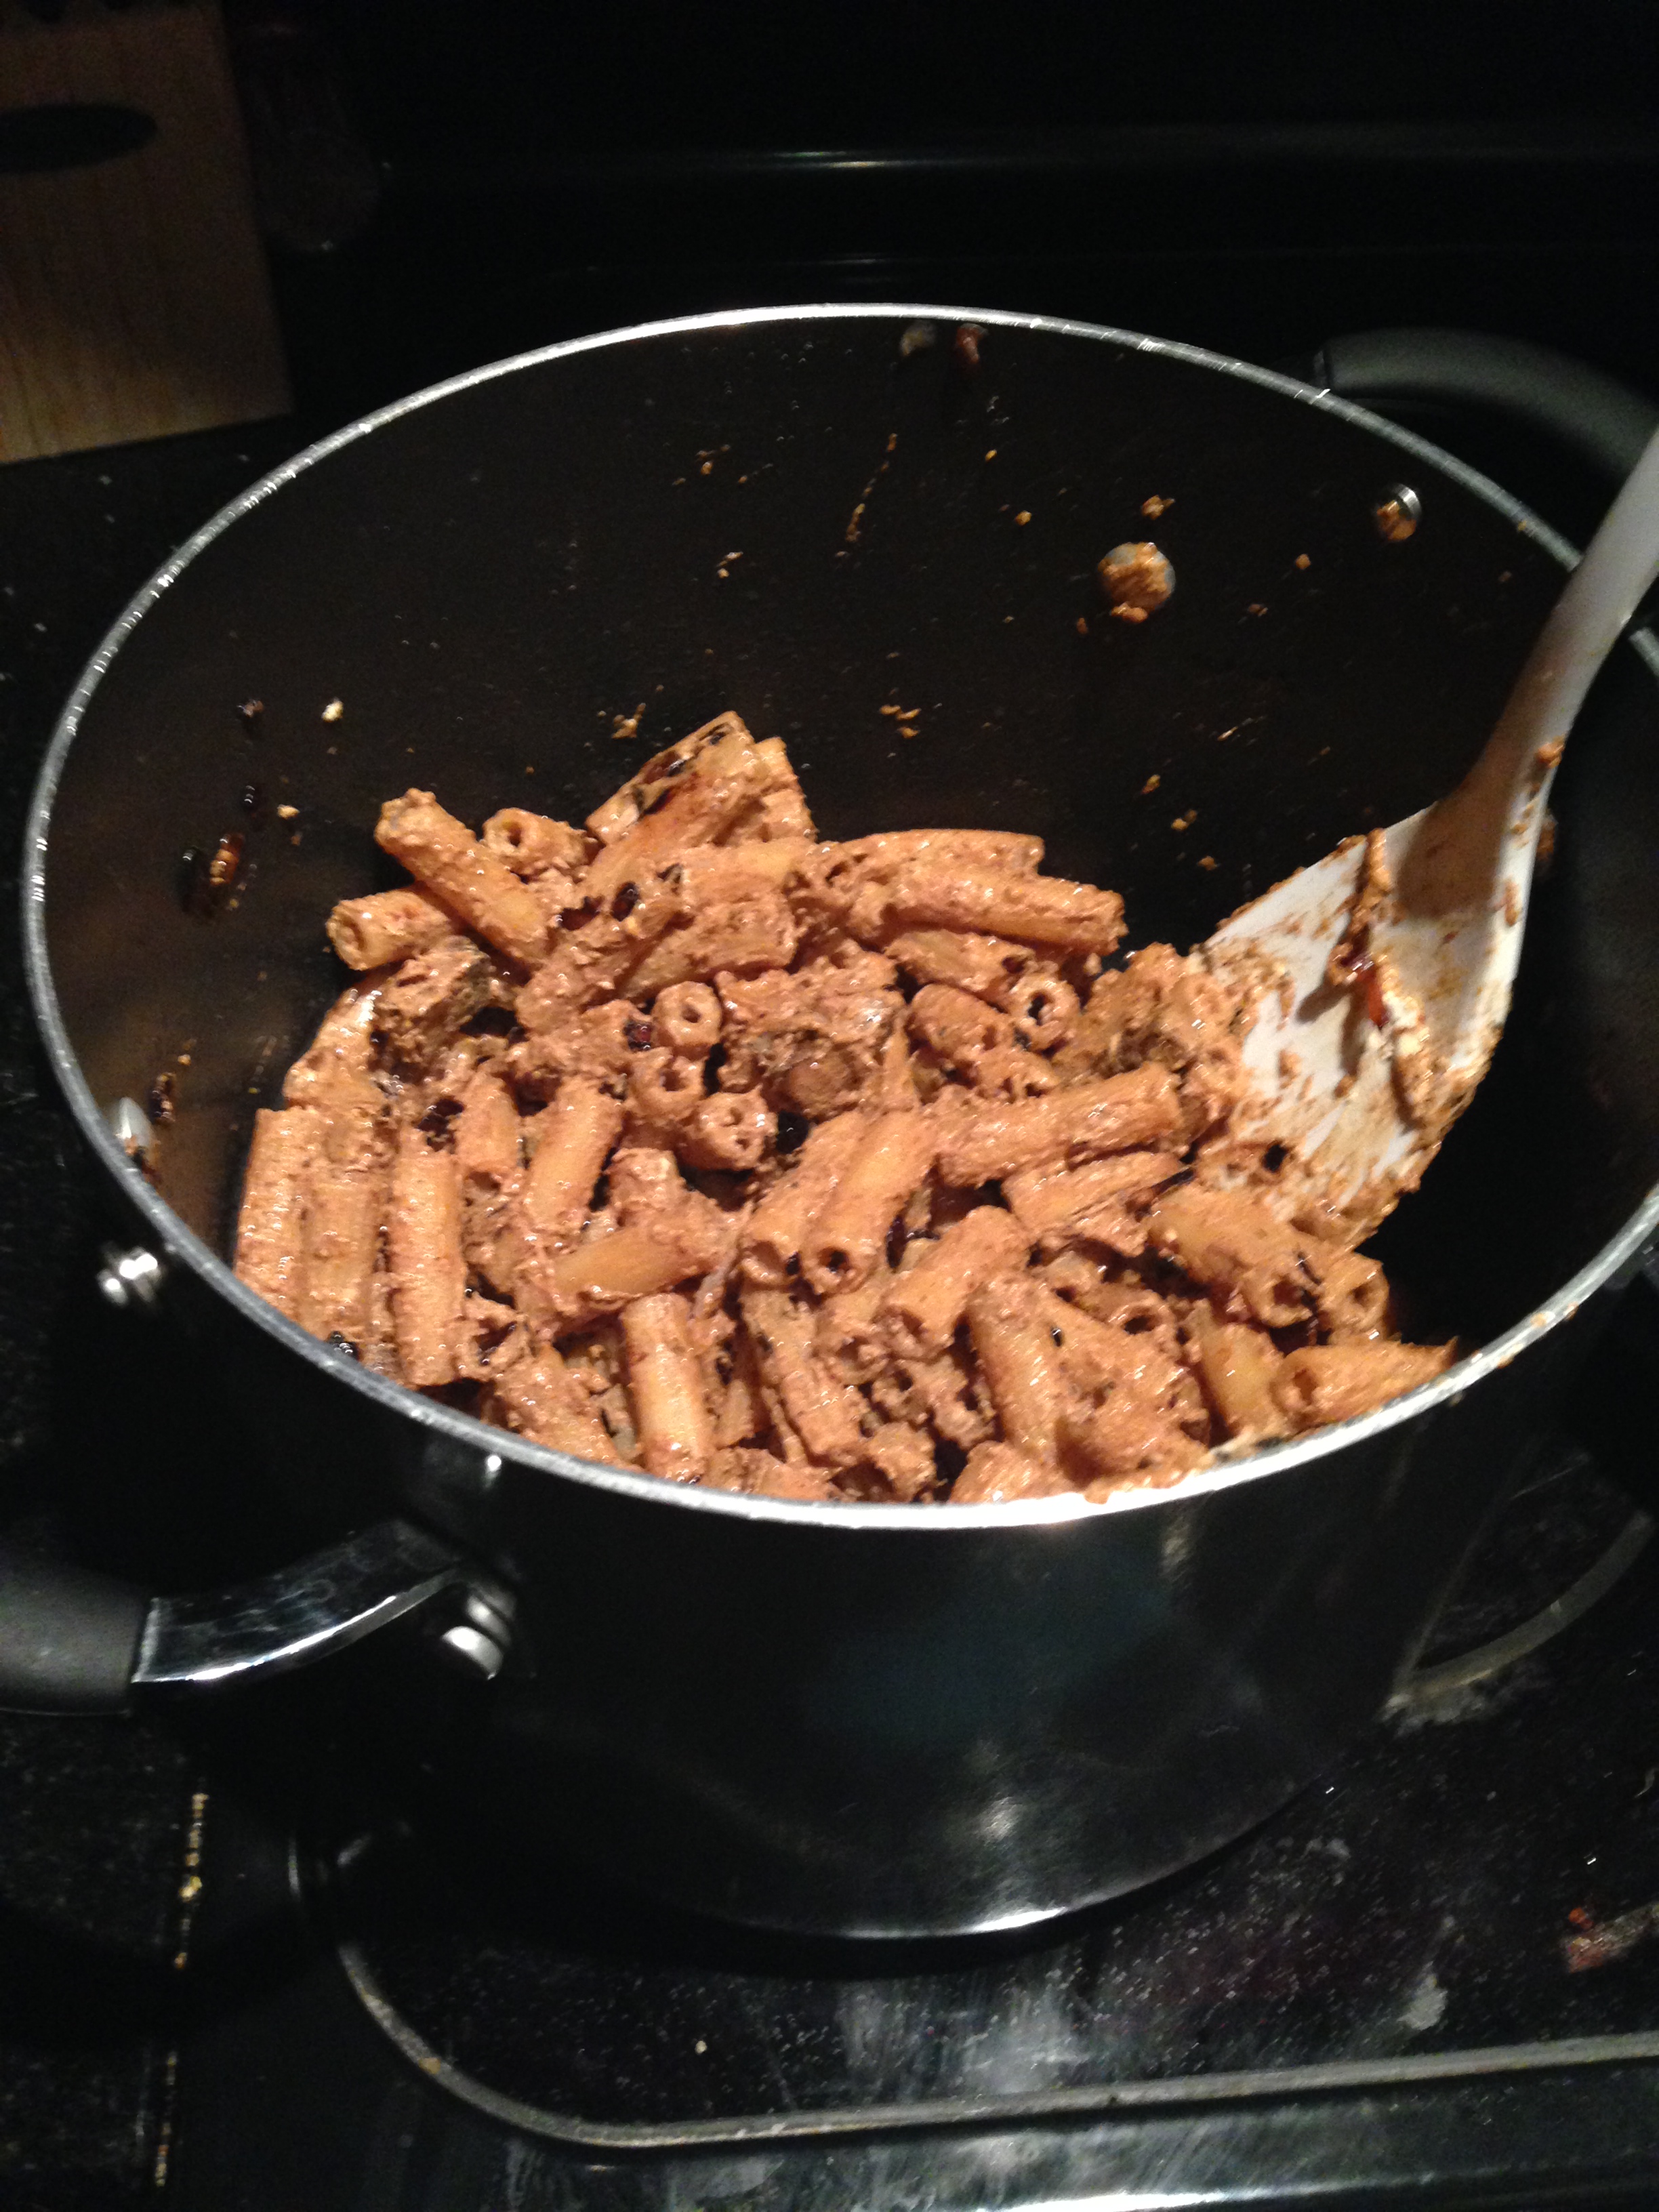
8.  Return the chicken to the skillet and cook until the sauce thickens and the chicken is heated through.  Toss in the snap peas and coat in the sauce.

photo 4

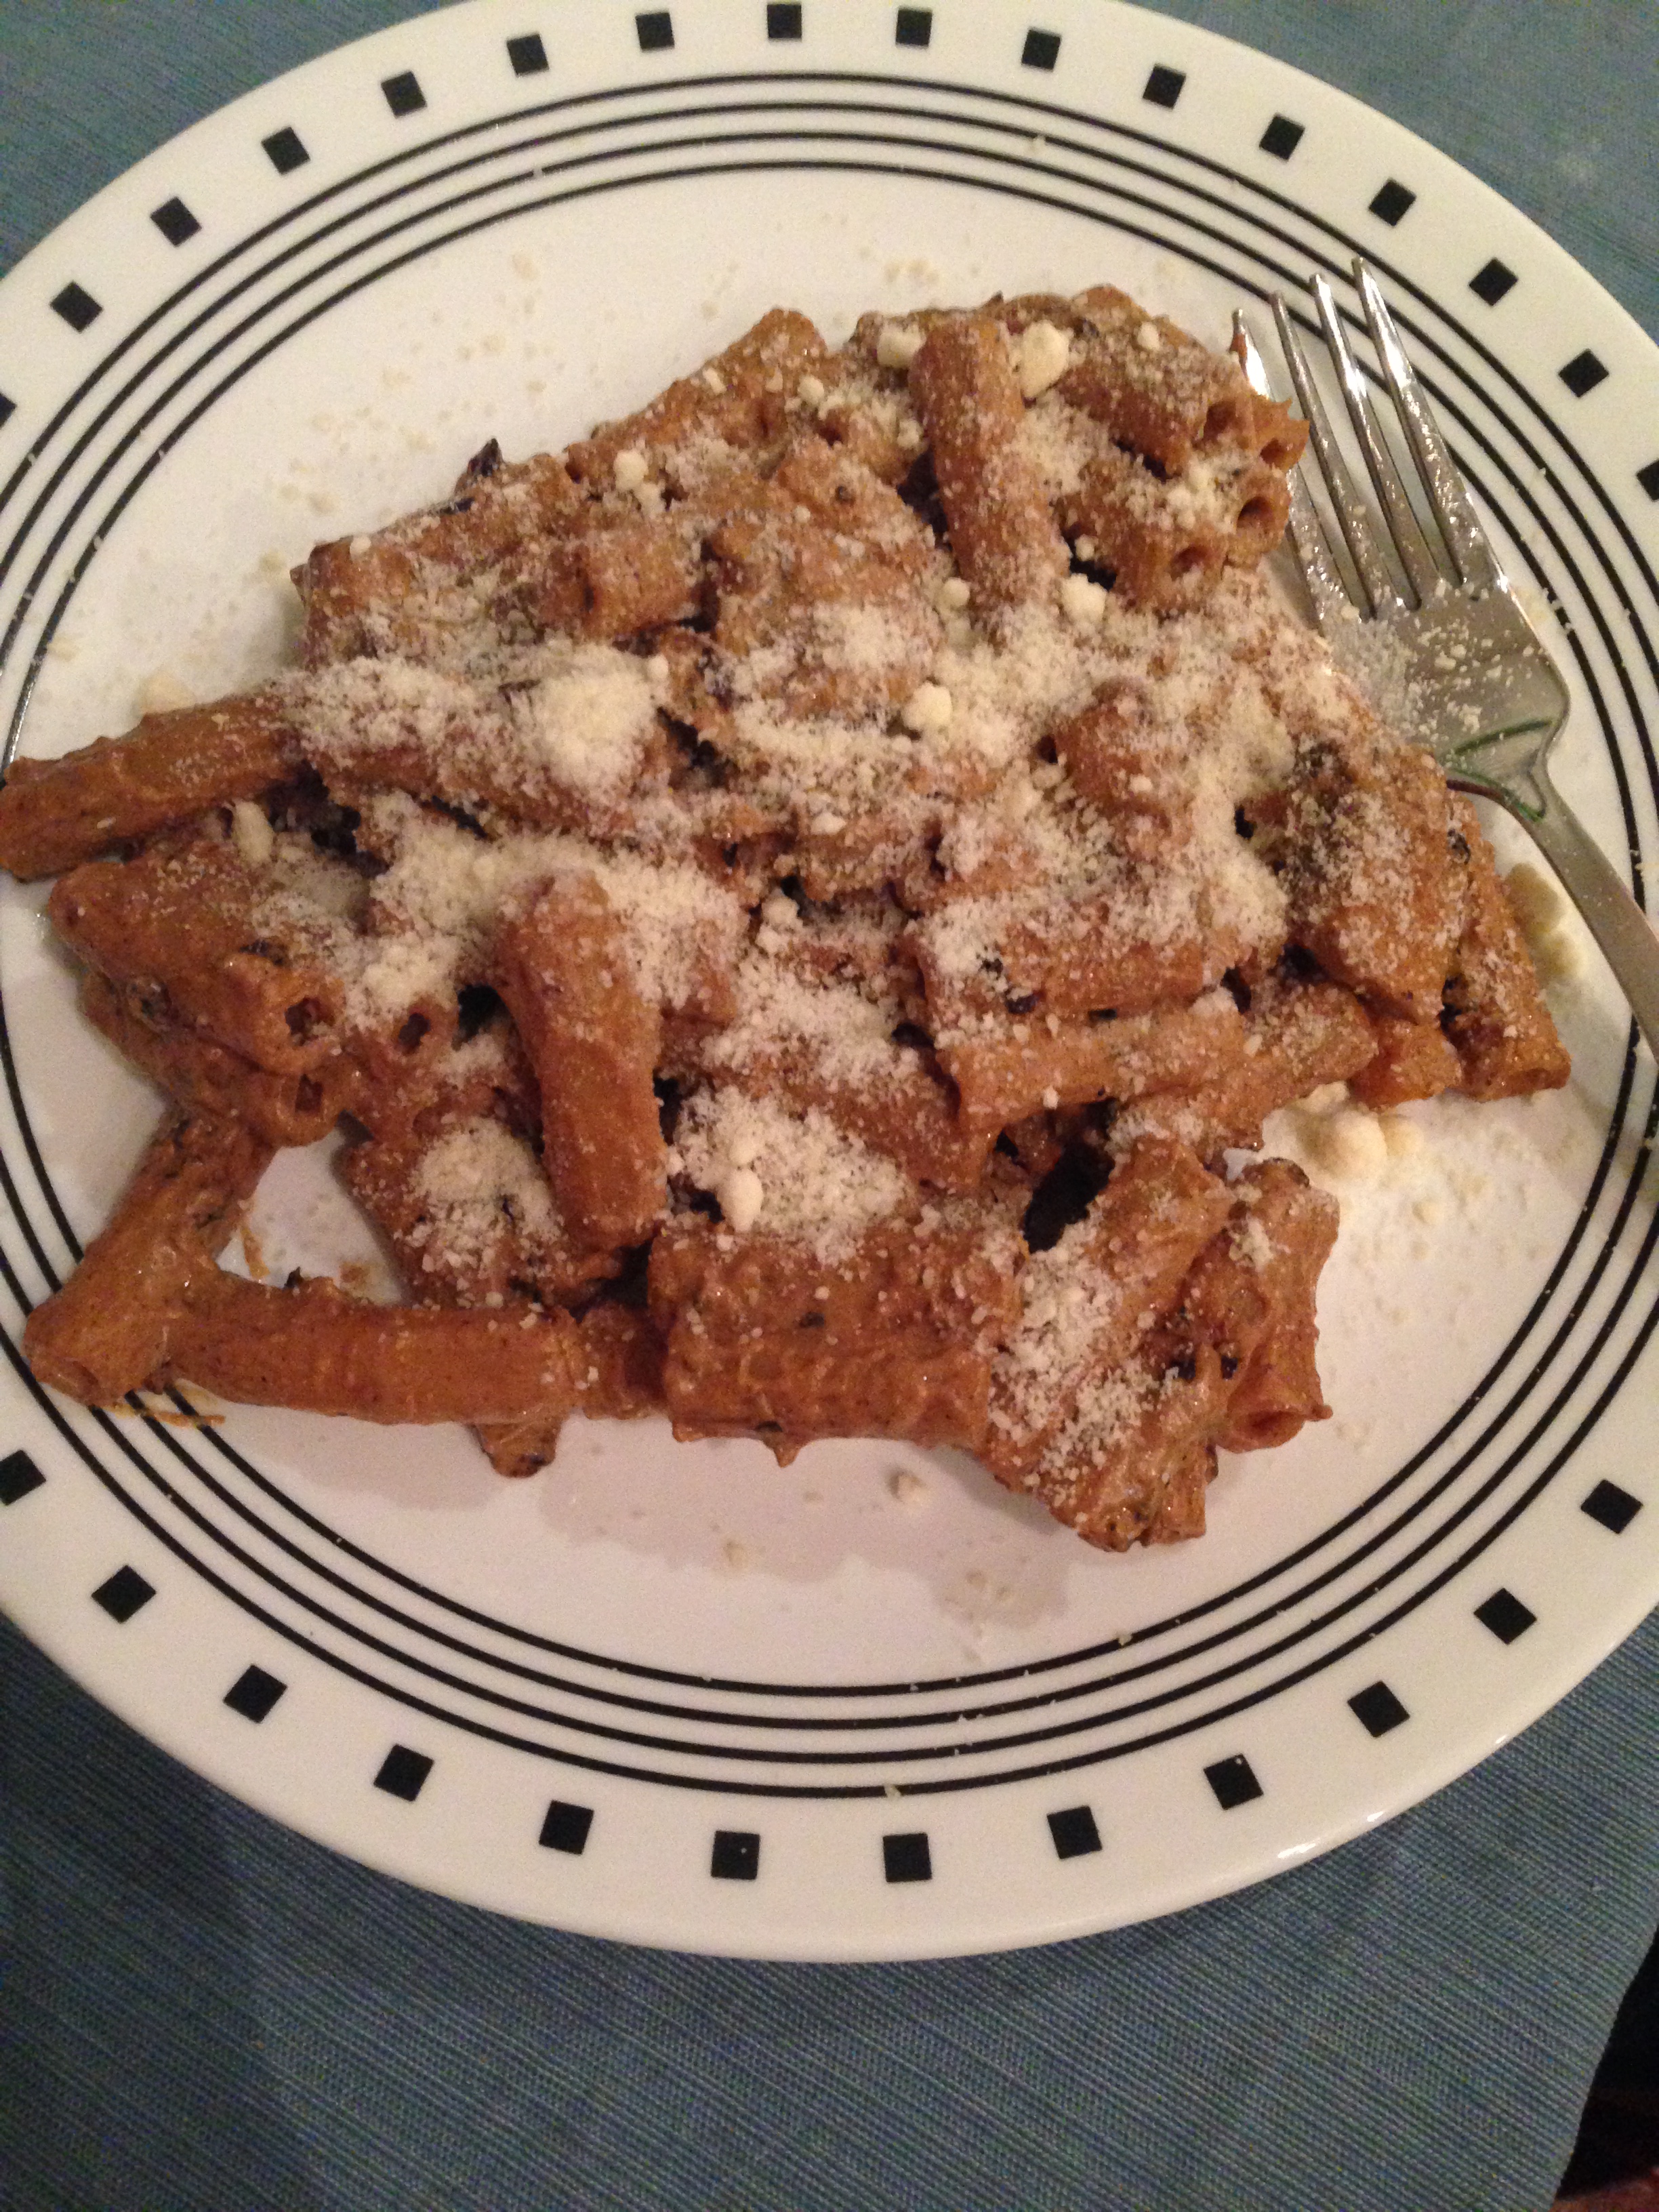
9.  Garnish with scallions.  Serve and enjoy!

photo 2b


Results

This was a really interesting twist on a classic recipe.  It had a good balance of sweet and spicy that made for a wonderful Chinese food inspired home cooked meal.  It has a crisp in each bite without feeling heavy and too fried.  I included the snap peas because I always like to serve a vegetable in any meal like this and they add a little crunch.  Serve over rice for the full restaurant experience.

Advertisement

Maple Glazed Salmon

So, for Secret Santa this year, my great friend Katie selected my name and chose the most perfect book to gift me.  It is the Artisanal Gluten Free Cookbook by Peter and Kelli Bronski.  I’ve had a joyous time flipping through its pages and having my mouth water at all the beautiful pictures and ideas for recipes.  I started with an easy one to get the hang of things, but I am sure I will have plenty more from this book in the weeks to come.

Maple-Glazed Salmon

(Inspiration on page 179 of this fabulous cookbook)

Ingredients:

1/4 cup pure maple syrup
2 tablespoons tamari wheat-free soy sauce (or GF soy sauce)
1 garlic clove, minced [I used preminced garlic]
1 teaspoon minced fresh ginger [I used preminced ginger]
Salt and Pepper to taste
Salmon Filet

photo 1

Preparation:

1.  Preheat the oven to 400 degrees.

2.  Whisk together the maple syrup, soy sauce, garlic, ginger, and salt and pepper in a small bowl.

photo 2

3.  Place the salmon in a shallow dish and pour the maple glaze over the salmon.  Cover and marinate for 30 minutes.

photo 3

4.  Bake the salmon at 400 degrees for about 20 minutes, or until it flakes easily.

photo 4

5.  Serve with some rice and some veggies, and enjoy!

photo 5

Results:

This was an excellent recipe!  The sweet and salty tastes blend together perfectly.  I would suggest marinating the salmon to ensure the tastes get infused.  It’s a great, healthy meal with the sauce giving it a little extra flavor.

Breaded Tilapia with Honey Balsamic Glaze

I’m a big fish person.  I love serving fish as a main course.  It’s healthy, easy, and a white fish especially can go with anything.  I had a craving to do something new and different with a fish dish rather than just grilling.  Breaded filets are a great alternative and quick and easy to do.

Breaded Tilapia with Honey Balsamic Glaze

(Inspiration found here)

Ingredients:

3-4 frozen tilapia filets
1 cup breadcrumbs [In this case, I used gluten free bread crumbs]
olive oil

Drizzle:
1/2 cup mayonnaise
2 tablespoons honey
2 tablespoons balsamic vinegar

IMG_0272

Instructions:

1.  Preheat the oven to 400 degrees.  Spray a baking dish with cooking spray.
2.  In the baking dish, add the breadcrumbs and lay each filet on top. sprinkle the breadcrumbs all over the top and press down, do not shake off excess. Place each filet, carefully in the baking dish and drizzle with olive oil.

IMG_0275

3.  Bake for 30-35 minutes until fish is cooked throughout.

IMG_0280

4.  In a small bowl, mix together the mayonnaise, honey,and balsamic vinegar until it is blended into a creamy sauce (no clumps).

IMG_0284

5.  Plate the tilapia and drizzle the sauce on top.  Enjoy!

IMG_0287

Results:

This turned out to be interesting but very delicious.  I think I may have overdone it on the breadcrumbs, but they gave a nice crunch to the dish.  I served it with a side of quinoa and some frozen peas.  We had leftover sauce so we put it over the quinoa to jazz that up a little bit as well.

Mushroom and Asparagus Risotto

So, this one is a bit of a doozy. It’s not something I’d make every day or even on a work night. This one is for a good and chilly Sunday where you want something savory and you have a bit of time to dedicate to it.  You’ll also be using a lot of your burners on your stove, so be sure it is ready to go.

Mushroom and Asparagus Risotto
(Inspiration drawn from here and here)

Ingredients
6 cups chicken broth
1 cup dry white wine [a Chardonnay works really nicely here]
2 tablespoons unsalted butter
1 tablespoon olive oil
1 cup finely chopped onion
A pinch of kosher salt
2 cups Arborio rice
1 cup sliced mushrooms
1 cup asparagus tips
1/2 cup shredded Parmesan

ingredients

Instructions:
1.  In a medium saucepan with a lid, combine chicken broth and white wine and heat just to simmering. Keep warm.

2.  In a large pot, over medium heat, melt the butter. Add the onions and a pinch of salt and sweat until translucent, about 5 minutes.

onions

3.  Add the rice and stir. Cook for 3 to 5 minutes or until the grains are translucent around the edges. Be careful not to allow the grains or the onions to brown.

halfway

4.  In a skillet, heat the olive oil over medium heat and saute the mushrooms and asparagus tips until cooked.  Remove from skillet and place in a bowl and cover with tinfoil.

veggies

**Take a look at how full the stovetop will be.  If you have too many things going at once, you’re doing it right!

many pots

5.  Get ready for an upper-body workout!   Reduce the heat of the pot to low, and add enough of the wine and chicken stock just to cover the top of the rice. Stir the rice mixture, until the liquid is completely absorbed into rice. Once absorbed, add another amount of liquid just to cover the rice and continue stirring or moving as before.

risotto  process

Give yourself a good 35-45 minutes of stirring and pouring.  WARNING: If you dump all of it in at once, it will take twice as long and the rice will be too crunchy.  It is worth the wait/bicep improvement, I promise!

6.  At this point, there should be just enough liquid left to make it one more stir.  Add the asparagus and mushrooms back into the pot with the last bit of liquid and stir all together.

done in pot

7.  Mix in the Parmesan until melted.

8.  Add a little extra Parmesan for a garnish and enjoy!

final

Results:

Like I said above, this is a good one for a chilly day where you have some time to dedicate to it.  The stirring takes forever, but without it, the rice won’t cook through correctly.

It’s a delicious pasta-like dish that is filling and will warm you up!  The mushrooms and asparagus complement each other really nicely in this dish.  If you have other veggies you prefer, anything goes well in risotto.

Ziti with Portobello Mushrooms, Caramelized Onions, and Goat Cheese

I’m a lover of goat cheese.  It’s tangy delicious and it makes me feel grown up and sophisticated when I eat it.  This recipe goes really well with the Fall chill in the air and sometimes you just want some cheesy pasta and to curl up with a good book.


Ziti with Portobello Mushrooms, Caramelized Onions, and Goat Cheese
(Inspiration thanks to Food and Wine Magazine)

2 tablespoons butter
4 tablespoons olive oil
1/2 large onion, chopped
1 teaspoon salt
1/2 teaspoon sugar
1 pound portobello mushrooms, stems removed, caps halved and then cut crosswise into 1/4-inch slices
1/4 teaspoon fresh-ground black pepper
1 pound ziti [I used gluten free rigatoni for this recipe – more on that below]
4 ounces soft goat cheese
3 tablespoons grated Parmesan cheese, plus more for serving

Ziti ingredients 2

(Please forgive me that the onion is pre-chopped – I always force J into chopping onions!)

1.  In a large frying pan, melt 1 tablespoon of the butter with 2 tablespoons of the oil over moderate heat. Add the onions, 1/2 teaspoon of the salt, and the sugar and cook, stirring frequently, until the onions are well browned, about 20 minutes. Remove from the pan.

Ziti onions raw

Beginning

Ziti onions brown

Browned

Ziti onions caramel done
Caramelized!

2. In the same pan, melt the remaining 1 tablespoon butter with 1 tablespoon of the oil over moderate heat. Add the mushrooms and 1/4 teaspoon of the salt and cook, stirring occasionally, until tender and brown, about 8 minutes.

Ziti mushrooms

3.  Add the reserved onions,  the remaining 1/4 teaspoon salt, and the pepper to the mushrooms and remove from heat.

Ziti onion mushroom

4.  In a large pot of boiling, salted water, cook the ziti until just done. Reserve 3/4 cup of the pasta water and drain. Toss the ziti and 1/2 cup of the reserved pasta water with the mushroom mixture, the remaining 1 tablespoon oil, the goat cheese, and the Parmesan in the pasta pot.  After mixing, pour in the reserve water and stir until all goat cheese has melted.

Ziti mixed

5.  Serve with additional Parmesan and enjoy!

Ziti final

Results:

This worked out really nicely as a fall-tasting tangy recipe.  I think next time I would add asparagus or another vegetable to liven up the color palate.  Think of this as grown up mac-and-cheese.

Something to keep in mind – caramelizing onions takes a deceivingly long amount of time.  On the clock, it takes about 20 minutes, but it seems like it should take less.  Wait for the onions to brown and then keep browning them.  They will get darker but not burn.  This, with the combination of sugar and oil, will make them sweet.  Don’t worry if it feels like it’s taking forever.

Also, on the gluten free note – gluten free pasta is an interesting animal.  Because of its materials (the one featured above is potato based), you have to be mindful of the cooking time.  If you overcook it, it will get sticky and kind of slimy.  For regular pasta, I do a time estimate and hope for the best while checking done-ness of the noodles.  With GF pasta, I always set a timer for 10 minutes and drain it at the buzzer.  Otherwise, it can be a mess.  I will say that taste wise, with a good sauce, you can’t even tell the difference!