Quinoa Stuffed Peppers

I grew up eating stuffed peppers filled with ground beef and cheese. They are a serious comfort food for me.  Though they absolutely delicious and over-filling, I wanted a healthier alternative that also tasted great.  Introducing my favorite new grain – quinoa!  It soaks up the taste of everything around it and is super healthy for you.  Packed full of all sorts of veggies, these are great for a complete meal.

Black Bean and Quinoa Stuffed Peppers

(Inspiration found here)

Ingredients:

4 green bell peppers
1 cup quinoa
5-6 tablespoons olive oil
1 can black beans, rinced
1 can corn
1/2 onion, chopped
1 teaspoon cumin
1 teaspoon Italian seasoning
1 28-oz can diced tomatoes
2  cups vegetable broth

photo 1

Preparation:

1.  Preheat the oven to 350 degrees.

2.  Sautee onion in a pan until translucent.  Add corn to pan and heat for about 5 minutes.

photo 3

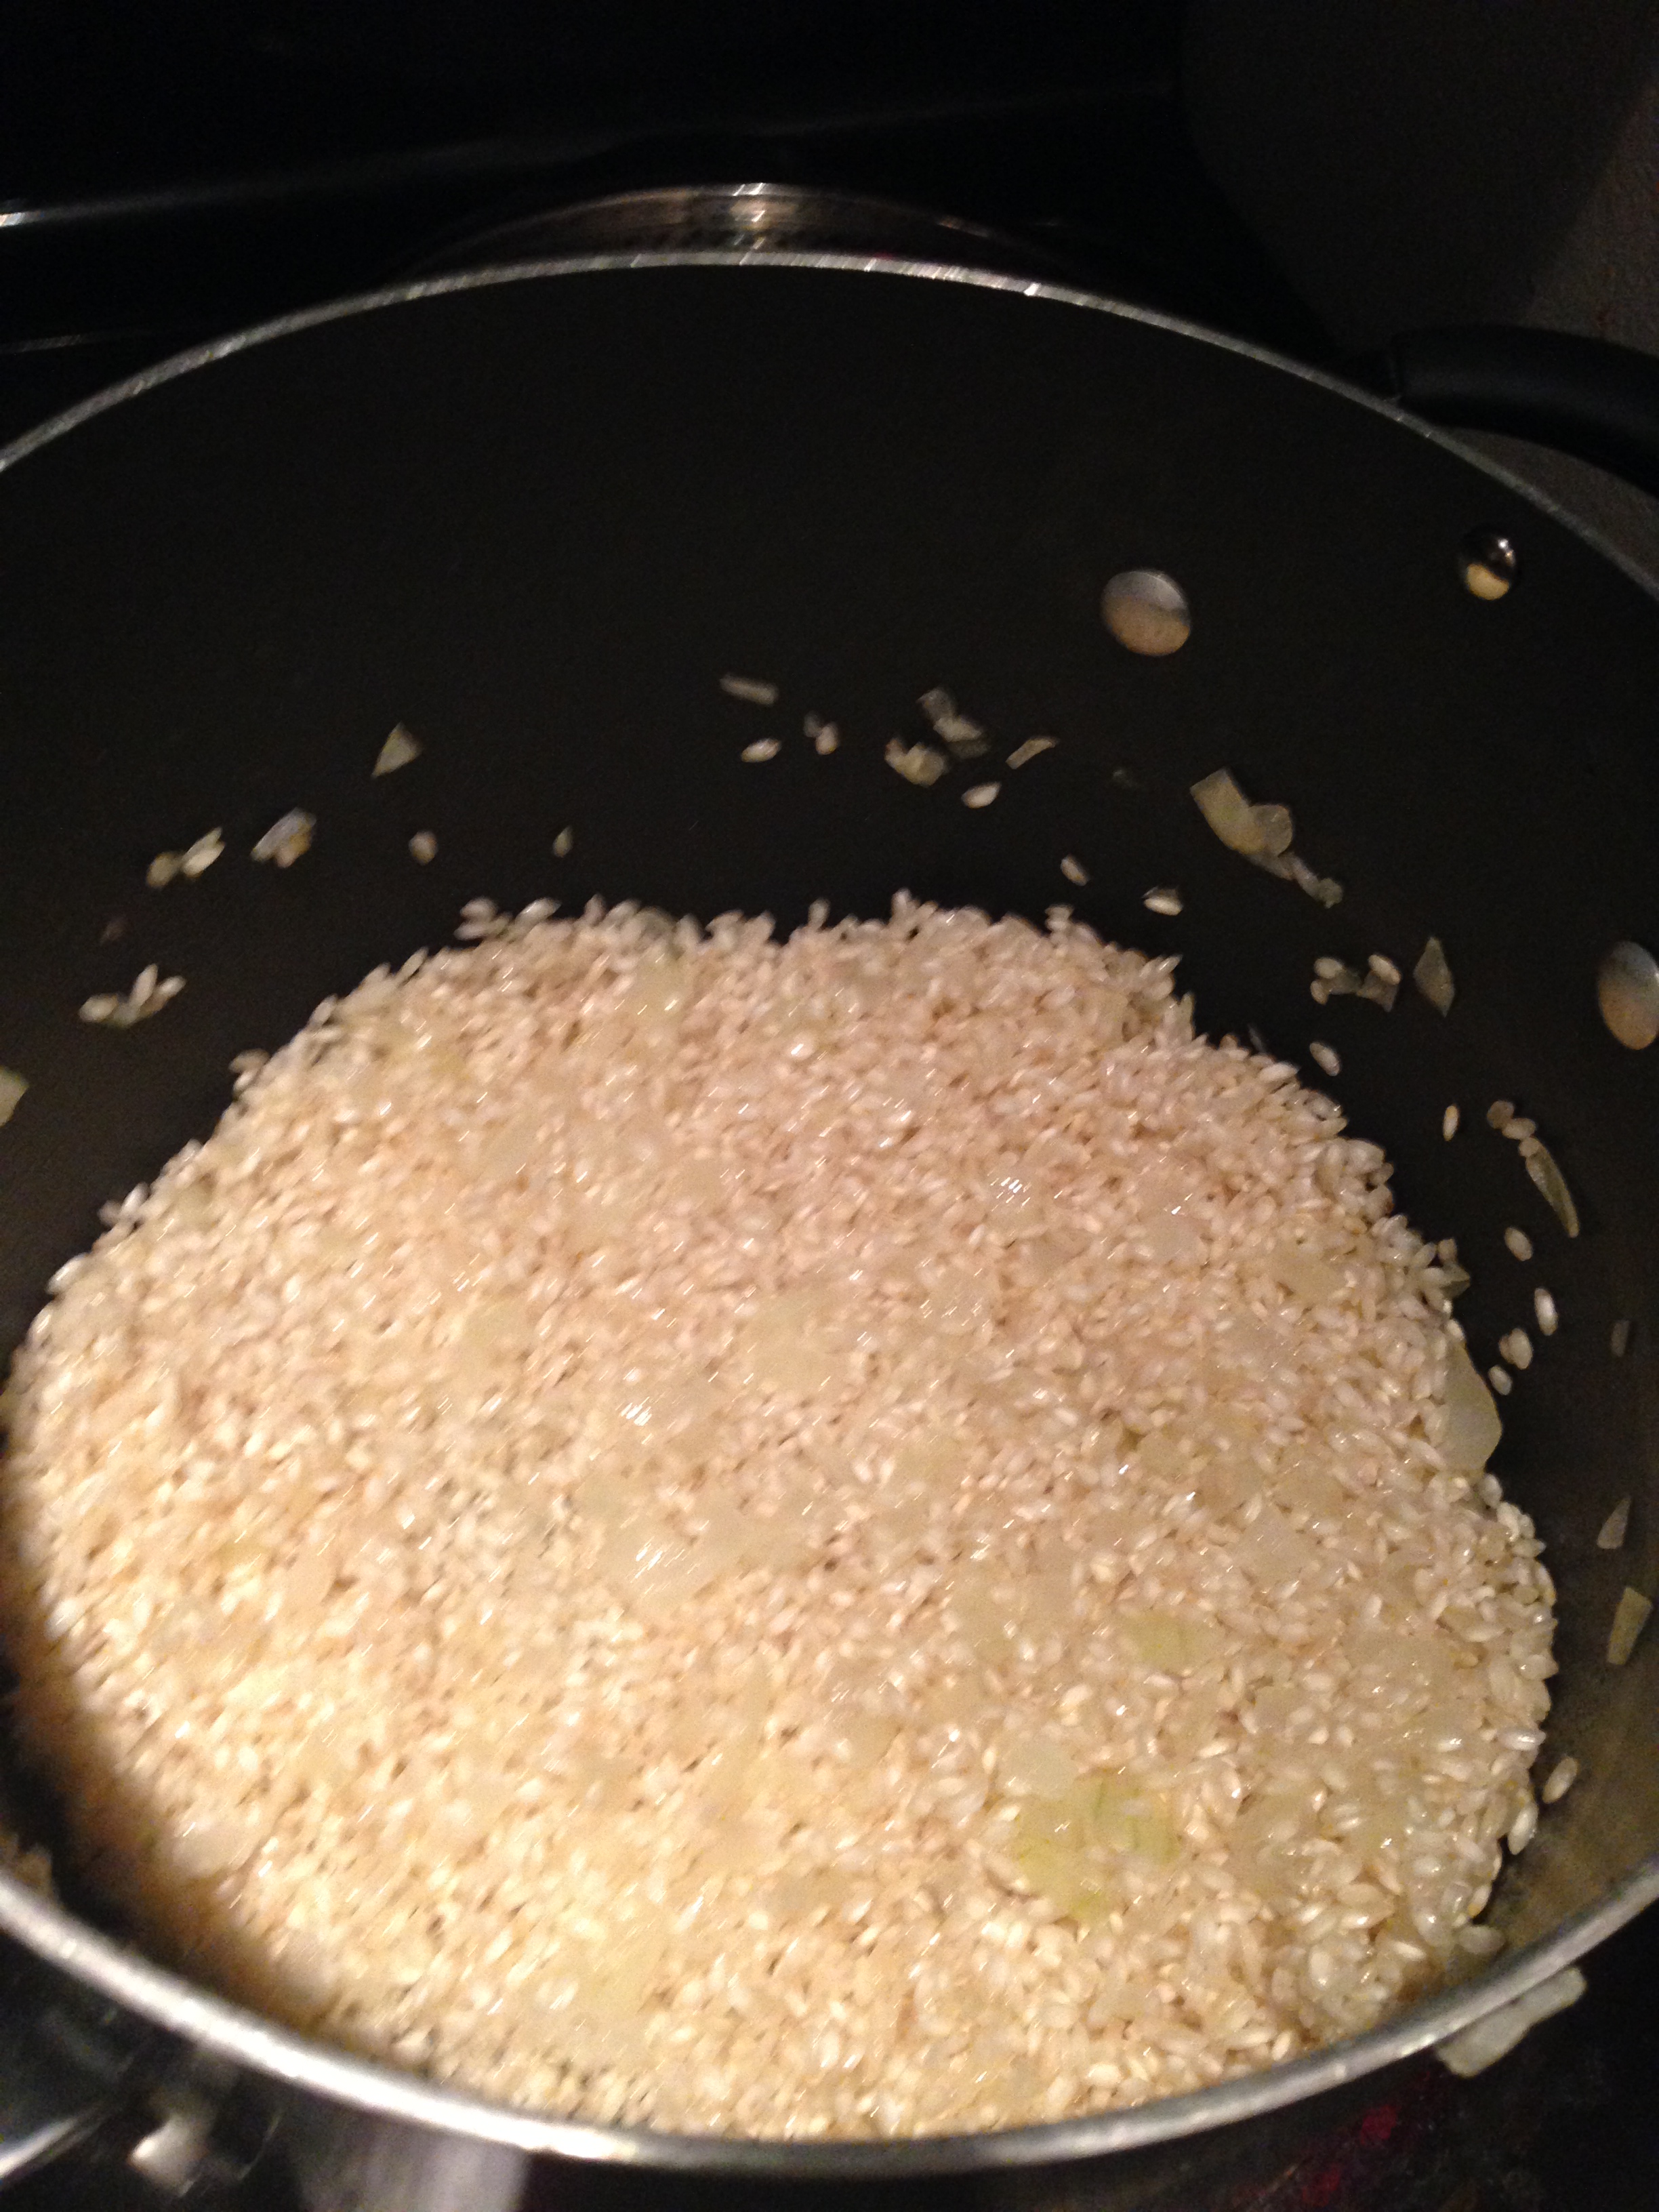
3.  In a saucepan, add the quinoa, tomatoes, and italian seasoning.  Bring to a boil, cover, and let simmer for 15-20 minutes, allowing the quinoa to cook through.  You will know when the quinoa is cooked, as the little kernels will pop and become larger.

photo 2

4. While the onion and corn cooks, add the black beans and cook for about 5 minutes until warmed through.

photo 4

5. Once the quinoa is ready, add it to the onion mixture in the pan.  Mix all together and then set aside.

photo 1 (2)

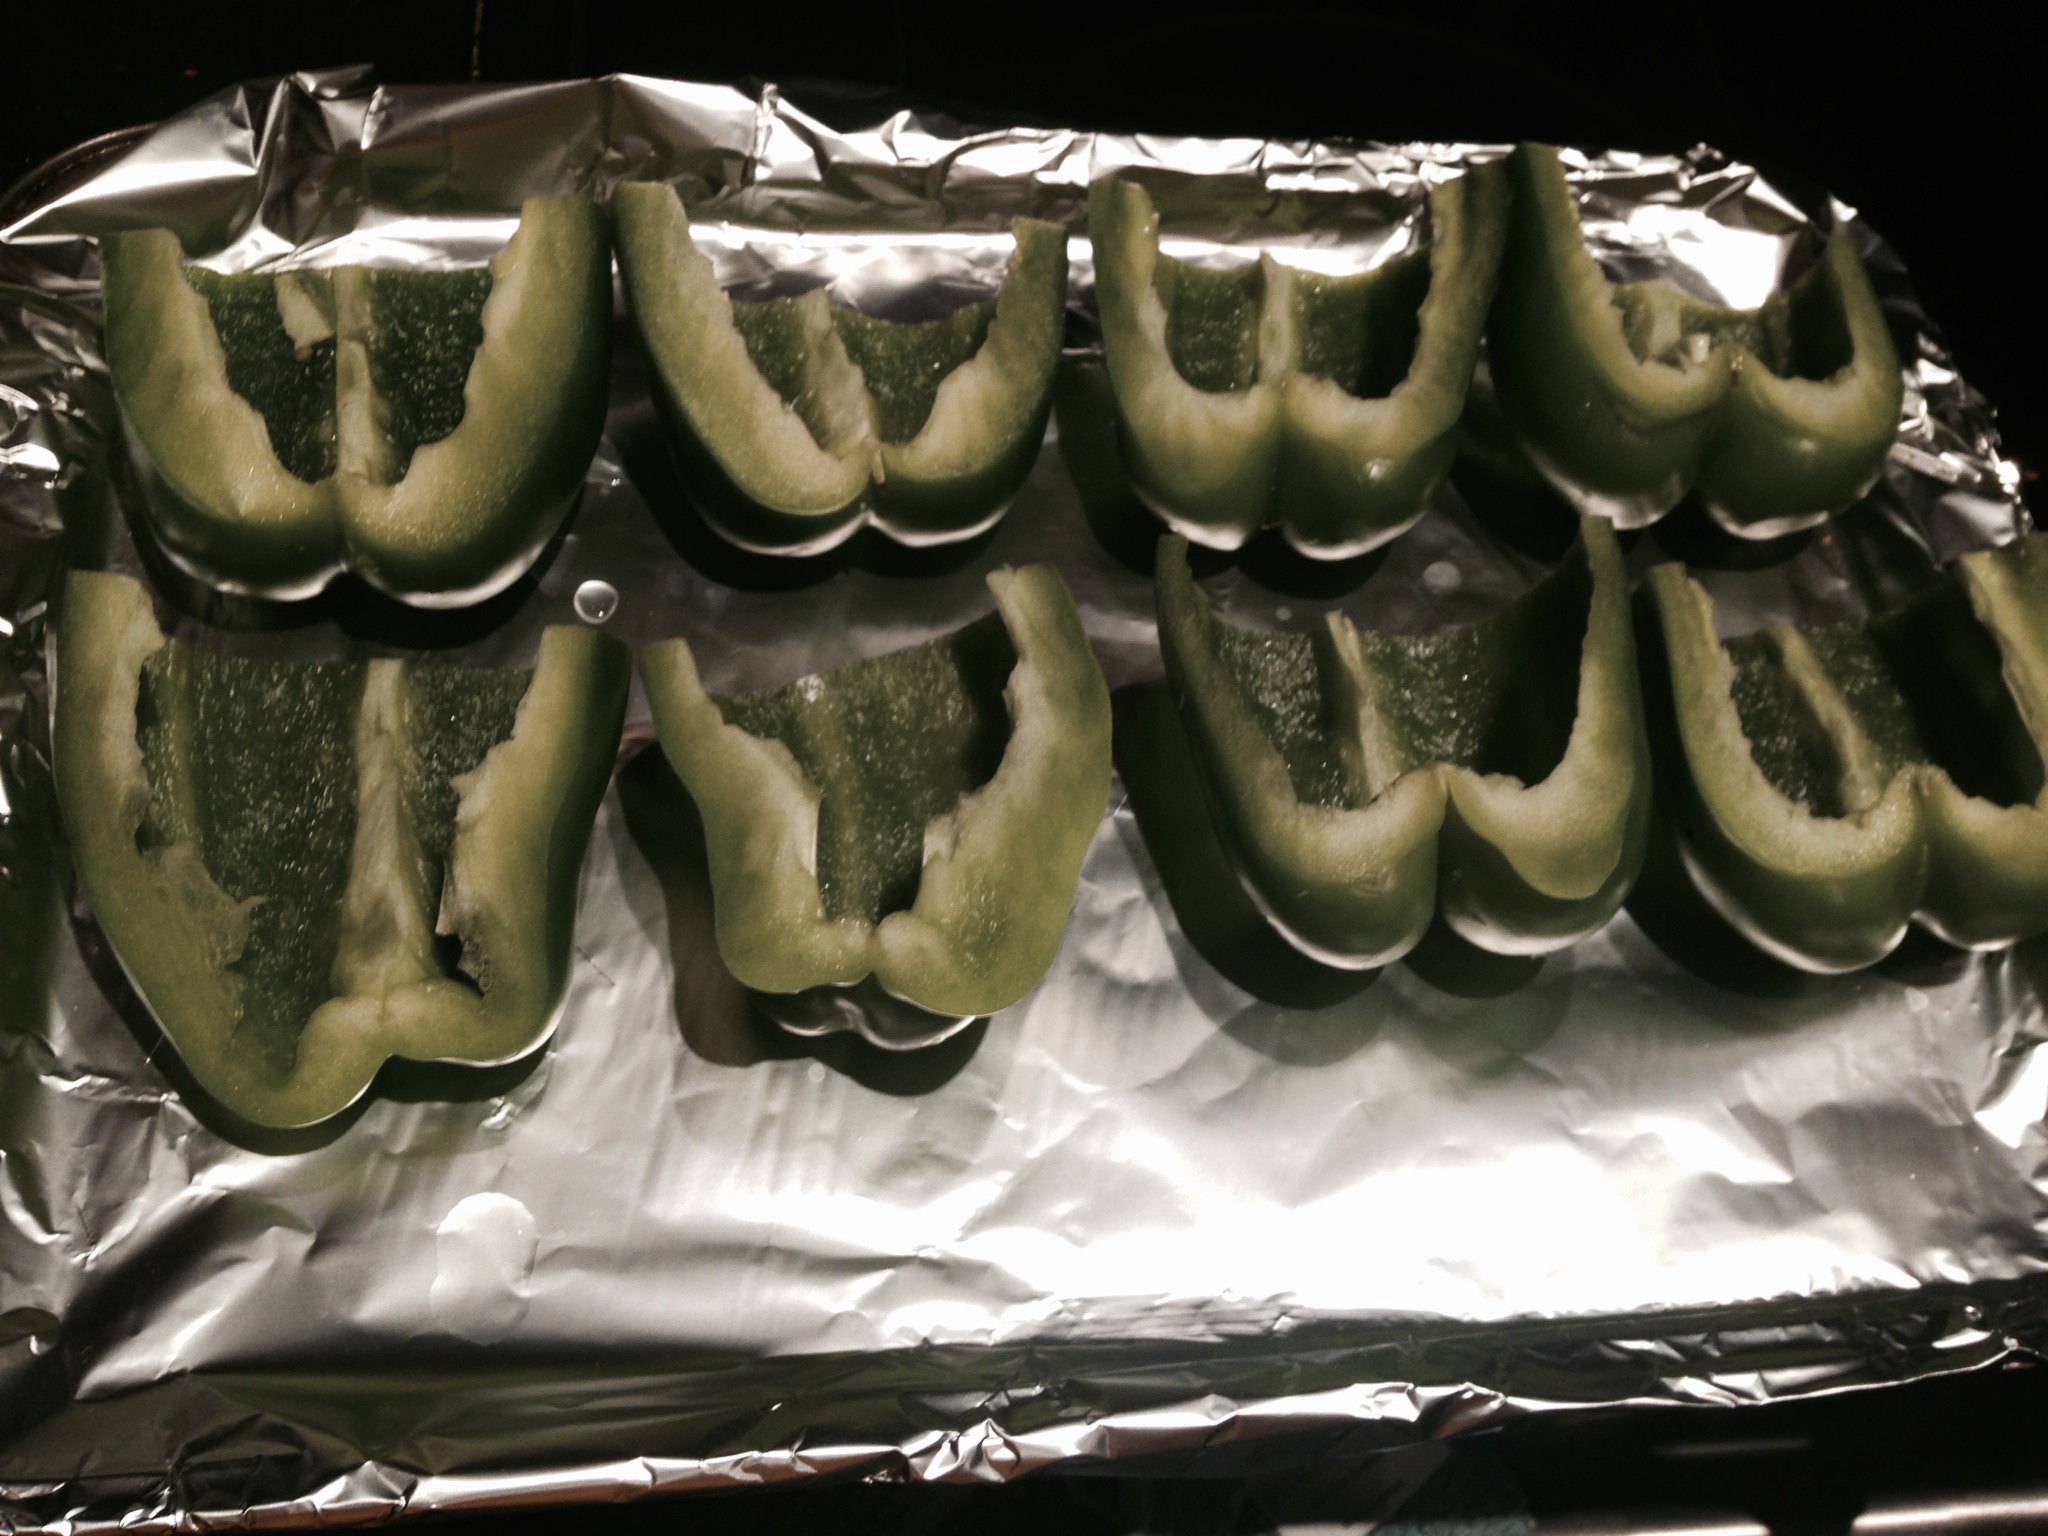
6.  Cut your peppers in half and clean out the seeds from the inside.  Lay the halves down on a covered cookie sheet, inside up.

photo 5

7.  Scoop heaping spoonfuls of the quinoa mixture onto the peppers.  It will feel like you have too much – that’s ok.  Keep scooping.

photo 3 (2)

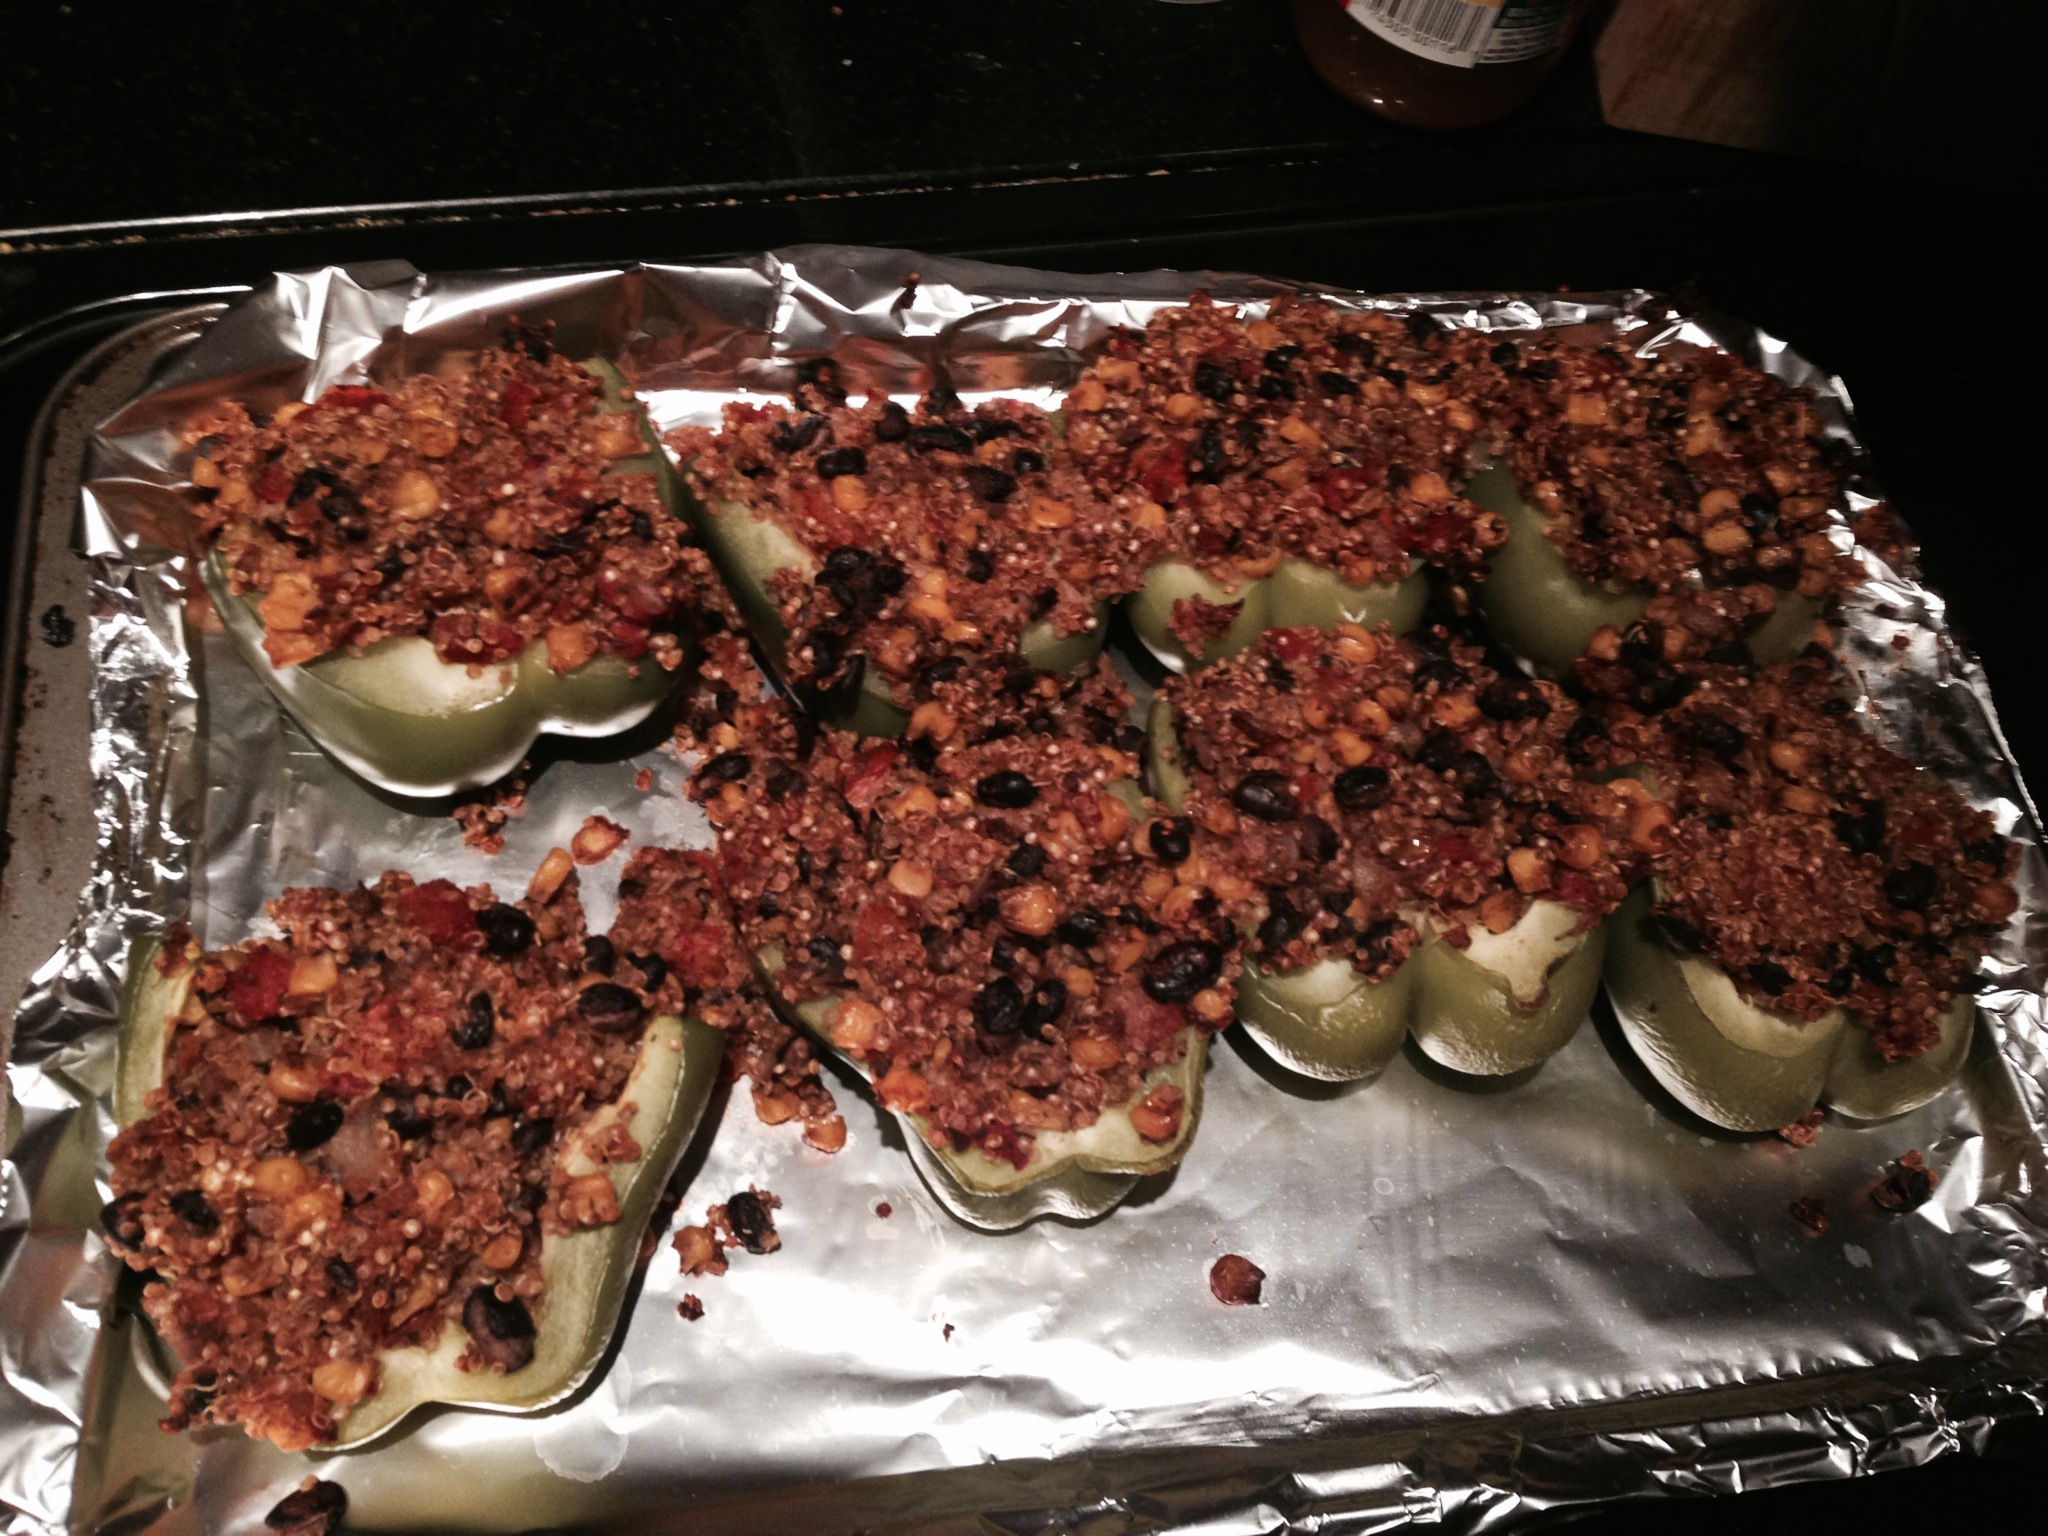
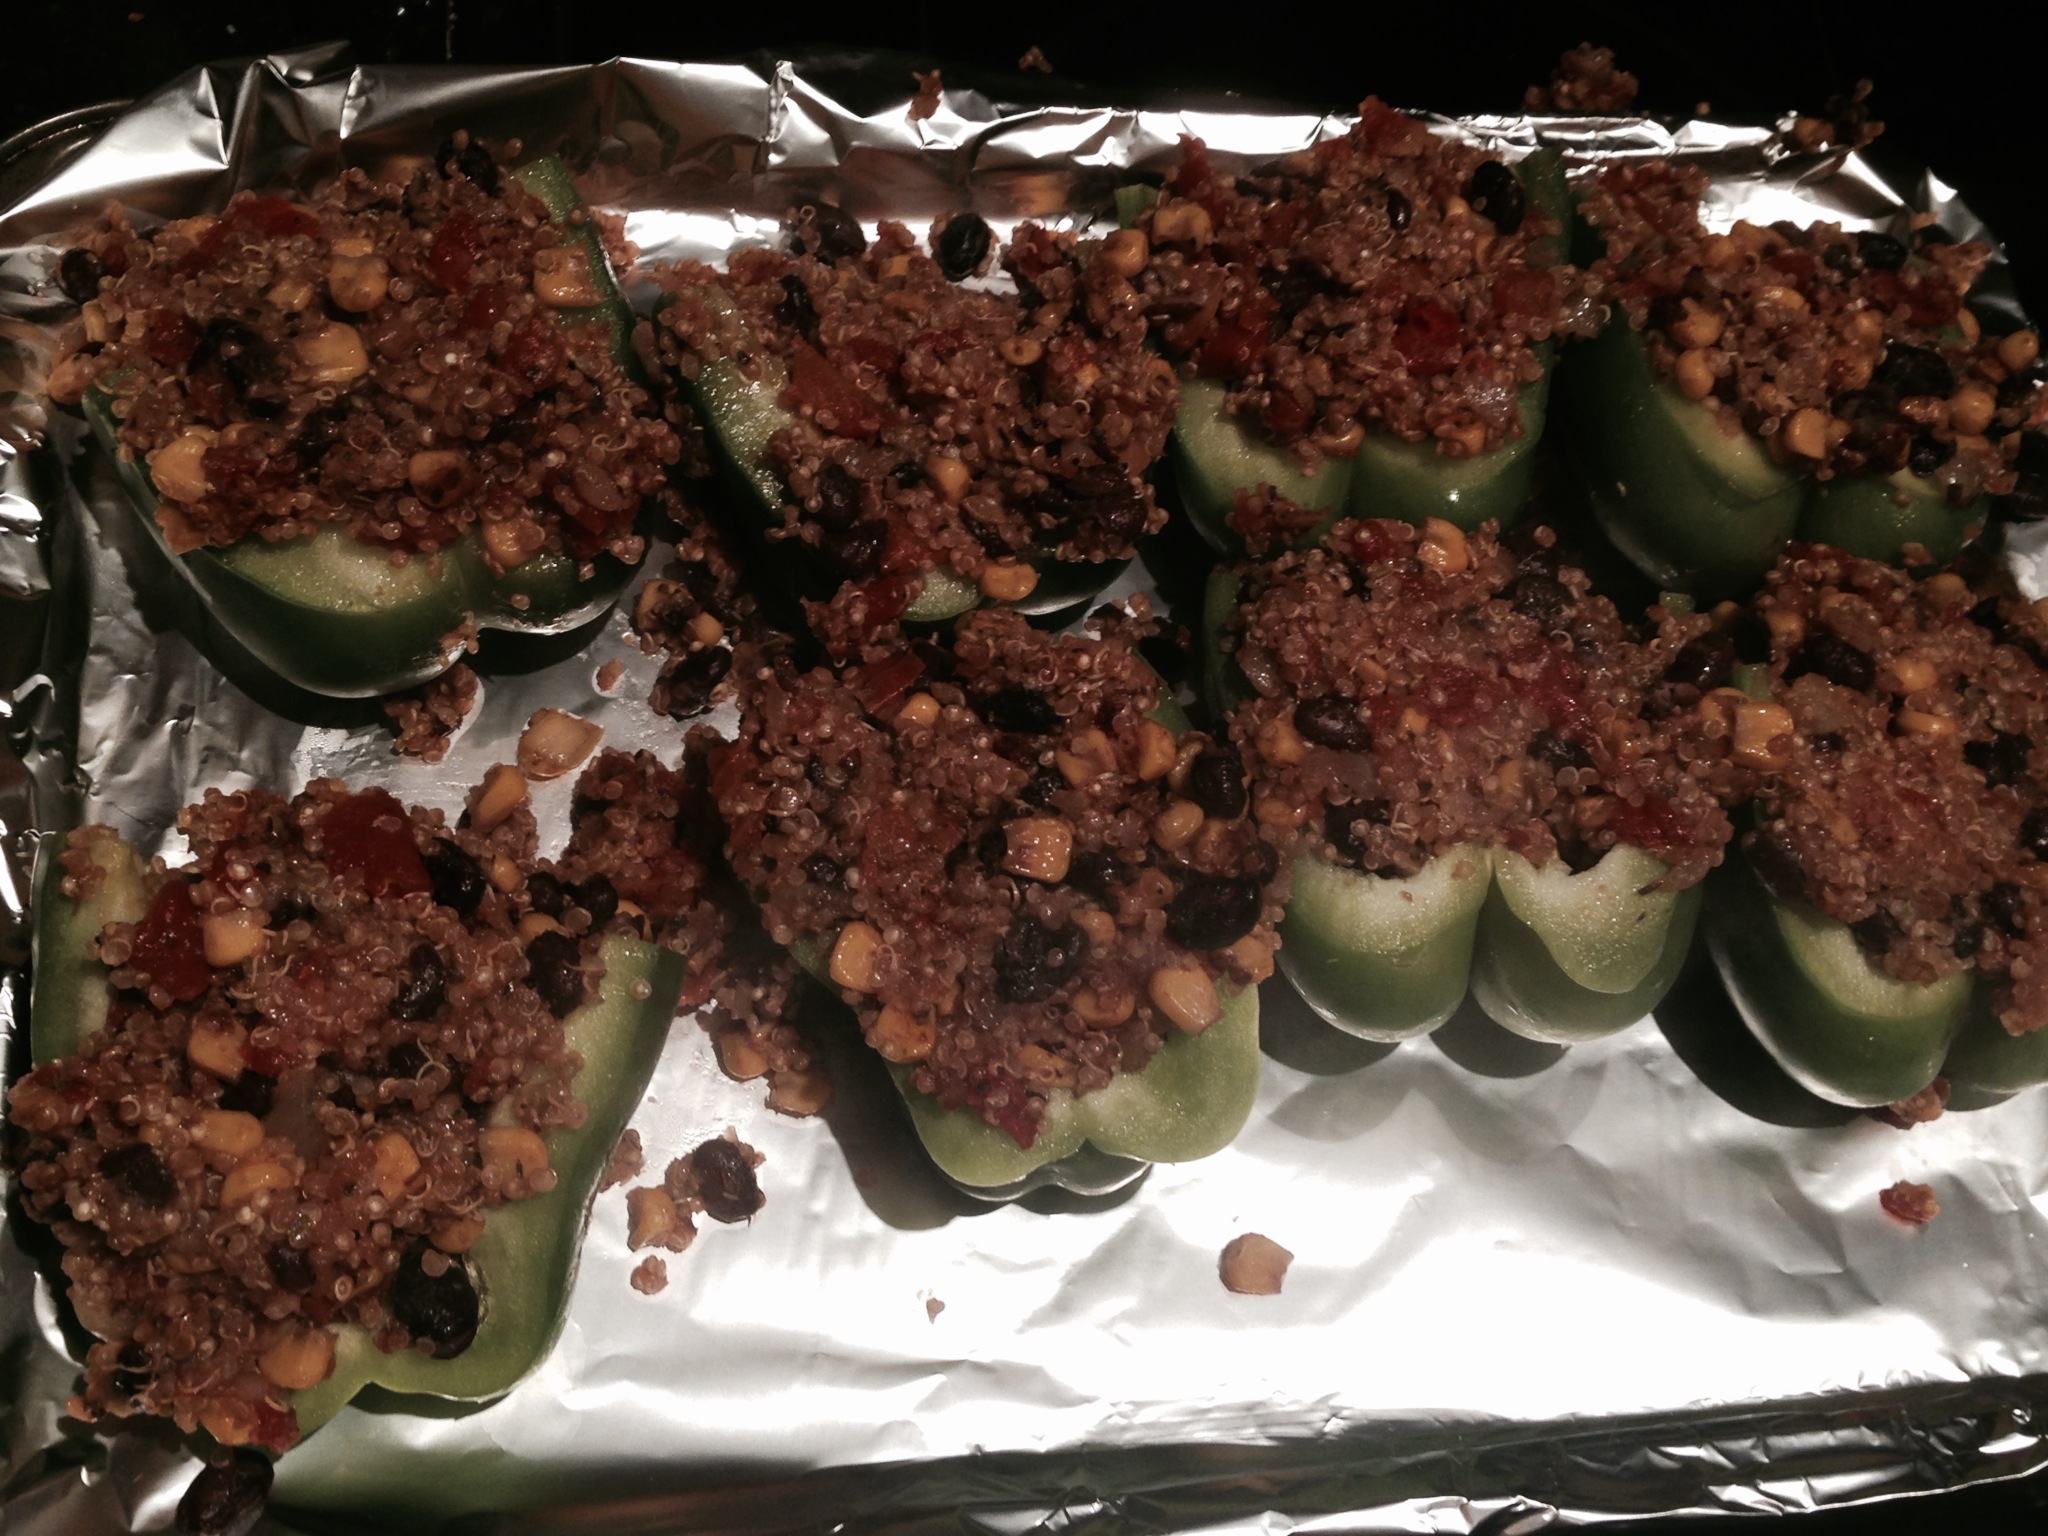
8.  Bake for about 25 minutes until the pepper is soft.
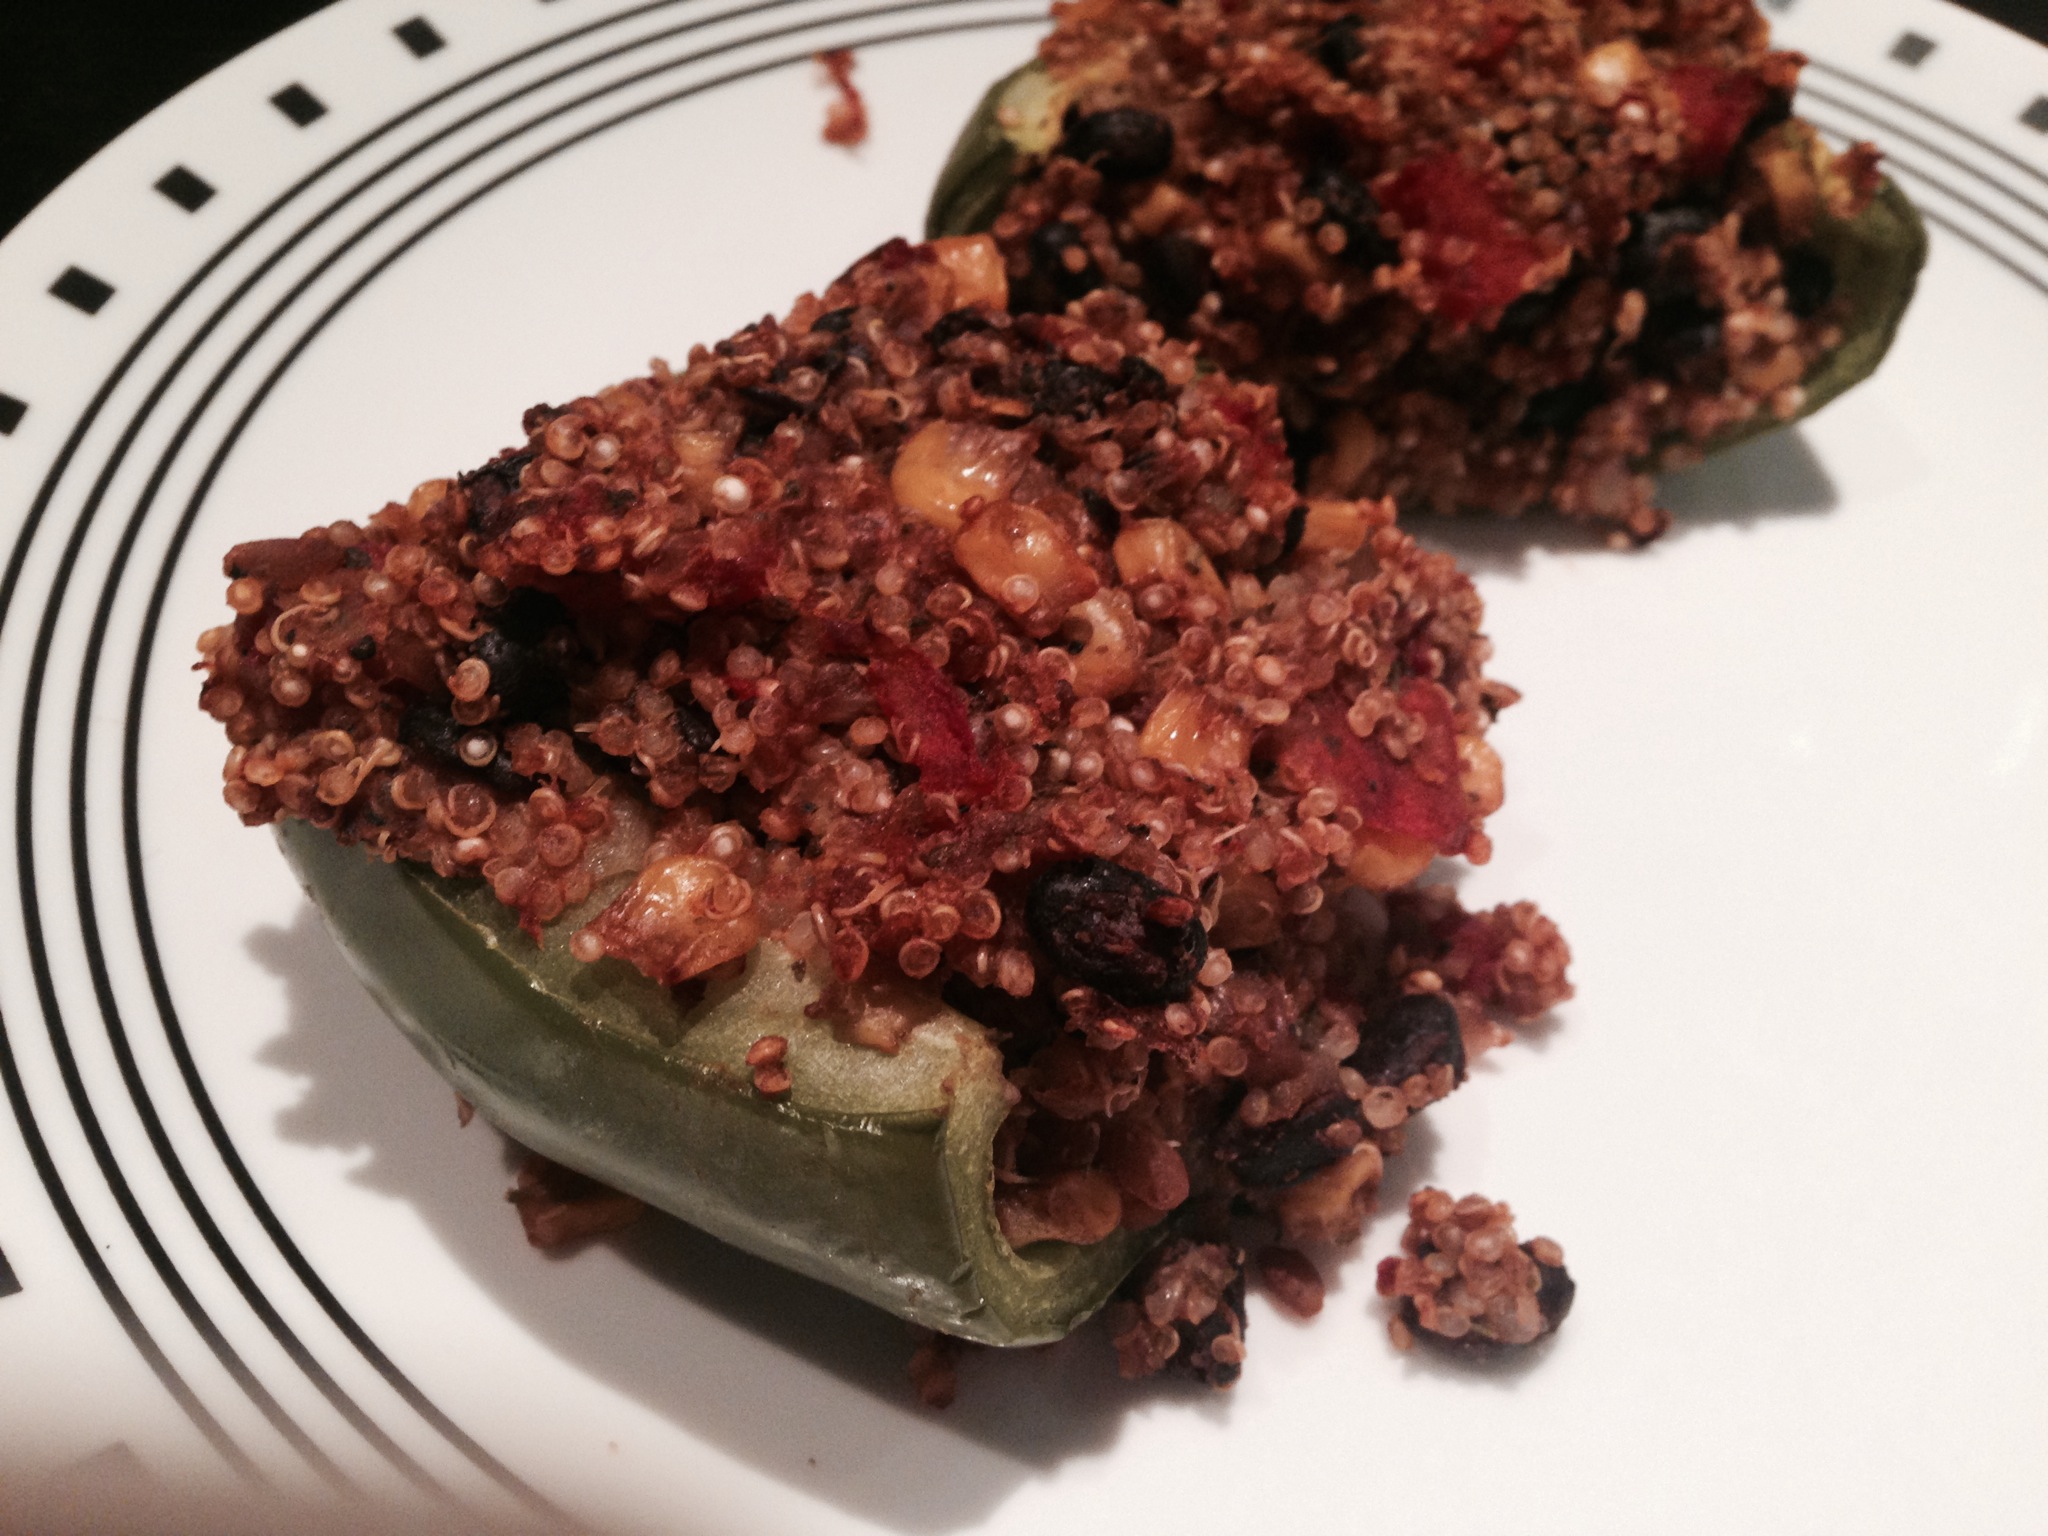
photo 2 (2)

9.  Enjoy!

photo 4 (2)


Results:

Yum!  They’re super filling, so you’ll have plenty for leftovers.  I was surprised we each had one whole pepper.

Advertisement

Mushroom Melts

Sometimes you just want something and gooey, but you also want to watch your waistline.  Lucky – this meal does both!  It’s also a quick one, so if you just need to whip something together quickly, this is the way to go.

Mushroom Melts

(Inspiration found here)

Ingredients:

Portobello mushroom caps (the big ones)1-2 cans of tuna fish
1 tbsp of mayonnaise
Cheese of your choice, sliced
Olive Oil
photo 1 (3)

Preparation:

1.  Preheat your toaster oven OR regular oven to Broil.

2.  Scoop out the insides of the mushroom caps.  You can use a spoon to scoop out all the gills.

photo 3 (2)

photo 4 (2)

3.  Glaze the mushroom caps with olive oil.

photo 5

4.  Place the mushroom caps in your oven for a few minutes (while you prepare the tuna salad).  This will strengthen the caps and cause them to break less easily.

4.  Create your tuna salad.  Drain the tuna cans and mix the tuna meat with the mayonnaise until at desired consistency.  The more mixed, the better for this recipe.

photo 2 (3)

5.  Pull the caps out of the oven for a moment. Pile the tuna salad onto the mushroom caps.

photo 3

6.  Place some cheese slices on top of the tuna.

photo 4

7.  Pop them back in the broiler for 2-3 minutes, or until cheese melts.  You don’t want to cook it too long for food safety.

photo 1

8.  Serve and enjoy!

photo 2

Results

These mushrooms were a little on the small side because we’re out of season.  If you can get the big mushroom caps, those work best for this recipe.  Either way, it’s a healthy alternative to a favorite.

Party Meatballs!

I had these meatballs at my friend Emily’s engagement party and I found myself so in love with them, I hovered over the serving dish and kept eating more when no one was looking.  I knew that I had to keep this recipe and use it to wow my own party guests someday.  The opportunity came at my annual holiday shindig last night, where (once again) these meatballs got the party started!

Party Meatballs

(Inspiration found here and also from Emily!)

Ingredients

2 eggs, beaten
1 can (12 ounces) evaporated milk
2 cups quick-cooking oats
1 cup finely chopped onion
2 teaspoons salt
2 teaspoons chili powder
1/2 teaspoon garlic powder
1/2 teaspoon pepper
2 pounds ground beef

photo 1

SAUCE:
2 cups ketchup
1-1/2 cups packed brown sugar
1/2 cup chopped onion

Preparation:

1.  In a large bowl, combine the first eight ingredients.
photo 2

2.  Mix in ground beef to bowl and knead all ingredients together until well mixed.  Get your hands messy on this one!

photo 3

3.   Shape into 1-in. balls. Place in greased baking dishes.

photo 4

–At this point, I put them in the refrigerator over night.  I had the luxury of preparing them the day before.  If you don’t have the time, you can continue on directly.  However, the fridge step allows for the meatballs to solidify and stay together a bit more than just cooking them directly.–

4.  Combine the sauce ingredients; pour over meatballs. Bake, uncovered, at 325° for 1 hour or until meat is no longer pink.  Serve and enjoy!

photo 2 (2)

Results:

A big hit!  The sauce caramelizes while baking, which allows for a great sweet taste.  There are more than enough servings to go around and also provide leftovers.  Yum!

Breaded Tilapia with Honey Balsamic Glaze

I’m a big fish person.  I love serving fish as a main course.  It’s healthy, easy, and a white fish especially can go with anything.  I had a craving to do something new and different with a fish dish rather than just grilling.  Breaded filets are a great alternative and quick and easy to do.

Breaded Tilapia with Honey Balsamic Glaze

(Inspiration found here)

Ingredients:

3-4 frozen tilapia filets
1 cup breadcrumbs [In this case, I used gluten free bread crumbs]
olive oil

Drizzle:
1/2 cup mayonnaise
2 tablespoons honey
2 tablespoons balsamic vinegar

IMG_0272

Instructions:

1.  Preheat the oven to 400 degrees.  Spray a baking dish with cooking spray.
2.  In the baking dish, add the breadcrumbs and lay each filet on top. sprinkle the breadcrumbs all over the top and press down, do not shake off excess. Place each filet, carefully in the baking dish and drizzle with olive oil.

IMG_0275

3.  Bake for 30-35 minutes until fish is cooked throughout.

IMG_0280

4.  In a small bowl, mix together the mayonnaise, honey,and balsamic vinegar until it is blended into a creamy sauce (no clumps).

IMG_0284

5.  Plate the tilapia and drizzle the sauce on top.  Enjoy!

IMG_0287

Results:

This turned out to be interesting but very delicious.  I think I may have overdone it on the breadcrumbs, but they gave a nice crunch to the dish.  I served it with a side of quinoa and some frozen peas.  We had leftover sauce so we put it over the quinoa to jazz that up a little bit as well.

Mushroom and Asparagus Risotto

So, this one is a bit of a doozy. It’s not something I’d make every day or even on a work night. This one is for a good and chilly Sunday where you want something savory and you have a bit of time to dedicate to it.  You’ll also be using a lot of your burners on your stove, so be sure it is ready to go.

Mushroom and Asparagus Risotto
(Inspiration drawn from here and here)

Ingredients
6 cups chicken broth
1 cup dry white wine [a Chardonnay works really nicely here]
2 tablespoons unsalted butter
1 tablespoon olive oil
1 cup finely chopped onion
A pinch of kosher salt
2 cups Arborio rice
1 cup sliced mushrooms
1 cup asparagus tips
1/2 cup shredded Parmesan

ingredients

Instructions:
1.  In a medium saucepan with a lid, combine chicken broth and white wine and heat just to simmering. Keep warm.

2.  In a large pot, over medium heat, melt the butter. Add the onions and a pinch of salt and sweat until translucent, about 5 minutes.

onions

3.  Add the rice and stir. Cook for 3 to 5 minutes or until the grains are translucent around the edges. Be careful not to allow the grains or the onions to brown.

halfway

4.  In a skillet, heat the olive oil over medium heat and saute the mushrooms and asparagus tips until cooked.  Remove from skillet and place in a bowl and cover with tinfoil.

veggies

**Take a look at how full the stovetop will be.  If you have too many things going at once, you’re doing it right!

many pots

5.  Get ready for an upper-body workout!   Reduce the heat of the pot to low, and add enough of the wine and chicken stock just to cover the top of the rice. Stir the rice mixture, until the liquid is completely absorbed into rice. Once absorbed, add another amount of liquid just to cover the rice and continue stirring or moving as before.

risotto  process

Give yourself a good 35-45 minutes of stirring and pouring.  WARNING: If you dump all of it in at once, it will take twice as long and the rice will be too crunchy.  It is worth the wait/bicep improvement, I promise!

6.  At this point, there should be just enough liquid left to make it one more stir.  Add the asparagus and mushrooms back into the pot with the last bit of liquid and stir all together.

done in pot

7.  Mix in the Parmesan until melted.

8.  Add a little extra Parmesan for a garnish and enjoy!

final

Results:

Like I said above, this is a good one for a chilly day where you have some time to dedicate to it.  The stirring takes forever, but without it, the rice won’t cook through correctly.

It’s a delicious pasta-like dish that is filling and will warm you up!  The mushrooms and asparagus complement each other really nicely in this dish.  If you have other veggies you prefer, anything goes well in risotto.