Breaded Tilapia with Honey Balsamic Glaze

I’m a big fish person.  I love serving fish as a main course.  It’s healthy, easy, and a white fish especially can go with anything.  I had a craving to do something new and different with a fish dish rather than just grilling.  Breaded filets are a great alternative and quick and easy to do.

Breaded Tilapia with Honey Balsamic Glaze

(Inspiration found here)

Ingredients:

3-4 frozen tilapia filets
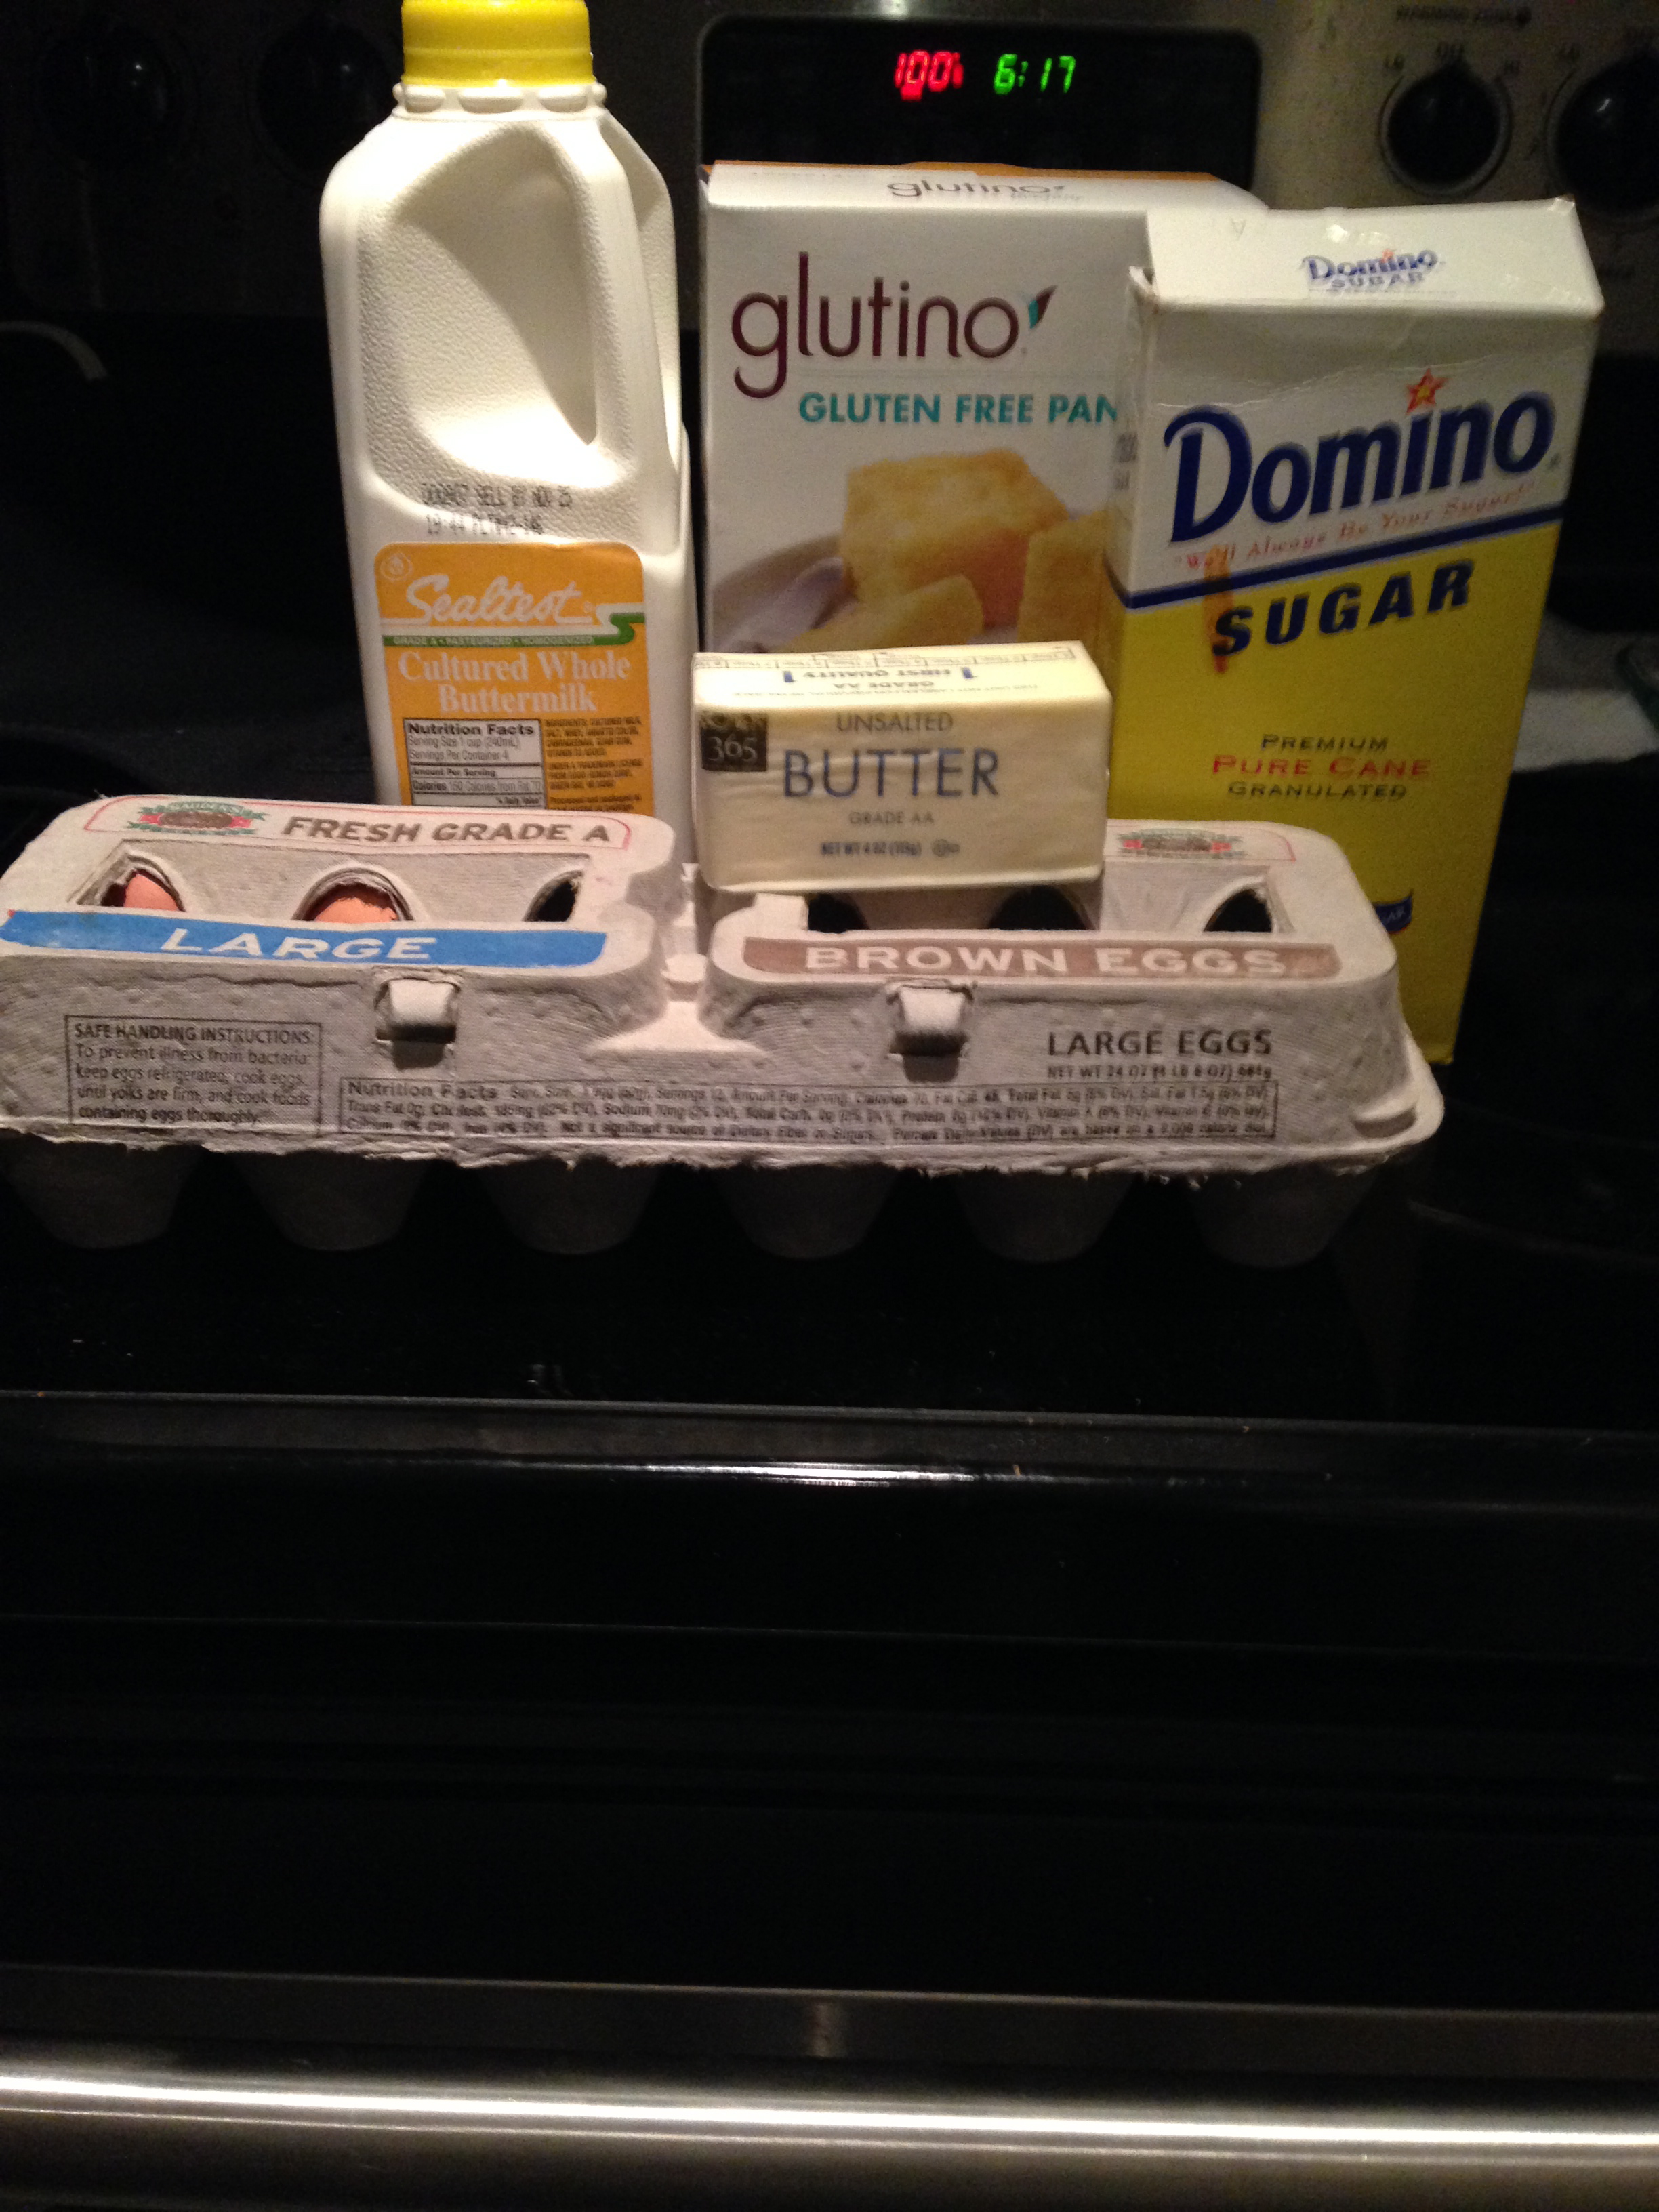
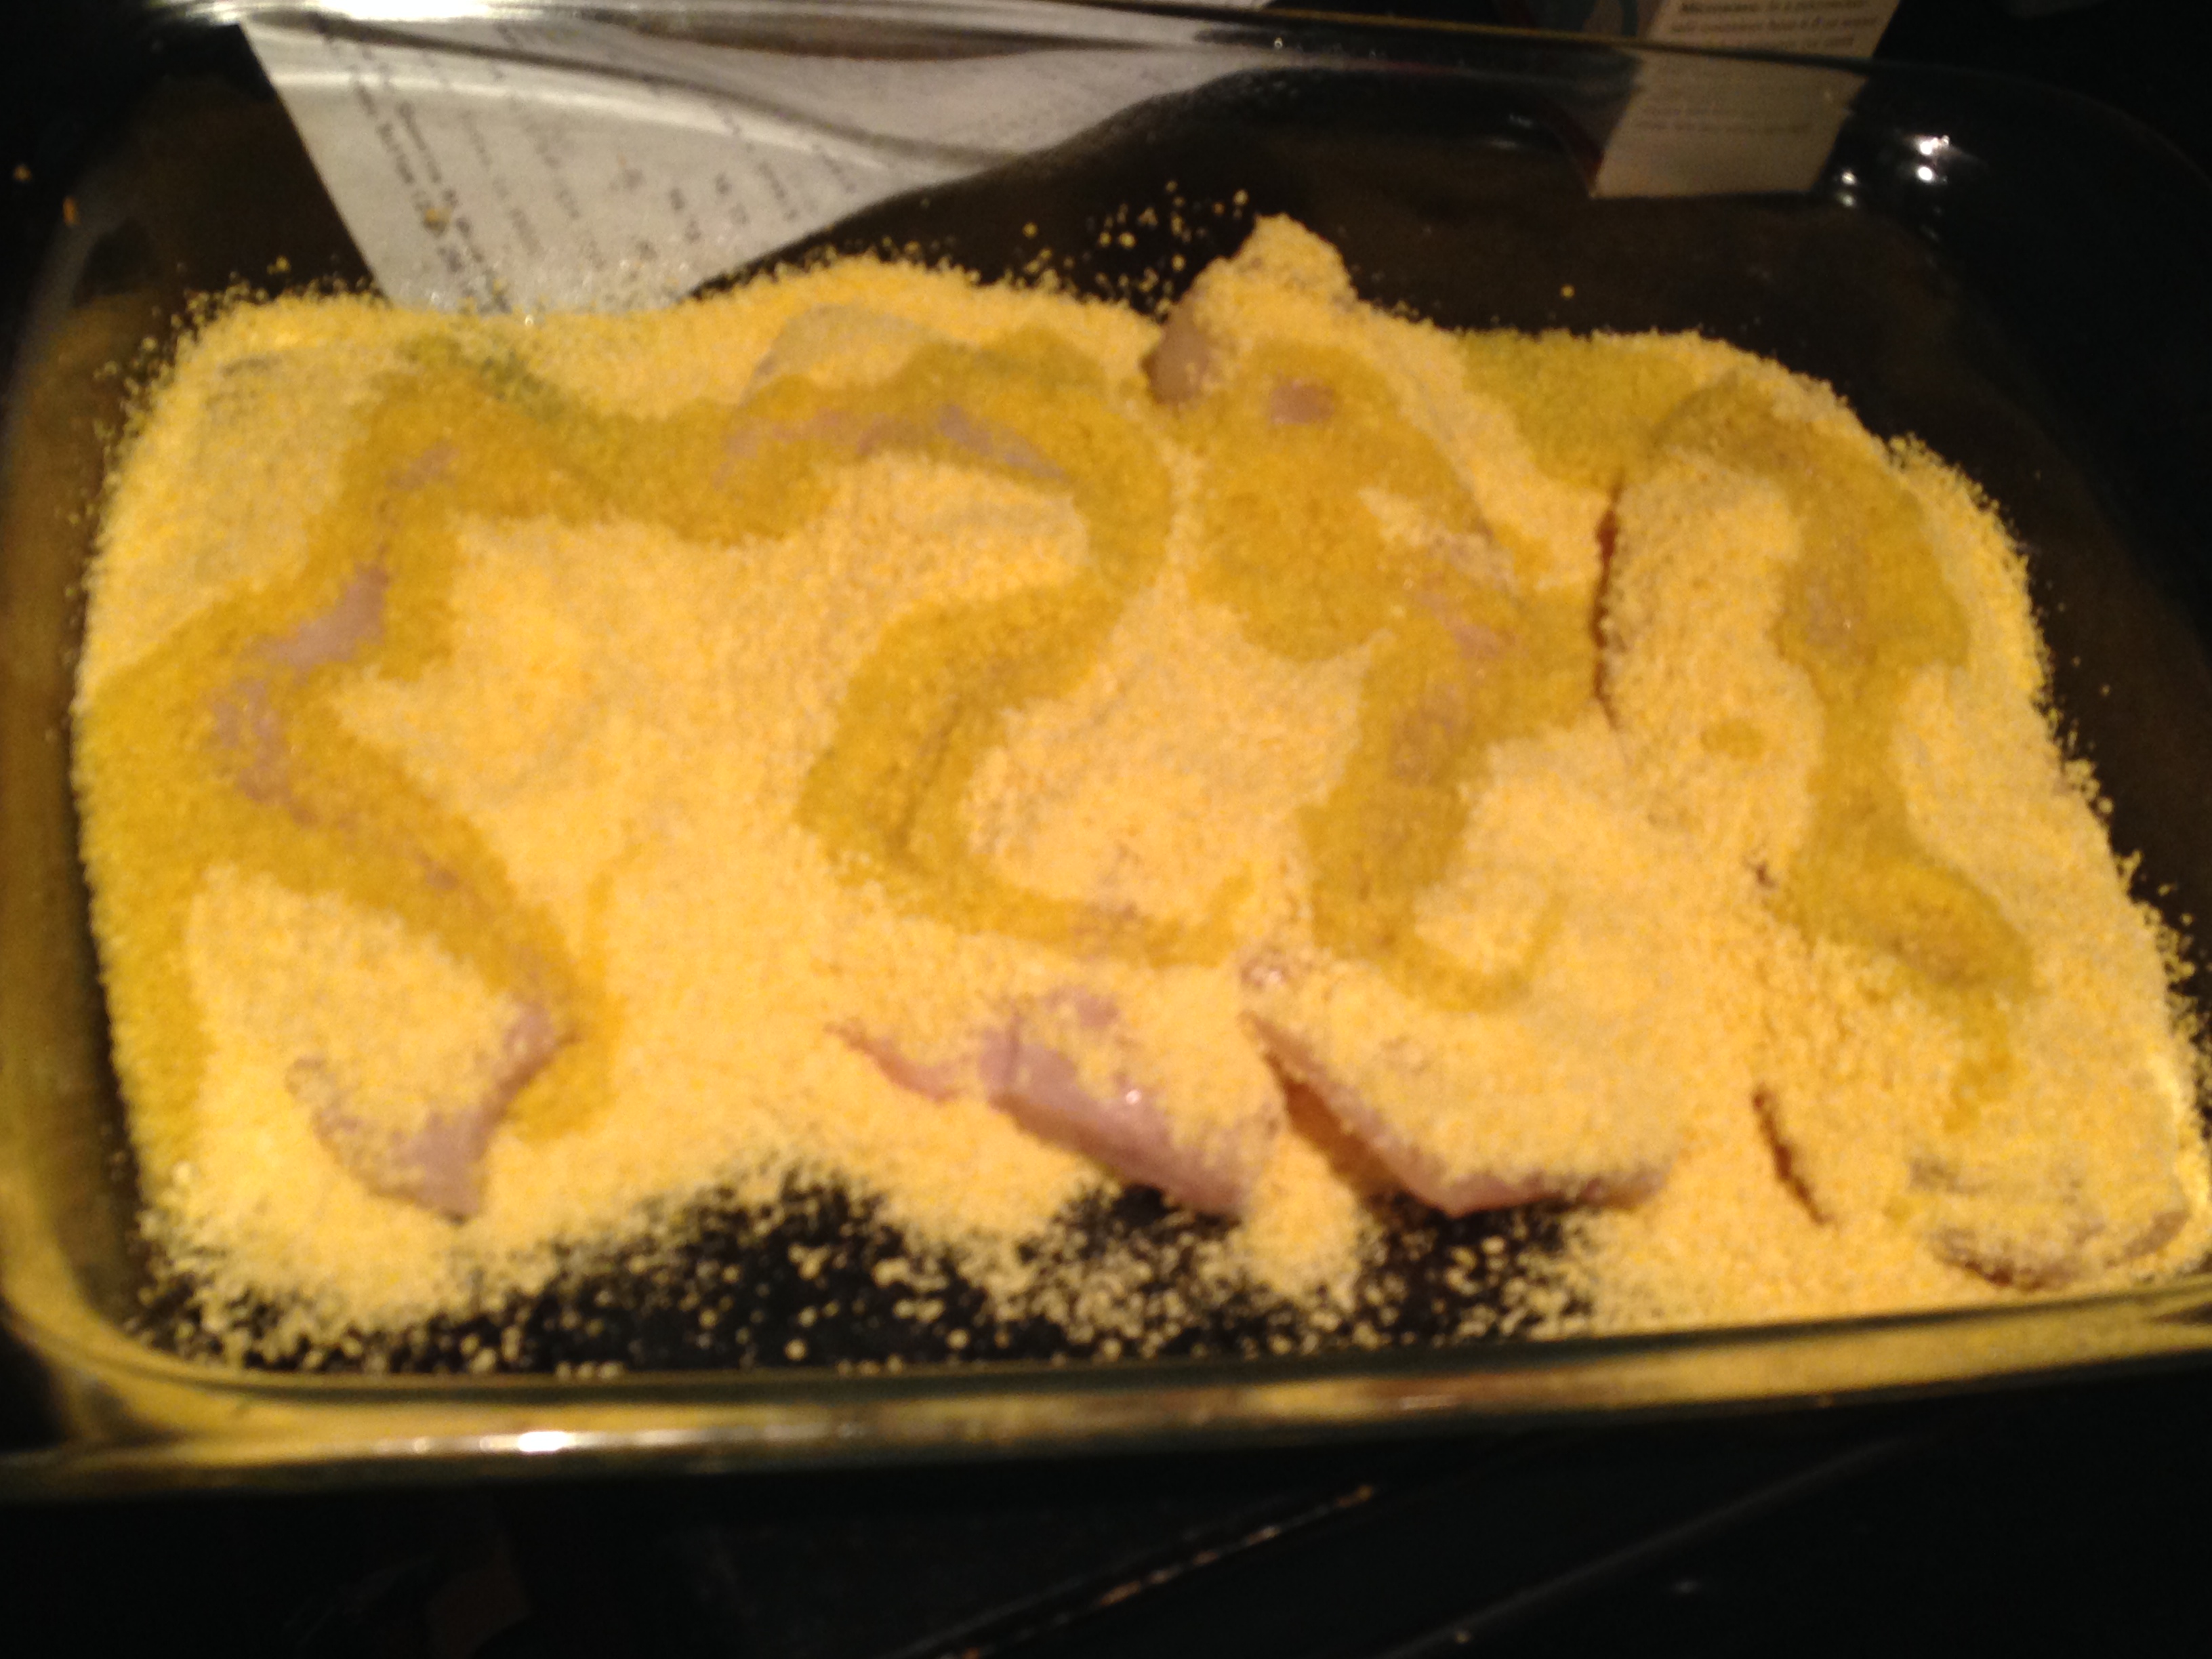
1 cup breadcrumbs [In this case, I used gluten free bread crumbs]
olive oil

Drizzle:
1/2 cup mayonnaise
2 tablespoons honey
2 tablespoons balsamic vinegar

IMG_0272

Instructions:

1.  Preheat the oven to 400 degrees.  Spray a baking dish with cooking spray.
2.  In the baking dish, add the breadcrumbs and lay each filet on top. sprinkle the breadcrumbs all over the top and press down, do not shake off excess. Place each filet, carefully in the baking dish and drizzle with olive oil.

IMG_0275

3.  Bake for 30-35 minutes until fish is cooked throughout.

IMG_0280

4.  In a small bowl, mix together the mayonnaise, honey,and balsamic vinegar until it is blended into a creamy sauce (no clumps).

IMG_0284

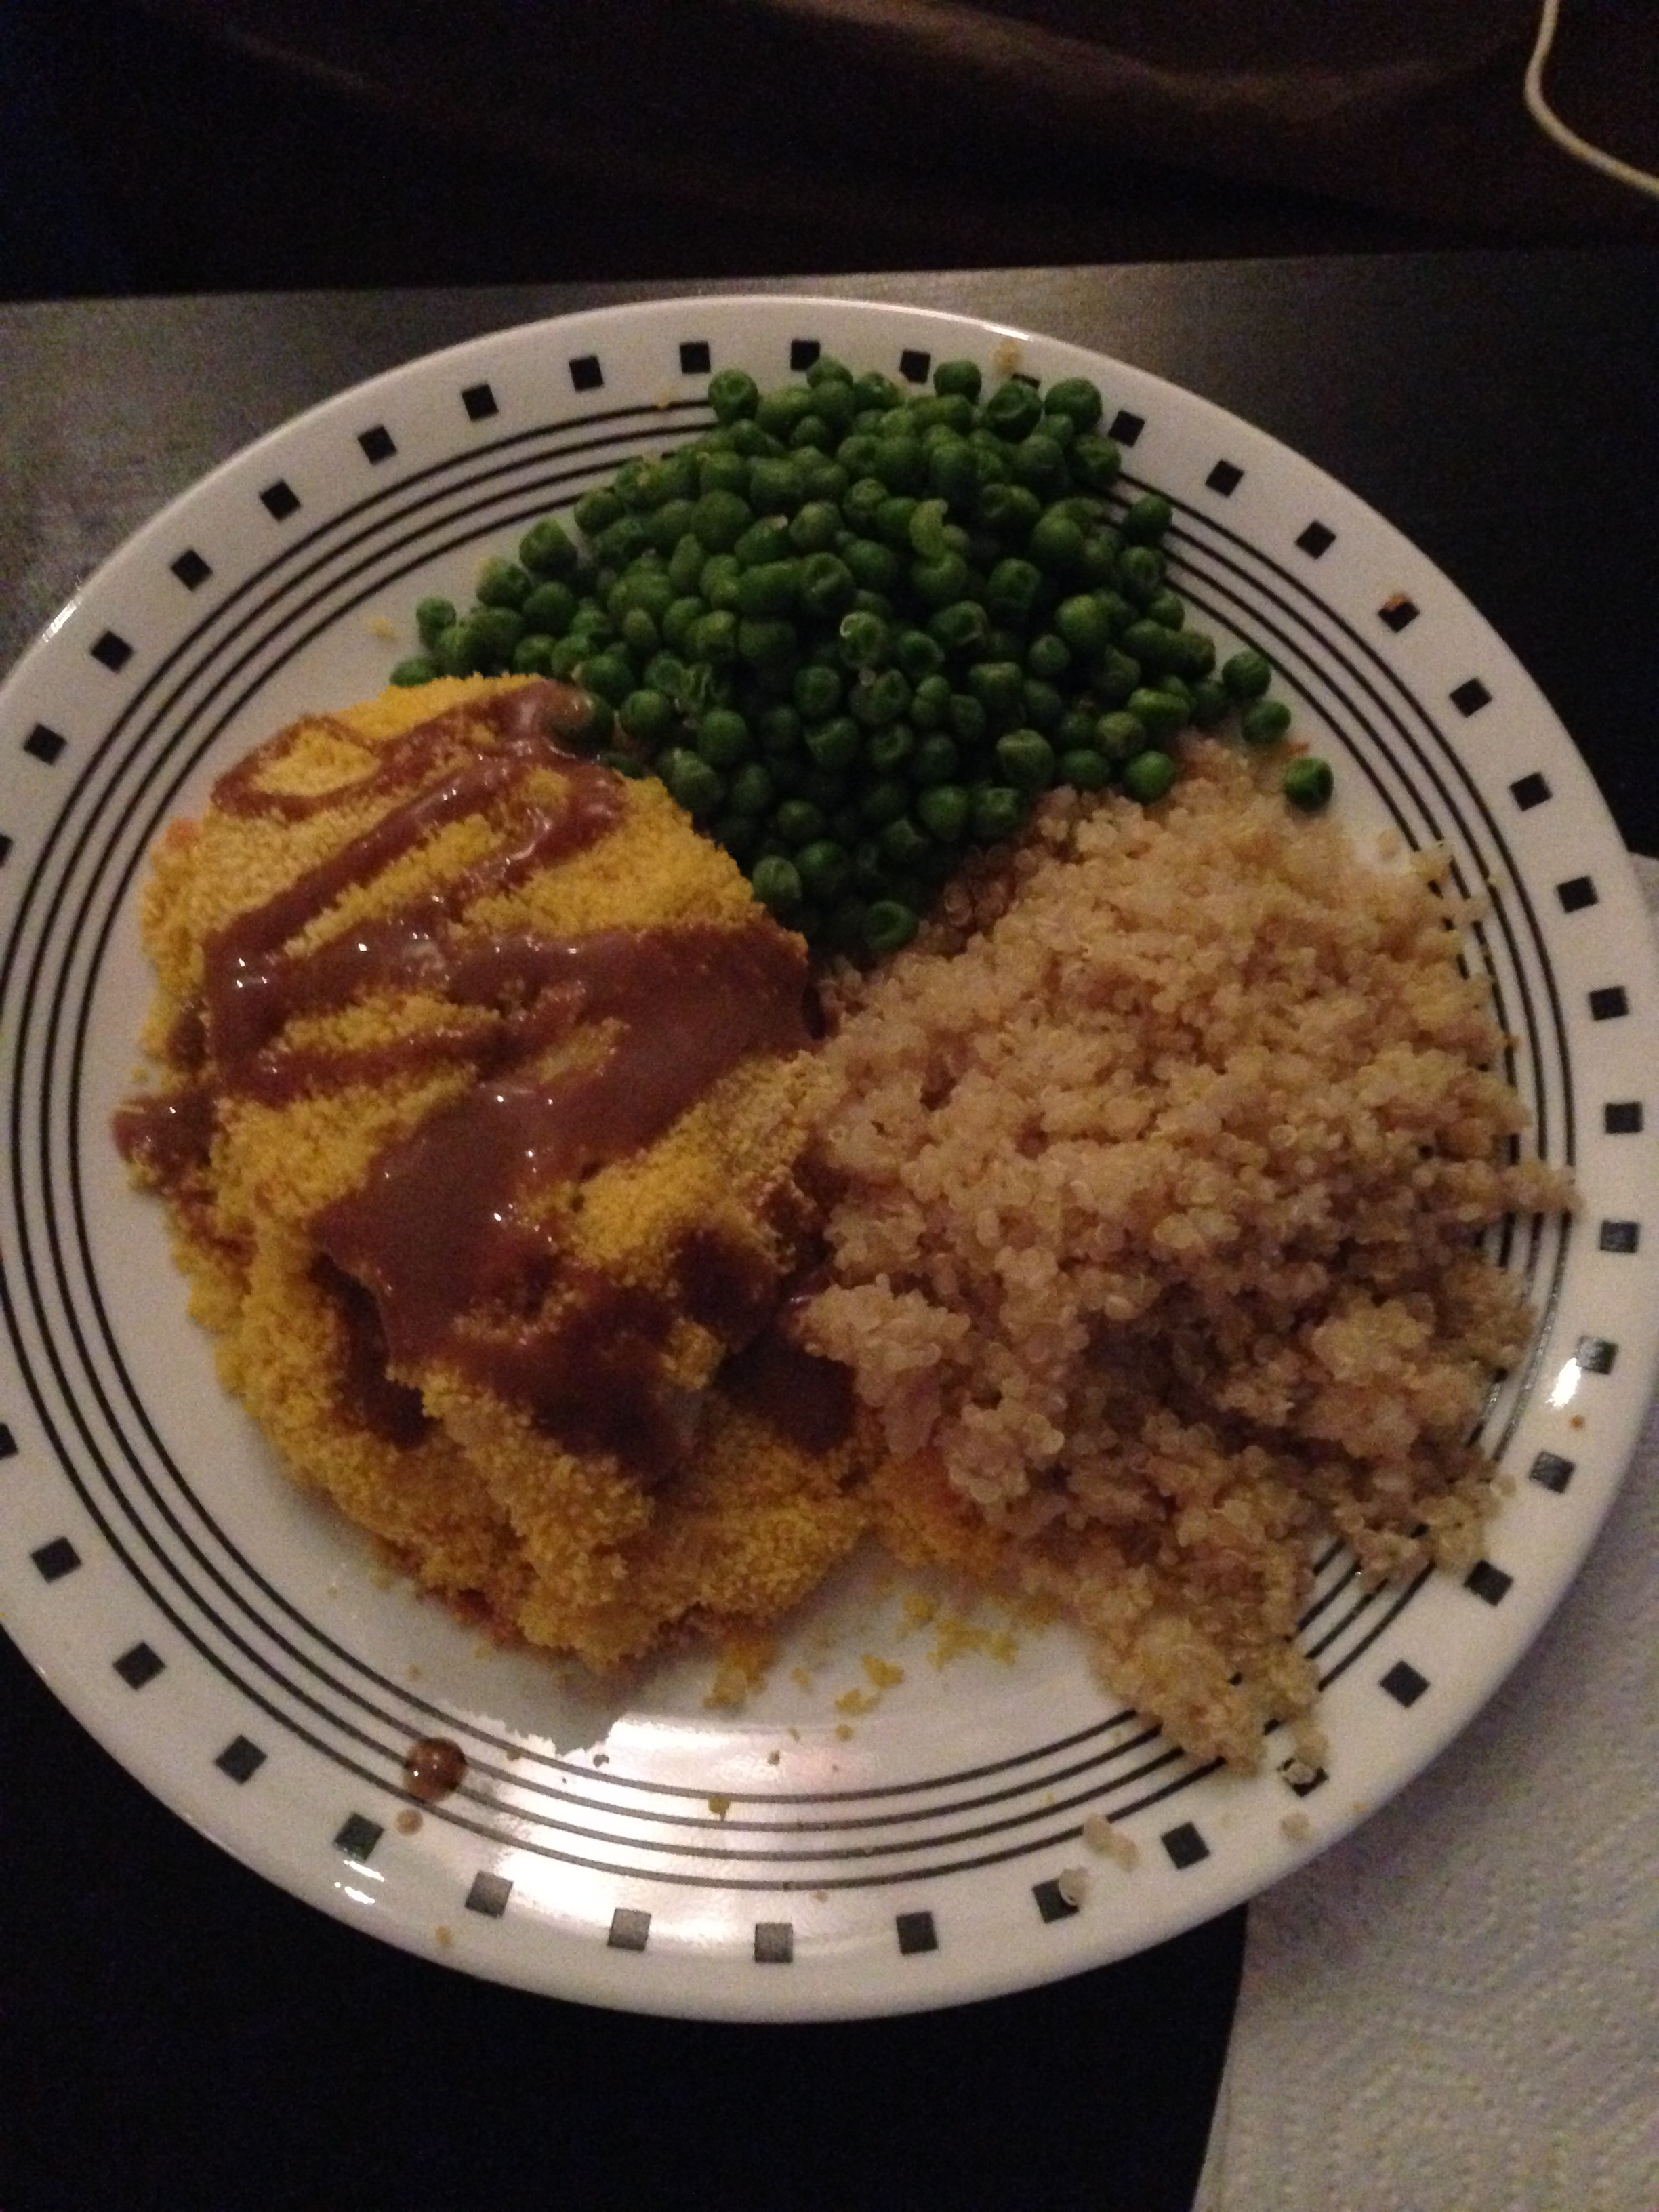
5.  Plate the tilapia and drizzle the sauce on top.  Enjoy!

IMG_0287

Results:

This turned out to be interesting but very delicious.  I think I may have overdone it on the breadcrumbs, but they gave a nice crunch to the dish.  I served it with a side of quinoa and some frozen peas.  We had leftover sauce so we put it over the quinoa to jazz that up a little bit as well.

Advertisement

Cheesy Chicken Casserole

One of my go-to meals is a rotisserie chicken from the deli counter at the grocery store.  It is quick, pre-cooked, and goes well with anything.  It’s also a great meal on grocery shopping day, because I know the last thing I want to do after lugging grocery bags is preparing a full meal.

With rotisserie chicken on the brain, I stumbled upon a recipe for a casserole that would jazz things up a bit.  This is great for a quick evening meal when most of the lift is done for you.

Cheesy Chicken Casserole

(Inspiration here)

Ingredients:

1 rotisserie chicken [I put mine in the refrigerator so it wasn’t hot, but it doesn’t matter the starting temperature]
16 oz bag of frozen broccoli florets
11 oz of cream of mushroom soup
1 cup of shredded cheddar cheese

IMG_0249

Instructions:

1.  Preheat oven to 350 degrees.  At the same time, boil a few cups of water in a saucepan.  Once the water hits a boil, pour in the broccoli.  Once it hits a boil again, drain the broccoli.

IMG_0252

2.  While boiling, shred the chicken meat using a fork and/or your fingers.

IMG_0253

3.  Mix chicken, broccoli, cheese, and soup together in a bowl

IMG_0257

4.  Put entire mixture into a baking dish and cook for 25 minutes.

IMG_0260

5.  Scoop and enjoy!

IMG_0262


Results:

YUM!  Although it is a little more legwork than just serving rotisserie chicken straight up, the cheesy goodness makes it worth it.  Definitely a good one to keep in your pocket.  Also, second day leftovers would be equally as delicious.

Beef and Bean Chili

Chili is a staple when it turns into autumn.  It keeps you warm and full and is totally a comfort food.  It is also ideal for feeding a crowd, as I did this weekend when BF’s brother was in town and brought a full appetite.

Beef and Bean Chili

(Inspired by America’s Test Kitchen Slow Cooker Revolution Vol. 2)

1 lb ground beef
2 cups chopped onion
1/4 cup chili powder
1 tsp dried oregano/Italian seasoning
1 (15 oz) can black beans
1 (15 oz) can pinto beans
1 (15 oz) can red kidney beans
1 (15 oz) can white kidney beans
28oz canned crushed tomatoes
2 tablespoons brown sugar
Salt and pepper to taste

IMG_0218

1.  Microwave broken up ground beef, onions, chili powder, oregano, salt and pepper for 10 minutes on 50% power.  Try to make sure that most of the beef is no longer pink.

IMG_0226

2.  Stir all cans of beans together in a medium bowl.

IMG_0222

3.  Transfer meat mixture to slow cooker, breaking up any large pieces of beef.  Stir in beans, tomatoes, and brown sugar.

IMG_0230

4.  Cover and cook on low for 6 1/2-7 hours.

IMG_0240

5.  Enjoy with some delicious cornbread and your favorite chili toppings!

IMG_0245

BONUS RECIPE!

Gluten-Free Cornbread!

(Stolen off the Glutino Yankee Cornbread Mix box)

1 box Glutino GF Yankee Cornbread mix
1 egg
1 1/3 cup buttermilk
6 tbsp melted butter
1/4 cup sugar
Nonstick cooking spray

IMG_0233

1.  Preheat your oven to 425 degrees.

2.  Combine bread mix and sugar in medium bowl.

IMG_0235

3.  Pour in wet ingredients and mix to create a batter-like consistency.  Pour batter into a baking dish that has been sprayed with the non-stick cooking spray. (You can also use leftover butter instead of cooking spray if you’d like).

IMG_0237

4.  Bake for 20-25 minutes or until the top and sides get crispy.

IMG_0243

Results:

This was a great recipe to come home to.  The apartment smelled amazing!  And it was a crowd pleaser, especially with two hungry gents.

The microwave trick that ATC suggested was a wonder.  Often, people brown the beef in a pan before throwing it in the crock pot.  I thought this worked much better and saved me a pan to wash.

You can use however many cans of beans you want.  I chose four because I had them in my cabinet.  The original recipe calls for three.  Your choice.

Definitely going into the regular meal rotation for cold winter days. 🙂

Mushroom and Asparagus Risotto

So, this one is a bit of a doozy. It’s not something I’d make every day or even on a work night. This one is for a good and chilly Sunday where you want something savory and you have a bit of time to dedicate to it.  You’ll also be using a lot of your burners on your stove, so be sure it is ready to go.

Mushroom and Asparagus Risotto
(Inspiration drawn from here and here)

Ingredients
6 cups chicken broth
1 cup dry white wine [a Chardonnay works really nicely here]
2 tablespoons unsalted butter
1 tablespoon olive oil
1 cup finely chopped onion
A pinch of kosher salt
2 cups Arborio rice
1 cup sliced mushrooms
1 cup asparagus tips
1/2 cup shredded Parmesan

ingredients

Instructions:
1.  In a medium saucepan with a lid, combine chicken broth and white wine and heat just to simmering. Keep warm.

2.  In a large pot, over medium heat, melt the butter. Add the onions and a pinch of salt and sweat until translucent, about 5 minutes.

onions

3.  Add the rice and stir. Cook for 3 to 5 minutes or until the grains are translucent around the edges. Be careful not to allow the grains or the onions to brown.

halfway

4.  In a skillet, heat the olive oil over medium heat and saute the mushrooms and asparagus tips until cooked.  Remove from skillet and place in a bowl and cover with tinfoil.

veggies

**Take a look at how full the stovetop will be.  If you have too many things going at once, you’re doing it right!

many pots

5.  Get ready for an upper-body workout!   Reduce the heat of the pot to low, and add enough of the wine and chicken stock just to cover the top of the rice. Stir the rice mixture, until the liquid is completely absorbed into rice. Once absorbed, add another amount of liquid just to cover the rice and continue stirring or moving as before.

risotto  process

Give yourself a good 35-45 minutes of stirring and pouring.  WARNING: If you dump all of it in at once, it will take twice as long and the rice will be too crunchy.  It is worth the wait/bicep improvement, I promise!

6.  At this point, there should be just enough liquid left to make it one more stir.  Add the asparagus and mushrooms back into the pot with the last bit of liquid and stir all together.

done in pot

7.  Mix in the Parmesan until melted.

8.  Add a little extra Parmesan for a garnish and enjoy!

final

Results:

Like I said above, this is a good one for a chilly day where you have some time to dedicate to it.  The stirring takes forever, but without it, the rice won’t cook through correctly.

It’s a delicious pasta-like dish that is filling and will warm you up!  The mushrooms and asparagus complement each other really nicely in this dish.  If you have other veggies you prefer, anything goes well in risotto.

Mongolian Beef

Another one of my favorite take-out go-to’s is Chinese food.  As we’ve discussed, it can be a pain on both the wallet and the waistline to order in take-out all the time.  I enjoy finding alternatives to favorite meals that are usually healthier and often more delicious.

Mongolian Beef
(Inspiration found here)

Ingredients
1 lb flank steak, trimmed and cut into thin slices
Butter-flavored cooking spray
1/3 cup hoisin sauce [Find this in the international food aisle]
2 tablespoons water
2 teaspoons minced peeled fresh ginger [I used this crazy ginger paste as seen in the photo and it worked out pretty well and saved the headache that is fresh ginger]
1 teaspoon bottled minced roasted garlic
2 teaspoons dark sesame oil [Also in the international food aisle]
1/2 teaspoon crushed red pepper
4 green onions
Snap Peas
Rice
Ingredients

Preparation:

1. Cut steak into bite-size pieces and chop onion in preparation.

Chopped beef and onions
2.  Heat a large nonstick skillet over medium-high heat. Coat pan with cooking spray. Cook steak in pan over medium-high heat until browned, stirring occasionally.
Meat in pan

3.  While steak cooks, combine hoisin sauce, water, ginger, garlic, sesame oil, and crushed red pepper in a small bowl.

Sauce

4.  Once steak is cooked through but not too ‘well done’, pour in the sauce and the snap peas into the pan and mix together.

5.  Serve over rice and enjoy!

Finished

Results:

This is definitely a lighter, healthier version than you’d find at the Chinese take-out place.  The sauce is SUPER delish, too.  Add a little extra hoisin for sweetness and adjust the red pepper for your preferred level of spicy.

The best steak to use is flank steak.  It is often the most expensive in the meat counter and, depending on your grocery store, they may not even carry it.  Alternatives are skirt steak or “London Broil”.  You can really use any cut of steak you’d like, but make sure it’s not too too fatty, or else you’ll get a lot of grease in the pan and it’ll affect the flavor.  Just make sure it’s a thin cut of meat.

I love using the snap peas as the vegetable in this one.  They add a nice crunch to each bite.