Crock Pot Chicken Tacos

This one is a household favorite!  It’s simple in ingredients and effort, it makes your house smell terrific when you get home, and it’s really easy to throw together.  There are usually enough leftovers of everything to provide a second meal.  What’s not to love?

Crock Pot Lime Cilantro Chicken Tacos
(inspiration found here)

1 lb chicken breasts (about 3-4 chicken breasts)
1/4 cup chopped cilantro
2 limes
24 oz jar of salsa [I suggest using Medium salsa for this for a little kick]
1 packet of taco seasoning

Taco fixings:
1 packet of corn tortillas
Shredded cheese
Guacamole mix
2 avocados
Any other toppings you like!

Chicken Tacos ingredients

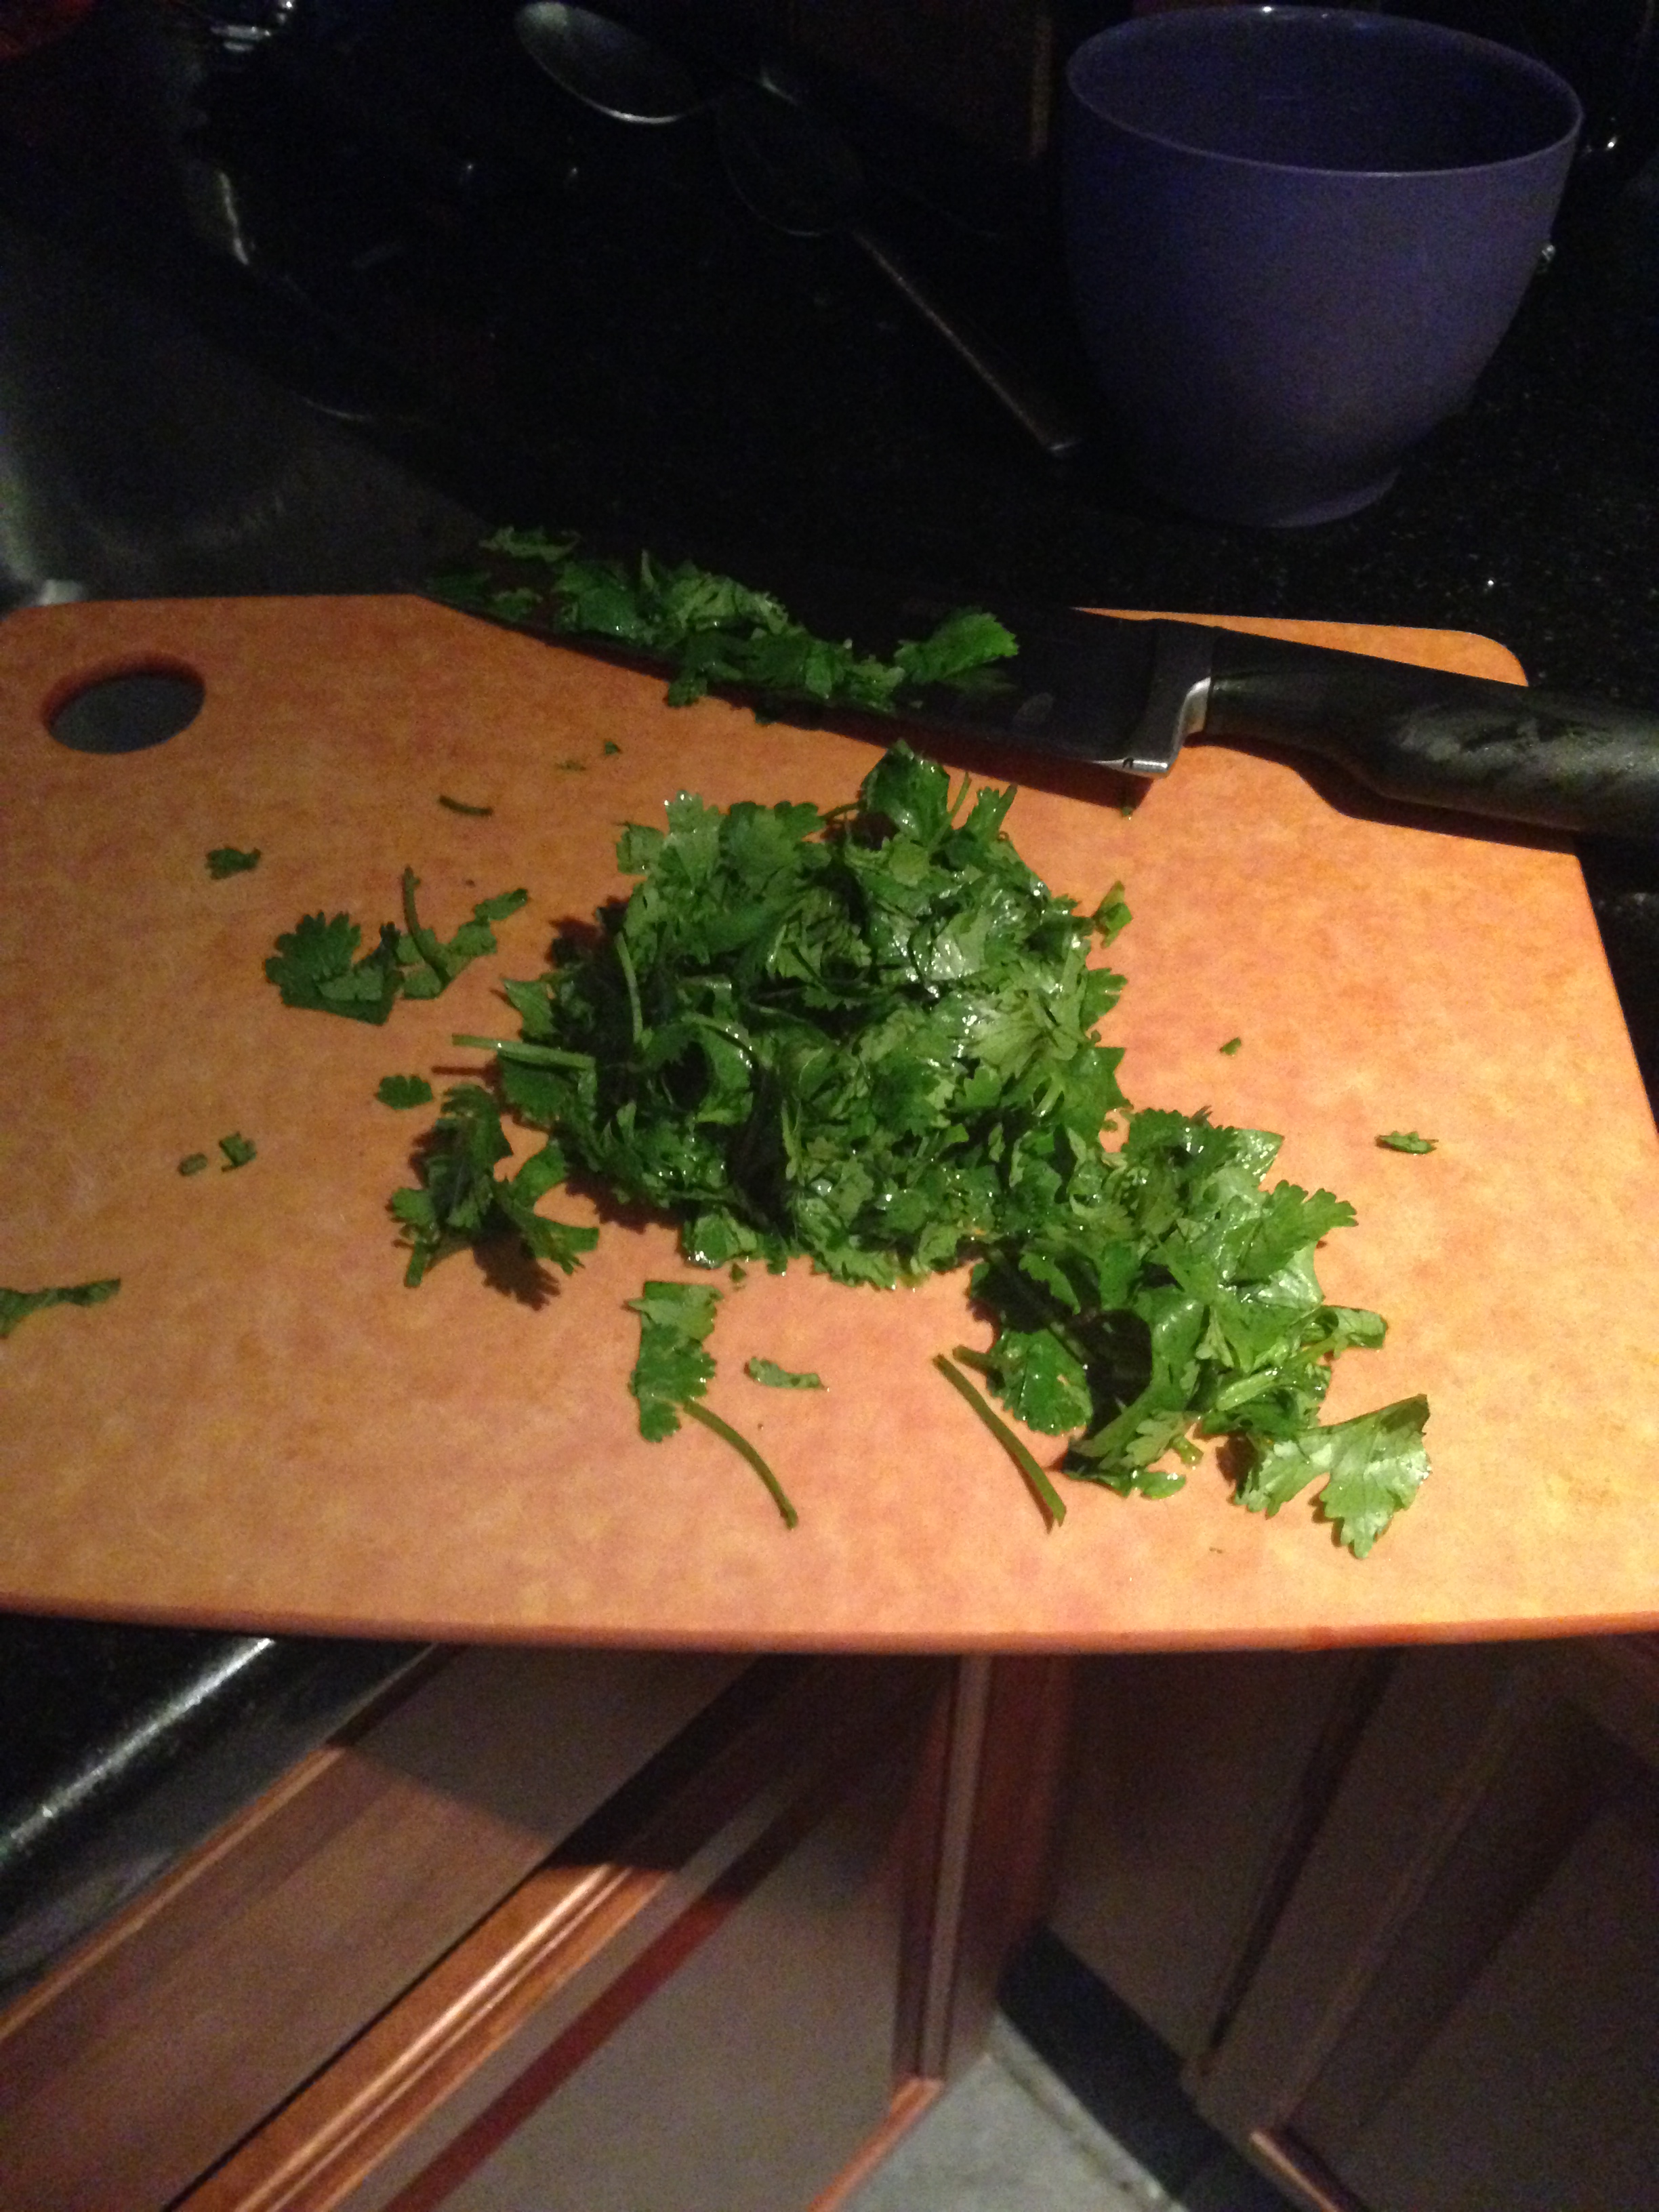
1.  Chop up cilantro. [They always give you SO MUCH cilantro in the bunches.  Don’t be surprised if you don’t even use half your bundle.]

Cilantro chopped

2.  Mix cilantro, salsa, taco seasoning, and juice of 2 limes in a bowl.

Taco mix

3.  Coat the bottom of the crock pot with a bit of the sauce.

Coat bottom of crock pot

4.  Put chicken in the crock pot.

Chicken in crock pot

5.  Cover chicken with the salsa mix.

Crock pot cooking before

6.  Cover and cook this on LOW for 7-8 hours.

Chicken tacos done in pot

(after 8 hours)

7.  When the chicken is done, put it into a separate pan and shred it with a fork.  It should just fall apart.  Use additional salsa mix from the crock pot to flavor the chicken and add a little moisture.

Shredded Chicken

8.  Prepare the guacamole

Guac fixings

8a.  Guacamole is super easy and super delicious:  Slice your avocados in half, scoop out the pit, and create a grid in the avocado meat.

Avocado slicing

Scoop out into a bowl and mix together with the guacamole mix.  Voila!

9.  Serve and enjoy!

Tacos final

Results:

This is a great weekday meal and allows you to be creative.  The chicken is delicious and moist.   Also, there are plenty of leftovers and we like to make chicken quesadillas with the leftover tortillas, chicken, and cheese.  Two meals in one!

Advertisement

Ziti with Portobello Mushrooms, Caramelized Onions, and Goat Cheese

I’m a lover of goat cheese.  It’s tangy delicious and it makes me feel grown up and sophisticated when I eat it.  This recipe goes really well with the Fall chill in the air and sometimes you just want some cheesy pasta and to curl up with a good book.


Ziti with Portobello Mushrooms, Caramelized Onions, and Goat Cheese
(Inspiration thanks to Food and Wine Magazine)

2 tablespoons butter
4 tablespoons olive oil
1/2 large onion, chopped
1 teaspoon salt
1/2 teaspoon sugar
1 pound portobello mushrooms, stems removed, caps halved and then cut crosswise into 1/4-inch slices
1/4 teaspoon fresh-ground black pepper
1 pound ziti [I used gluten free rigatoni for this recipe – more on that below]
4 ounces soft goat cheese
3 tablespoons grated Parmesan cheese, plus more for serving

Ziti ingredients 2

(Please forgive me that the onion is pre-chopped – I always force J into chopping onions!)

1.  In a large frying pan, melt 1 tablespoon of the butter with 2 tablespoons of the oil over moderate heat. Add the onions, 1/2 teaspoon of the salt, and the sugar and cook, stirring frequently, until the onions are well browned, about 20 minutes. Remove from the pan.

Ziti onions raw

Beginning

Ziti onions brown

Browned

Ziti onions caramel done
Caramelized!

2. In the same pan, melt the remaining 1 tablespoon butter with 1 tablespoon of the oil over moderate heat. Add the mushrooms and 1/4 teaspoon of the salt and cook, stirring occasionally, until tender and brown, about 8 minutes.

Ziti mushrooms

3.  Add the reserved onions,  the remaining 1/4 teaspoon salt, and the pepper to the mushrooms and remove from heat.

Ziti onion mushroom

4.  In a large pot of boiling, salted water, cook the ziti until just done. Reserve 3/4 cup of the pasta water and drain. Toss the ziti and 1/2 cup of the reserved pasta water with the mushroom mixture, the remaining 1 tablespoon oil, the goat cheese, and the Parmesan in the pasta pot.  After mixing, pour in the reserve water and stir until all goat cheese has melted.

Ziti mixed

5.  Serve with additional Parmesan and enjoy!

Ziti final

Results:

This worked out really nicely as a fall-tasting tangy recipe.  I think next time I would add asparagus or another vegetable to liven up the color palate.  Think of this as grown up mac-and-cheese.

Something to keep in mind – caramelizing onions takes a deceivingly long amount of time.  On the clock, it takes about 20 minutes, but it seems like it should take less.  Wait for the onions to brown and then keep browning them.  They will get darker but not burn.  This, with the combination of sugar and oil, will make them sweet.  Don’t worry if it feels like it’s taking forever.

Also, on the gluten free note – gluten free pasta is an interesting animal.  Because of its materials (the one featured above is potato based), you have to be mindful of the cooking time.  If you overcook it, it will get sticky and kind of slimy.  For regular pasta, I do a time estimate and hope for the best while checking done-ness of the noodles.  With GF pasta, I always set a timer for 10 minutes and drain it at the buzzer.  Otherwise, it can be a mess.  I will say that taste wise, with a good sauce, you can’t even tell the difference!

Thai Cashew Chicken

One of my favorite things to do is order take out.  Really, restaurants are so much fun and it is so easy to call up delivery after a long day of working.  What’s not so fun is the costs can add up from ordering out every night.  Also, it’s not the healthiest and goodness knows we’re not living on college metabolisms anymore.  Is there a way to find that same deliciousness while also being easy to prepare?  You bet there is!

Thai food is one of my favorites to order.  In DC, there’s not a lot of Chinese take out that isn’t greasy, so Thai food is the next best bet.  Last night, I whipped together a Thai ‘fake-out’ dish that was equally (if not better) than my usual order at the place around the corner.

I present to you…Cashew Chicken

(Original inspiration found here)

1 lb boneless, skinless chicken breasts, chopped into pieces

2 tablespoons cornstarch

2 tablespoons olive oil

1 cup mushrooms

1 red pepper, sliced thin

1 green pepper, sliced thin

3 green onions, chopped

1/2 cup shelled edamame [Find in the frozen aisle at the grocery store]

2 cloves garlic, minced [I use the jar kind out of laziness]

1/2 cup unsalted cashews

3 tablespoons honey

3 tablespoons low sodium soy sauce

Cashew chicken ingredients

1.  Heat a skillet on medium heat and add 1 tablespoon olive oil. Add mushrooms and saute until soft, about 5 minutes. Remove from skillet.

Cashew Chicken mushrooms

2.  Season chicken with salt and pepper, then coat each piece in cornstarch.

Cashew chicken in pan

3.  Add the remaining olive oil to the skillet and add chicken. Brown on both sides until cooked, about 5 minutes per side.

Cashew chicken browned


4.  Add garlic, red pepper, edamame, green onions and cashews and stir for 30 seconds. Add mushrooms and mix in.  Turn heat to medium low.

Cashew chicken veg in pan

5.  In a small bowl, mix soy sauce and honey. Pour into skillet, coating chicken and vegetables.

6.  Serve over rice.

cashew chicken final

Result:

I was surprised at how much I liked the cornstarch-coated chicken.  It absorbed the honey/soy mix really well and left a really sweet taste.  I always like a lot of veggies in my meals so I went a little overboard on this one.  Feel free to use as many or as little fit your needs.  The edamame, red pepper, and mushroom are a must, though.

I used an Uncle Ben’s Ready Rice for this recipe to cut down on time, but you could use whatever rice you want.  This time, I used brown rice, but I bet long grain would also be a good choice.

Also, for those of you who doubt the ‘cozy’ factor of this kitchen, I present the following evidence:

Cashew chicken cozy

Halfway through preparation, and you’ll notice that most of the ingredients are resting on the stove top (turned off – of course!).  You make it work with what you got!

Crock Pot Beef Stew

The crock pot is a godsend!  No, really.  There’s no better feeling than coming home from a long day of work and having a hot meal ready to go.  No stress, just deliciousness.

This love has been extended with my new slow cooker cookbook.  I’m excited to make my way through all the recipes America’s Test Kitchen has to offer me in my crock pot.  Since this week in DC has been rainy, chilly, and all-out gross, it seemed like the perfect opportunity to crock pot it up.

EASIEST-EVER BEEF AND POTATO STEW (courtesy of America’s Test Kitchen Slow Cooker Revolution Vol. 2)

2 cans (10.5 oz) condensed French onion soup
1 cup water
¼ cup tomato paste
2½ tbsp. instant tapioca [Find it in the baking aisle]
1 tsp. dried thyme
Small Yukon Gold potatoes, scrubbed but not peeled
4 lbs. sirloin steak tips, trimmed and cut into 1½-inch pieces [I used 1lb of tip steak and didn’t cut it up – this let the meat really fall apart)
Salt and pepper
2 cups frozen peas

Image

1.  Whisk soup, water, tomato paste, tapioca and thyme together.

Image

2.  Coat the bottom of the slow cooker with a thin layer of the mix.

Image

3.  Place the potatoes in the bottom of the slow cooker.

Image

4. Place the beef on top of the potatoes.  Pour the rest of the mix over top of the meat and potatoes.  [I usually freeze meat before putting it into my slow cooker.  This way it cooks and melts at the same time and leaves the meat in a soft, falling apart state.]

Image

5.  Cover and cook until beef is tender, 9 to 10 hours on low or 6 to 7 hours on high, depending on your cooker.  [With my machine, I set it for 8 1/2 hours and it then turns on to a ‘Keep Warm’ setting until serving]

6.  Just before serving, boil a pot of water and warm the frozen peas on the stove top.  Once peas are cooked, pour into slow cooker and mix with stew.

Image

7.  Using a fork, tear apart the meat into strings.  Use the side of the fork to cut potatoes into smaller pieces (they should just fall apart).

8.  Serve and enjoy!

Image

Results:

This was DELICIOUS and perfect for a cold day.  Even though I only used 1lb of the steak, there was plenty left over for second-day meals.